This post was sponsored by Nostalgia Electrics.
Twinkle Twinkle Little Party may have received payment, trade and/or products for promoting this product. However, I only promote products I love and all opinions stated are my own.
Hello, friends!
I am so excited to share with you a delicious ice cream recipe we tried in order to test our new ice cream machine by Nostalgia Electrics!

How fun is this vintage wooden bucket?
“The Vintage Collection™ 4-Quart Electric Ice Cream Maker provides a homemade ice cream experience with modern convenience. Simply place the aluminum canister filled with ingredients in the center of the bucket, fill the bucket with ice, and the electric motor does the churning for you. Soon, delicious ice cream is ready to serve!”
My husband and I made a delicious homemade pineapple ice cream and it turned so yummy! All you have to do is putting the mixture together and placed it in the freezer overnight before churning. We are loving our ice cream maker because we can use our own favorite products!
I am sharing the step by step below to show you how easy it is to handle this fun ice cream machine! My kids loved participating of all the fun process. Our oldest helped putting the mixture together and our two-year old helped putting ice cubes in the bucket. Team work!
Ready to make delicious homemade ice cream?
Fresh Homemade Pineapple Ice Cream
Source: Zesty South Indian Kitchen
Prep time: Cook time: Total time: Serves: 1.5 quart
- 2 cups freshly chopped pineapple
- ¾ cup sugar
- 1 cup heavy cream
- 1 cup half and half
- ½ cup milk
- In medium sauce bowl, cook pineapple with ¼ cup sugar (medium heat) for 30 minutes.
- Once it is cool enough, grind them into fine puree.
- In a bowl, add heavy cream, half & half, milk and rest of the sugar. Mix well. *Make sure to dissolve the sugar completely.
- Then add pineapple puree and chill it overnight in the fridge or for at least 2 hours. Note: We added 1 cup of chopped pineapples to the mixture as well before placing the bowl in the fridge.
- We then poured mixture into the canister.

6. Inserted the dasher and covered with the lid.


7. Then, we placed the canister in the center of the bucket and locked the electric motor into place.


8. We layered ice, salt and ice to enable the freezing process.


* We used Ice Cream Salt provided by Nostalgia Electrics.

9. We plugged the unit in and let it churn for about 30 min.


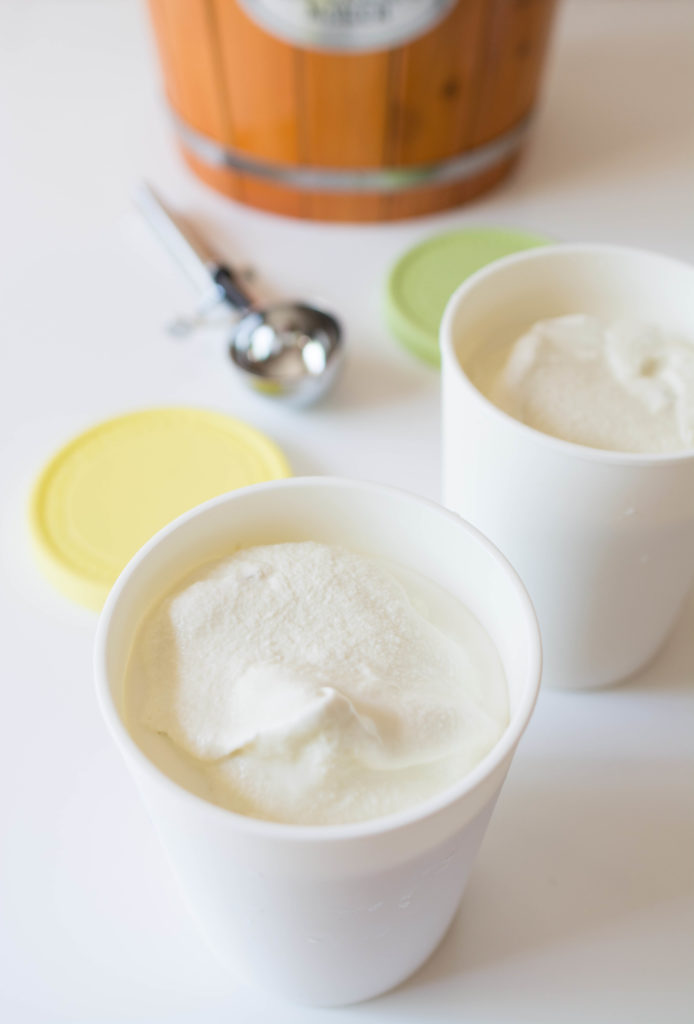
Ta-da! Delicious homemade pineapple ice cream. You can store it in the freezer in ice cream containers or keep it in the canister covered with its lid!


Enjoy, friends!


According to ingredient list it adds up to 6 qts. Do you leave it at that or add more liquid or pineapple
to make one gallon ?
Thank you
Hi, Jim! You leave at that! 🙂