This post is sponsored by Brother Crafts. All opinions stated are my own.
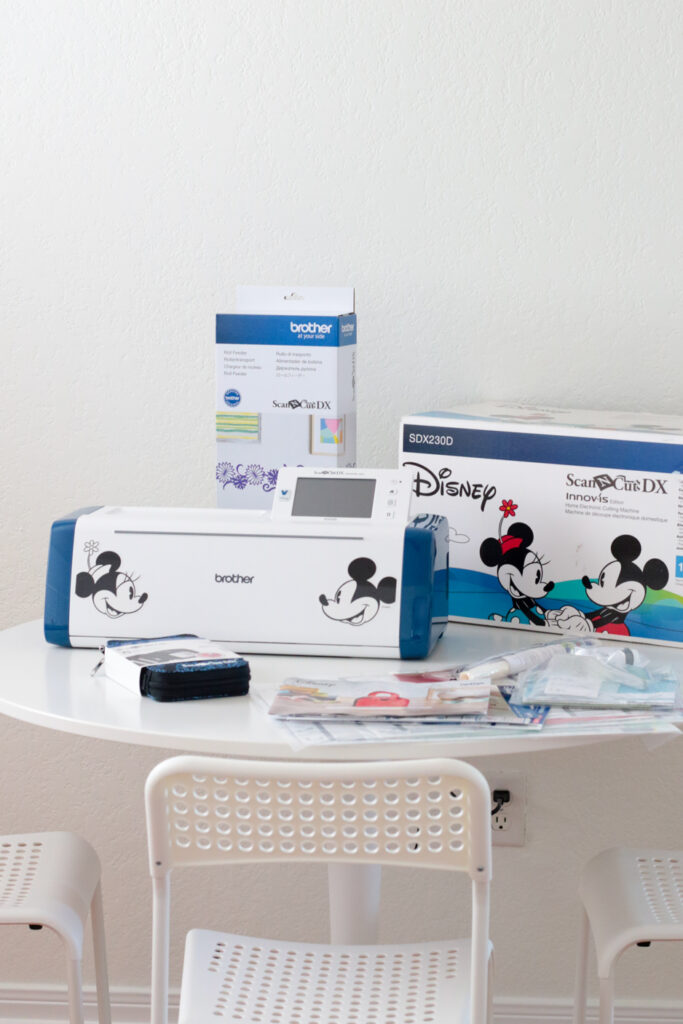
Hello, friends! I am so excited to partner with Brother Crafts on a series of fun posts to share wonderful DIY projects using their Disney ScanNCut DX SDX230D Innov-is! I have been meaning to purchase a cutting machine for so long so I am so thrilled I finally added one to my studio space!
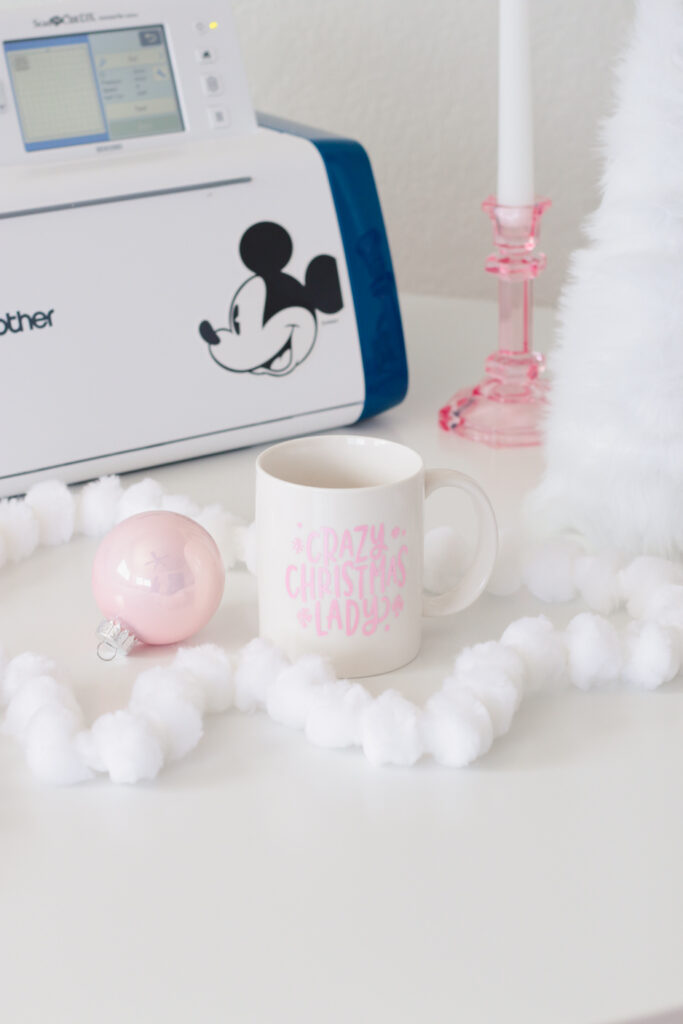
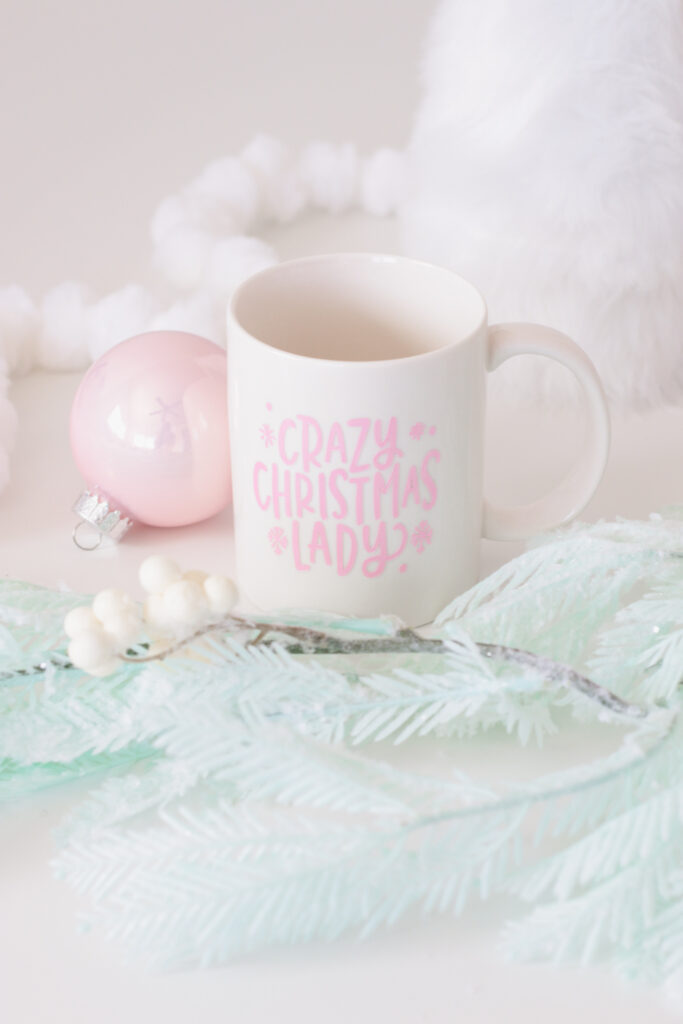
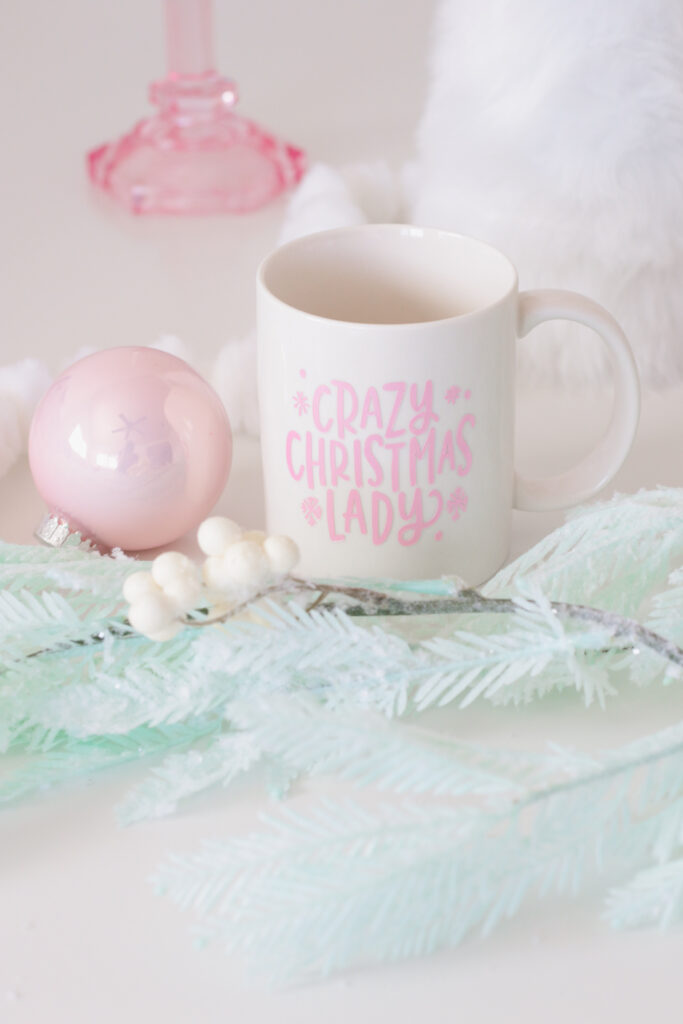
For my first project, I decided to create a beautiful Christmas mug using pink vinyl and I love how it turned out!
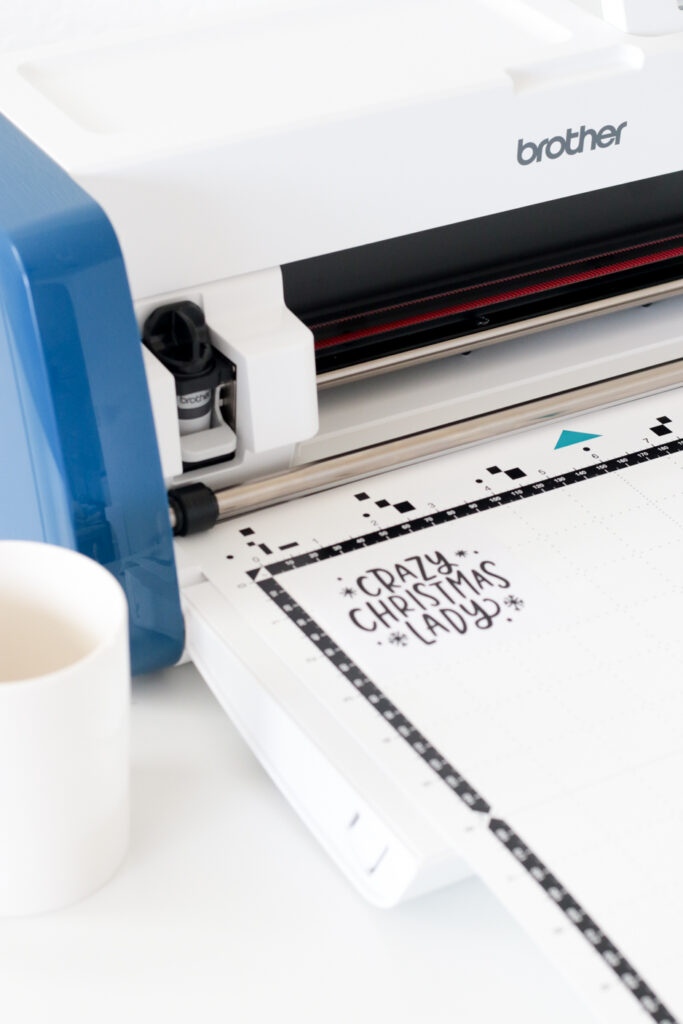
I absolutely love how easy it is to create any DIY project with the ScanNCut. You can use any image or you can draw, handletter your own design and scan it. I am sharing a little bit of the quick process so you can see how easy it is to create your own mug using vinyl.
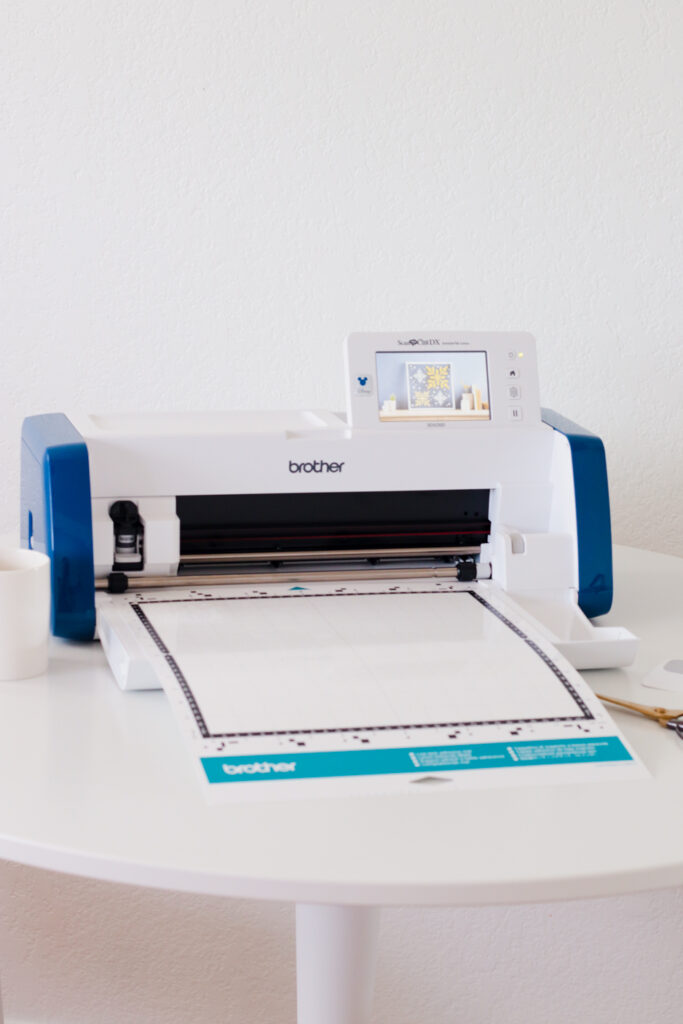
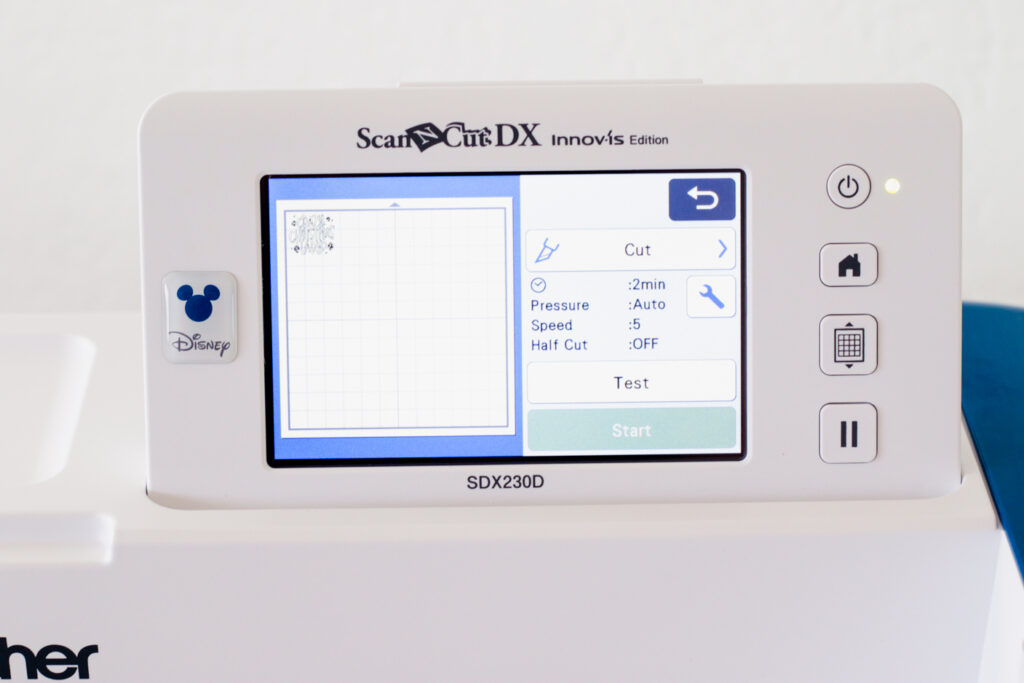
First, I scanned my image and placed it on the mat. I re-sized my image to 2.5 x 2.5 to fit my mug. After scanning it, I saved my design to my cutting machine.
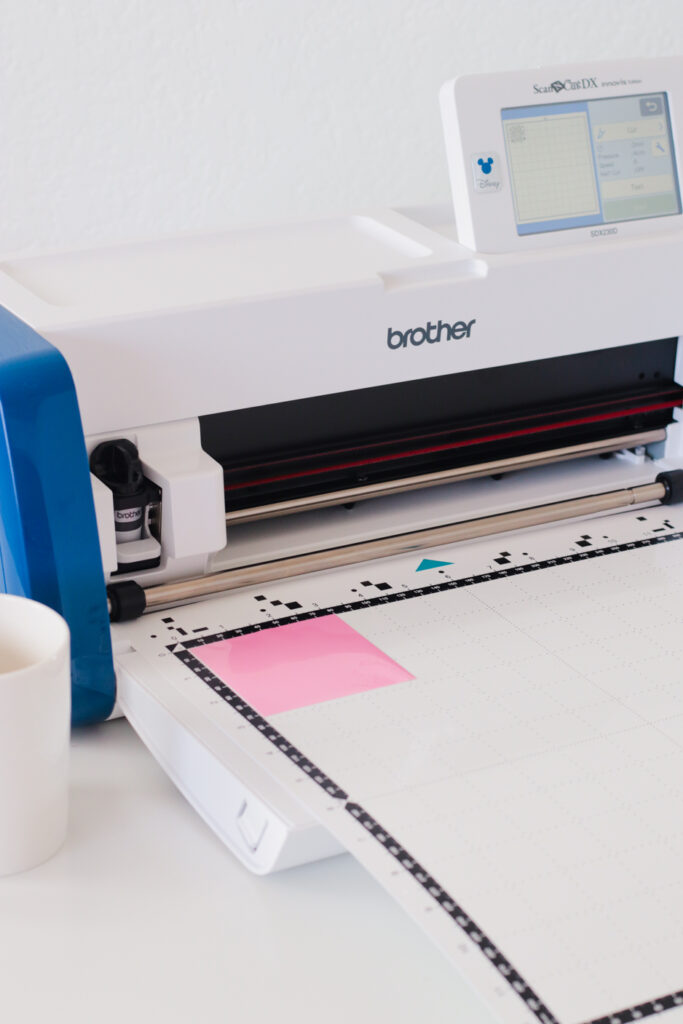
I then cut a piece of vinyl to fit my design, placed it on the mat and selected cut.
Once my design was cut, I used a piece of contact paper and placed the sticky part on top of my design. Using the contact paper makes it easy for you to transfer it to your mug.
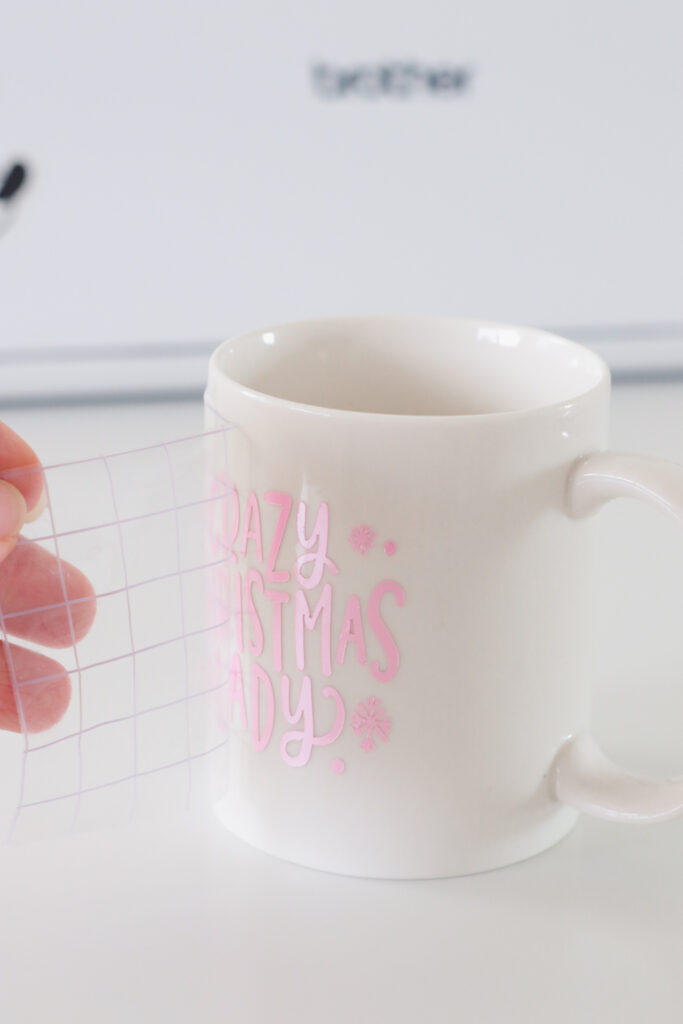
Ta-da, a darling holiday mug in no time. Doesn’t it make the perfect holiday gift to someone who absolutely loves Christmas?
I hope you enjoyed this DIY project with the ScanNCut, friends! I can’t wait to share my next project! I you would like to see anything in particular, please feel free to let me know!