This post is sponsored by Cricut. All opinions stated are my own.
Those days of creating mugs using vinyl that are not dishwasher and microwave safe are over because with the Cricut Mug Press, you can now create amazing mugs within minutes. The result is absolutely beautiful – smooth and shiny just like any mug you buy at a store.
I love collecting mugs so the Cricut Mug Press is my newest favorite toy hands down.
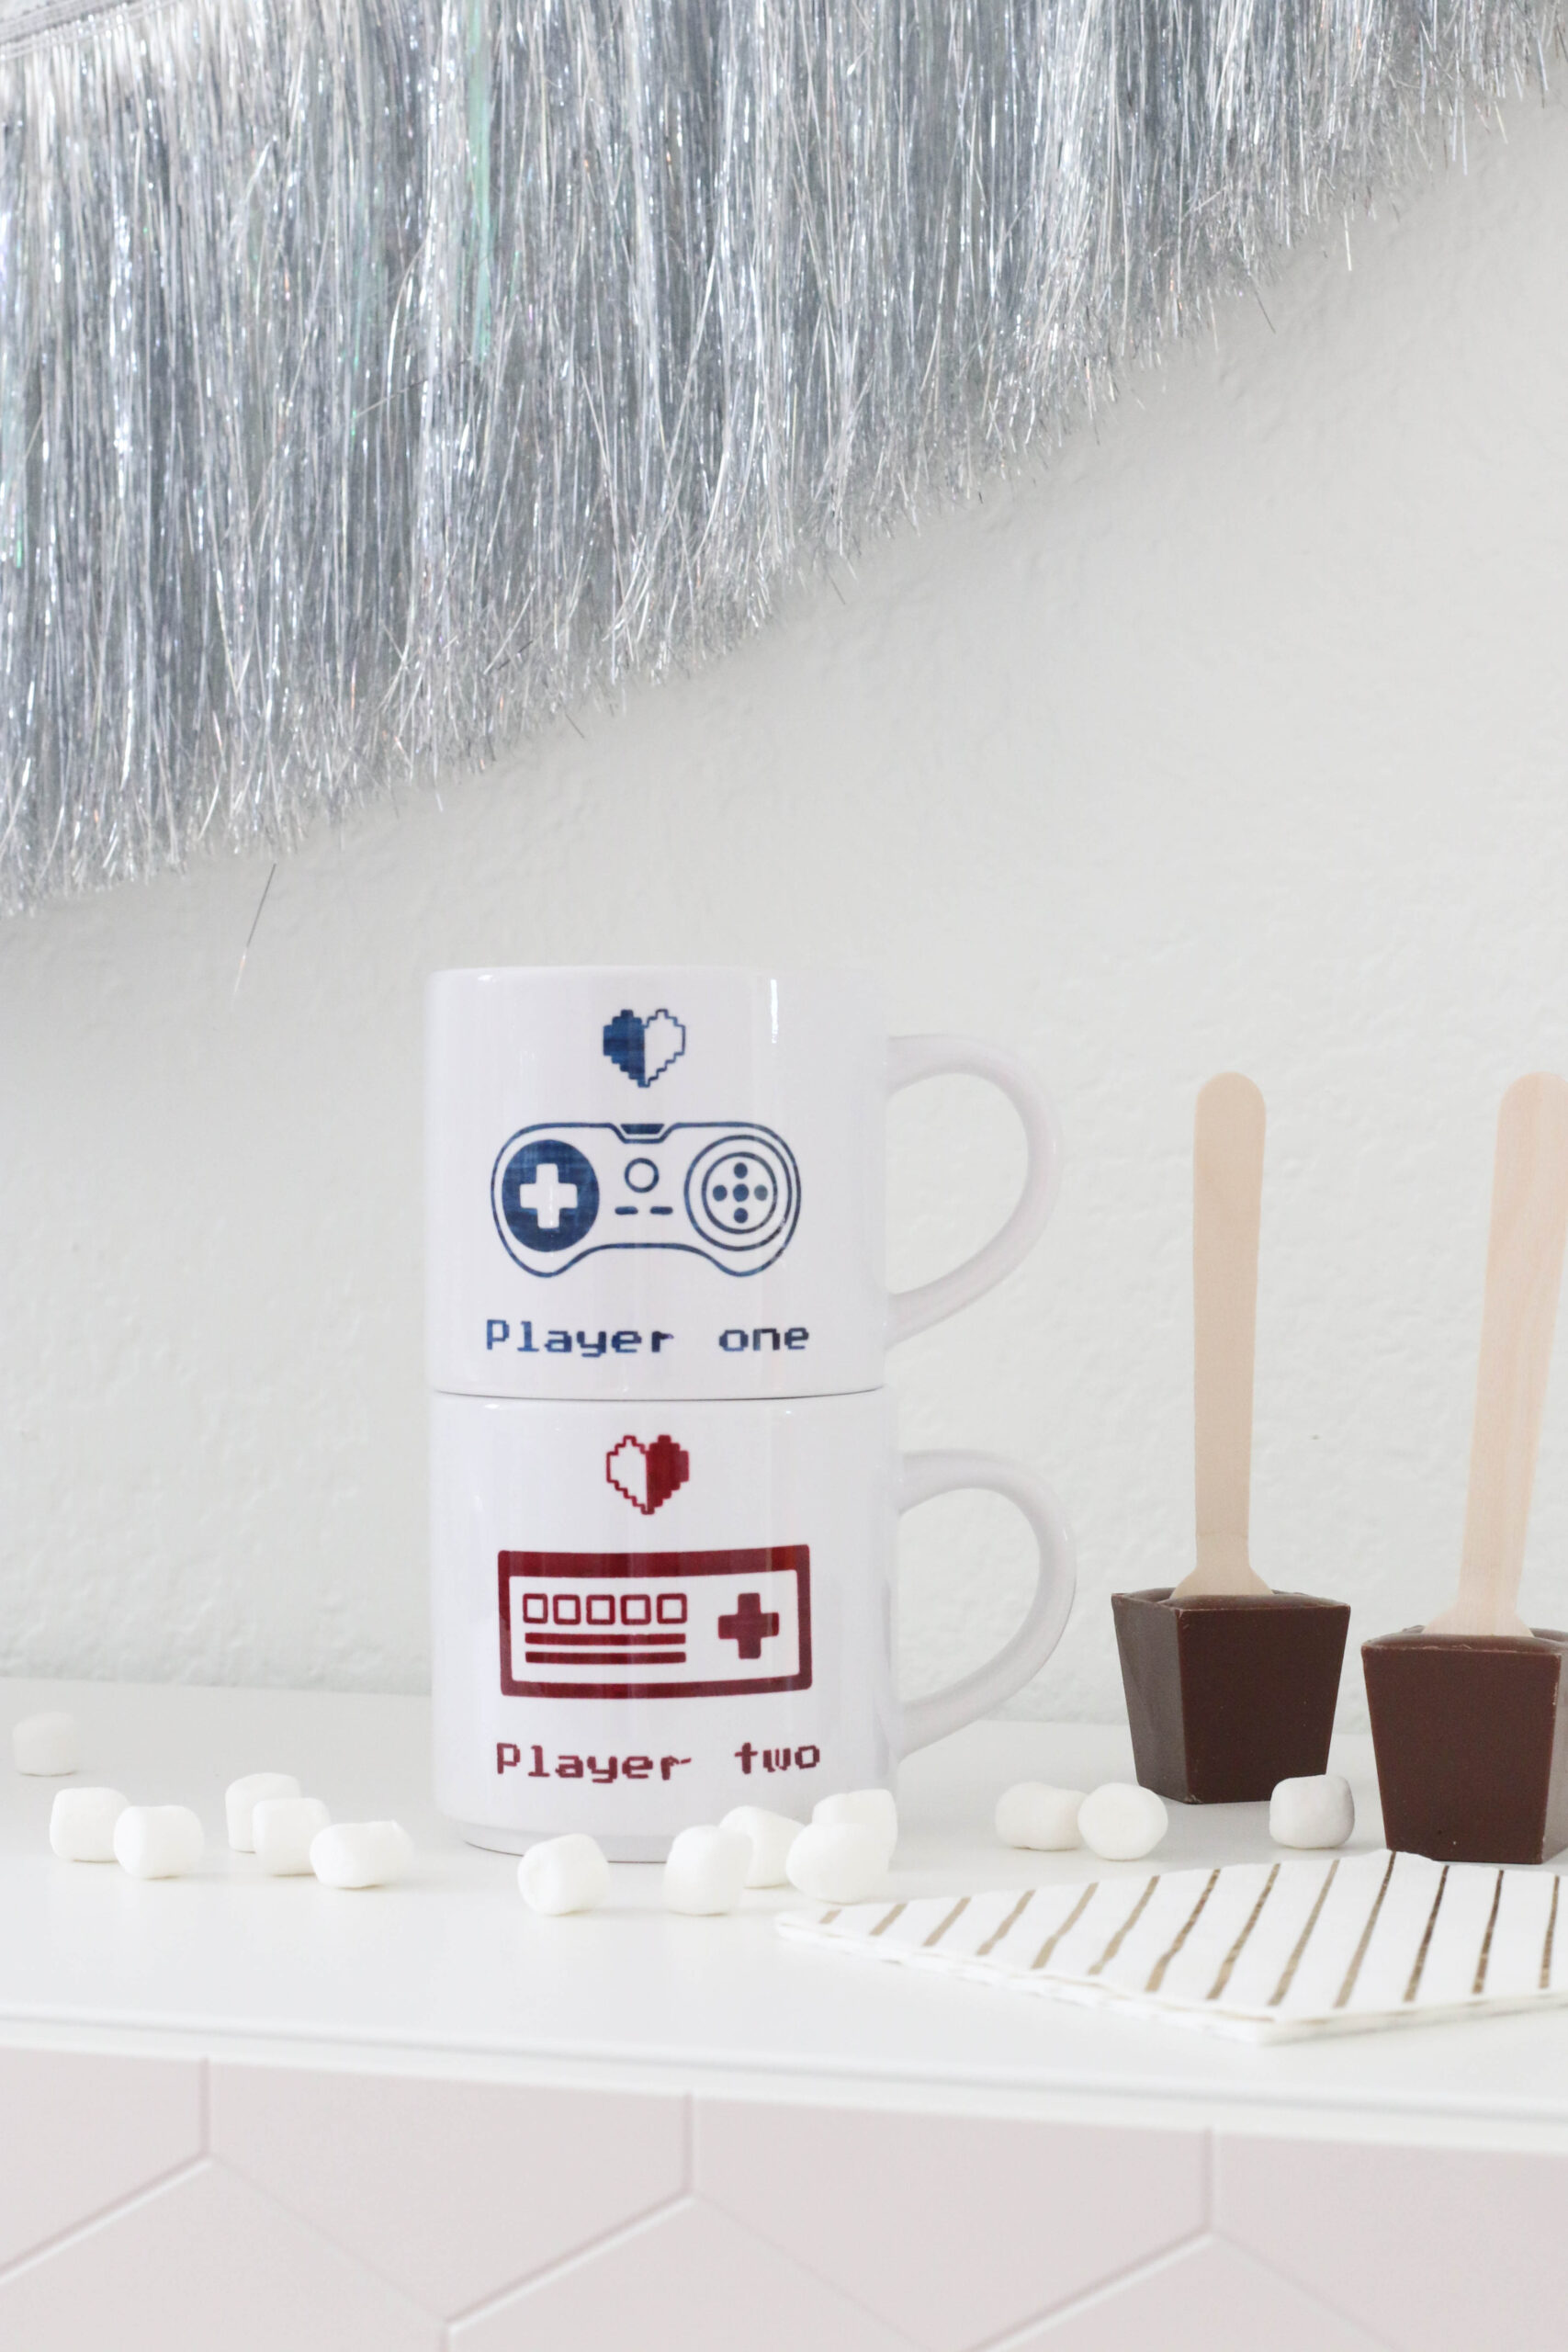
I created stacked mugs for my kids who love playing games and drinking hot cocoa. They were so excited about these DIY gifts and couldn’t believe I had made them at home.
What do you need to create mugs using the Cricut Mug Press?
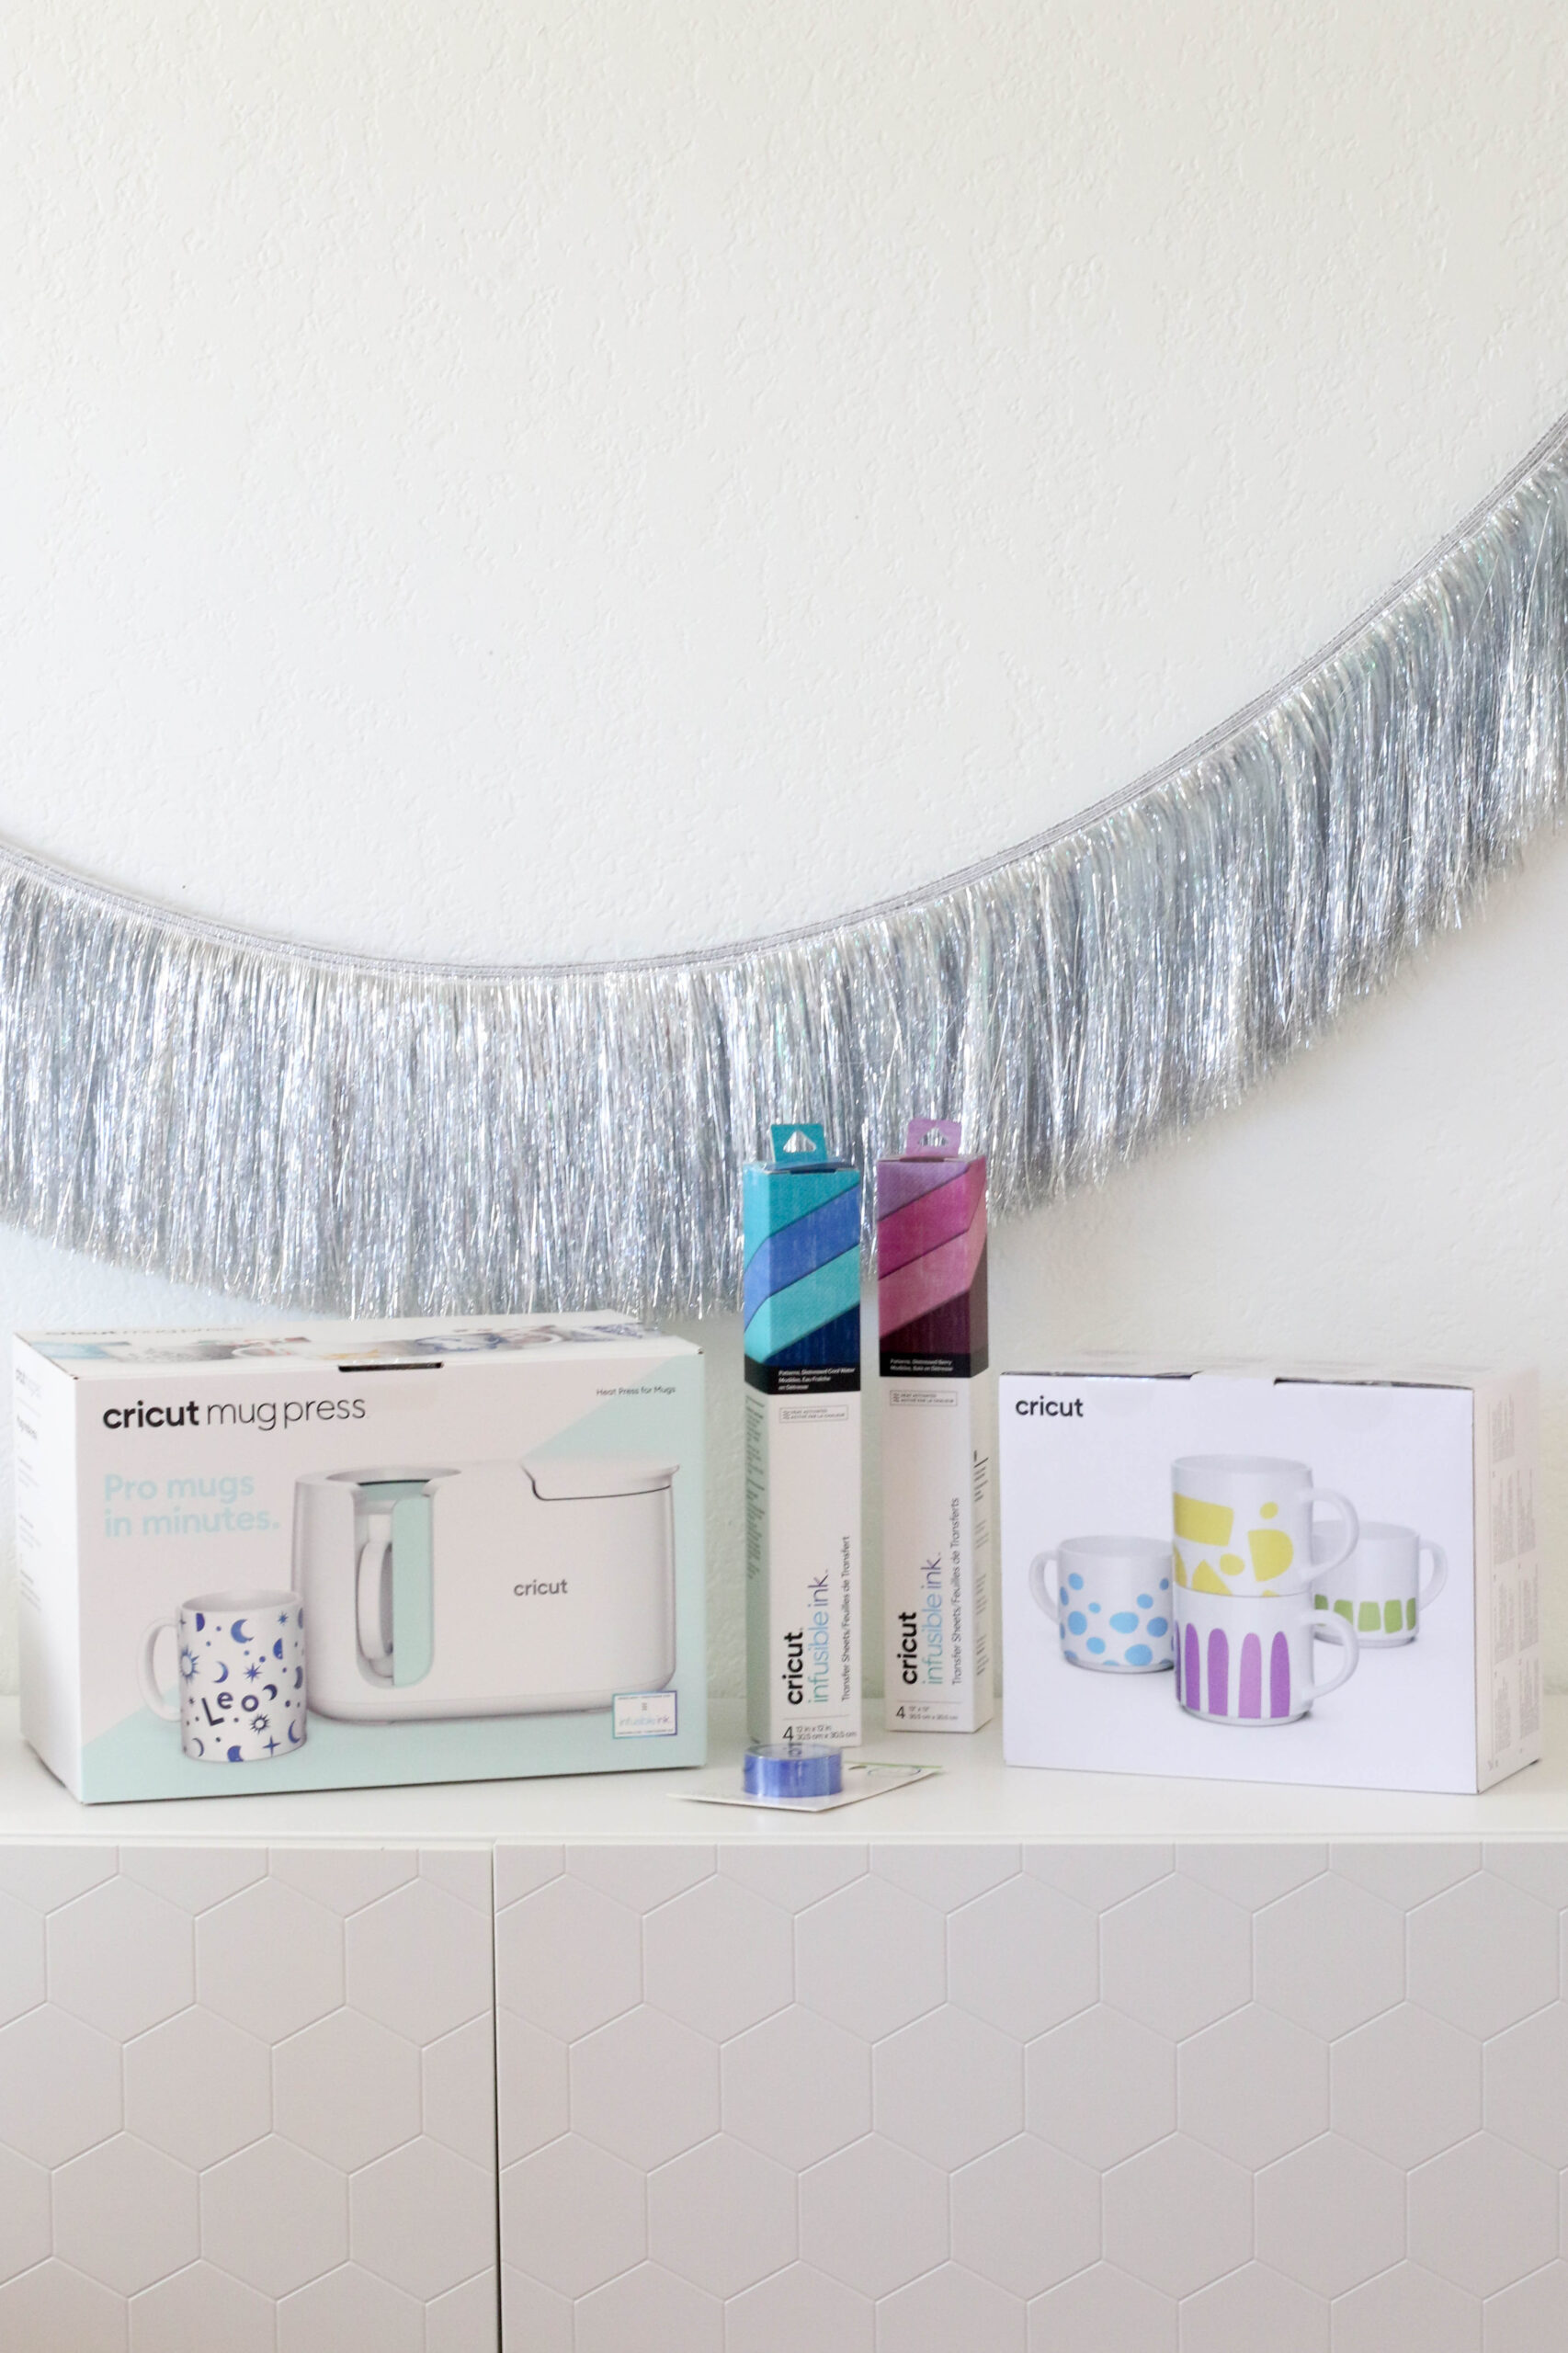
To create your own mugs using The Cricut Mug Press you will need:
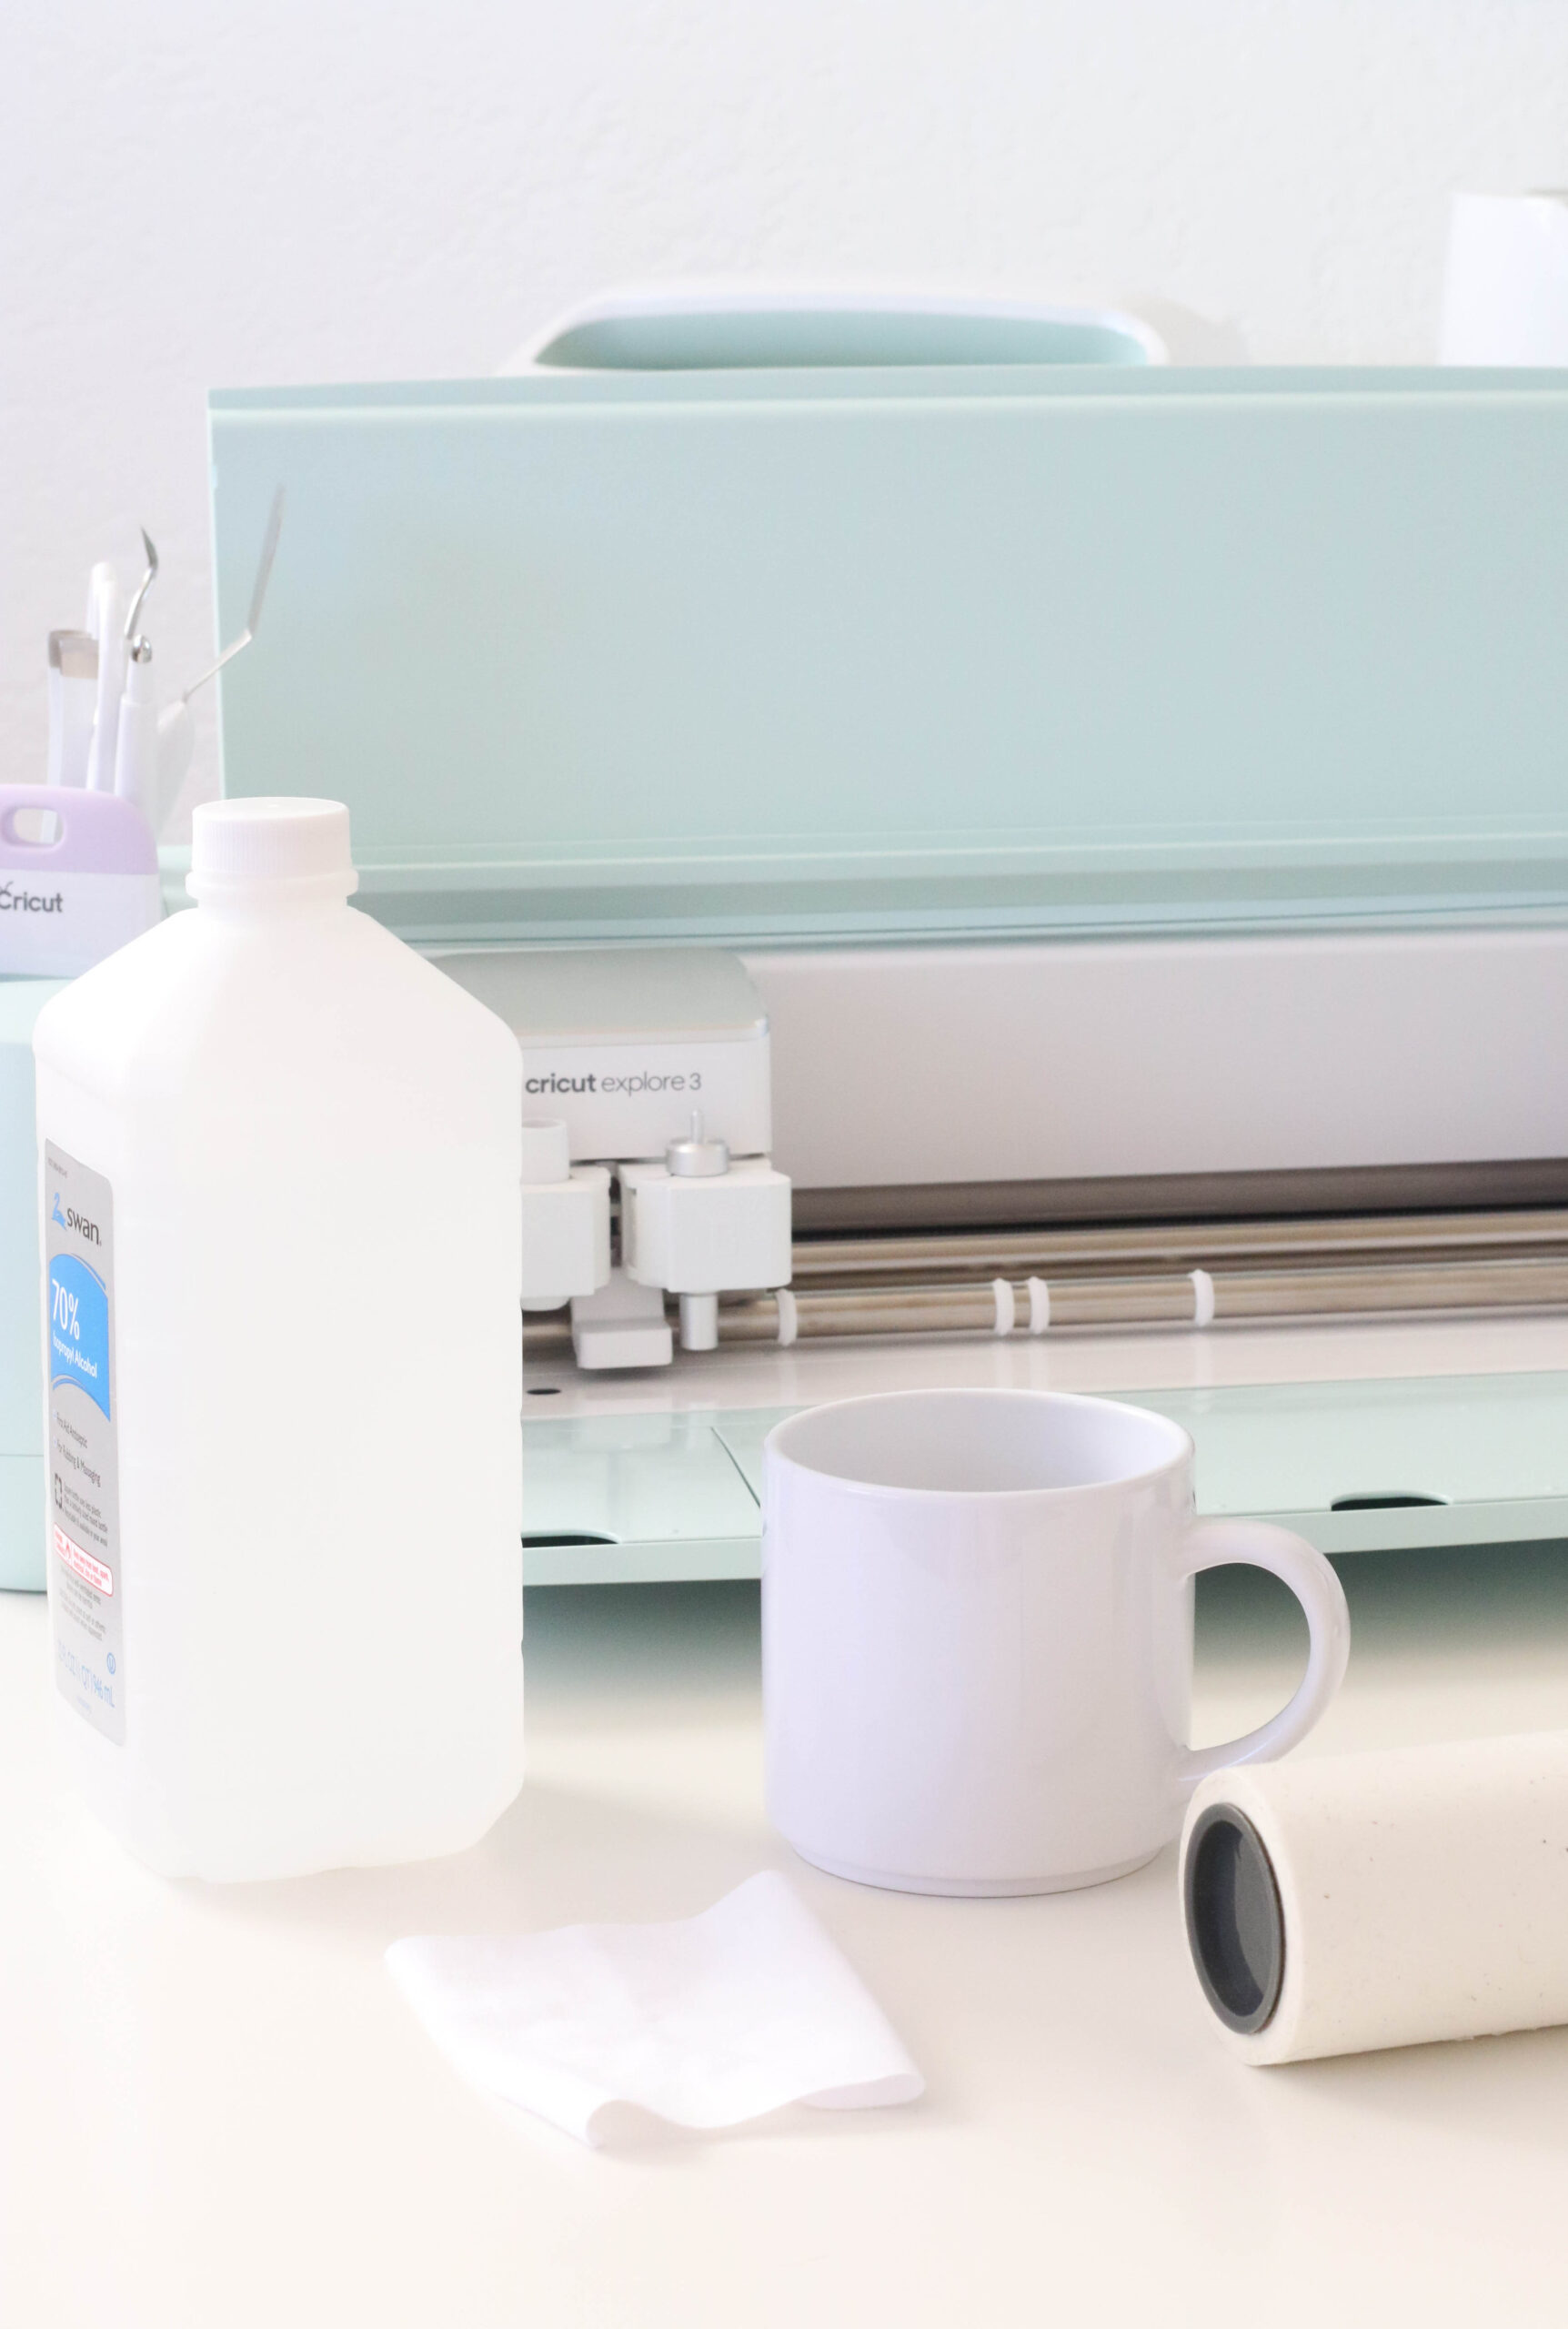
- Cricut Cutting Machine
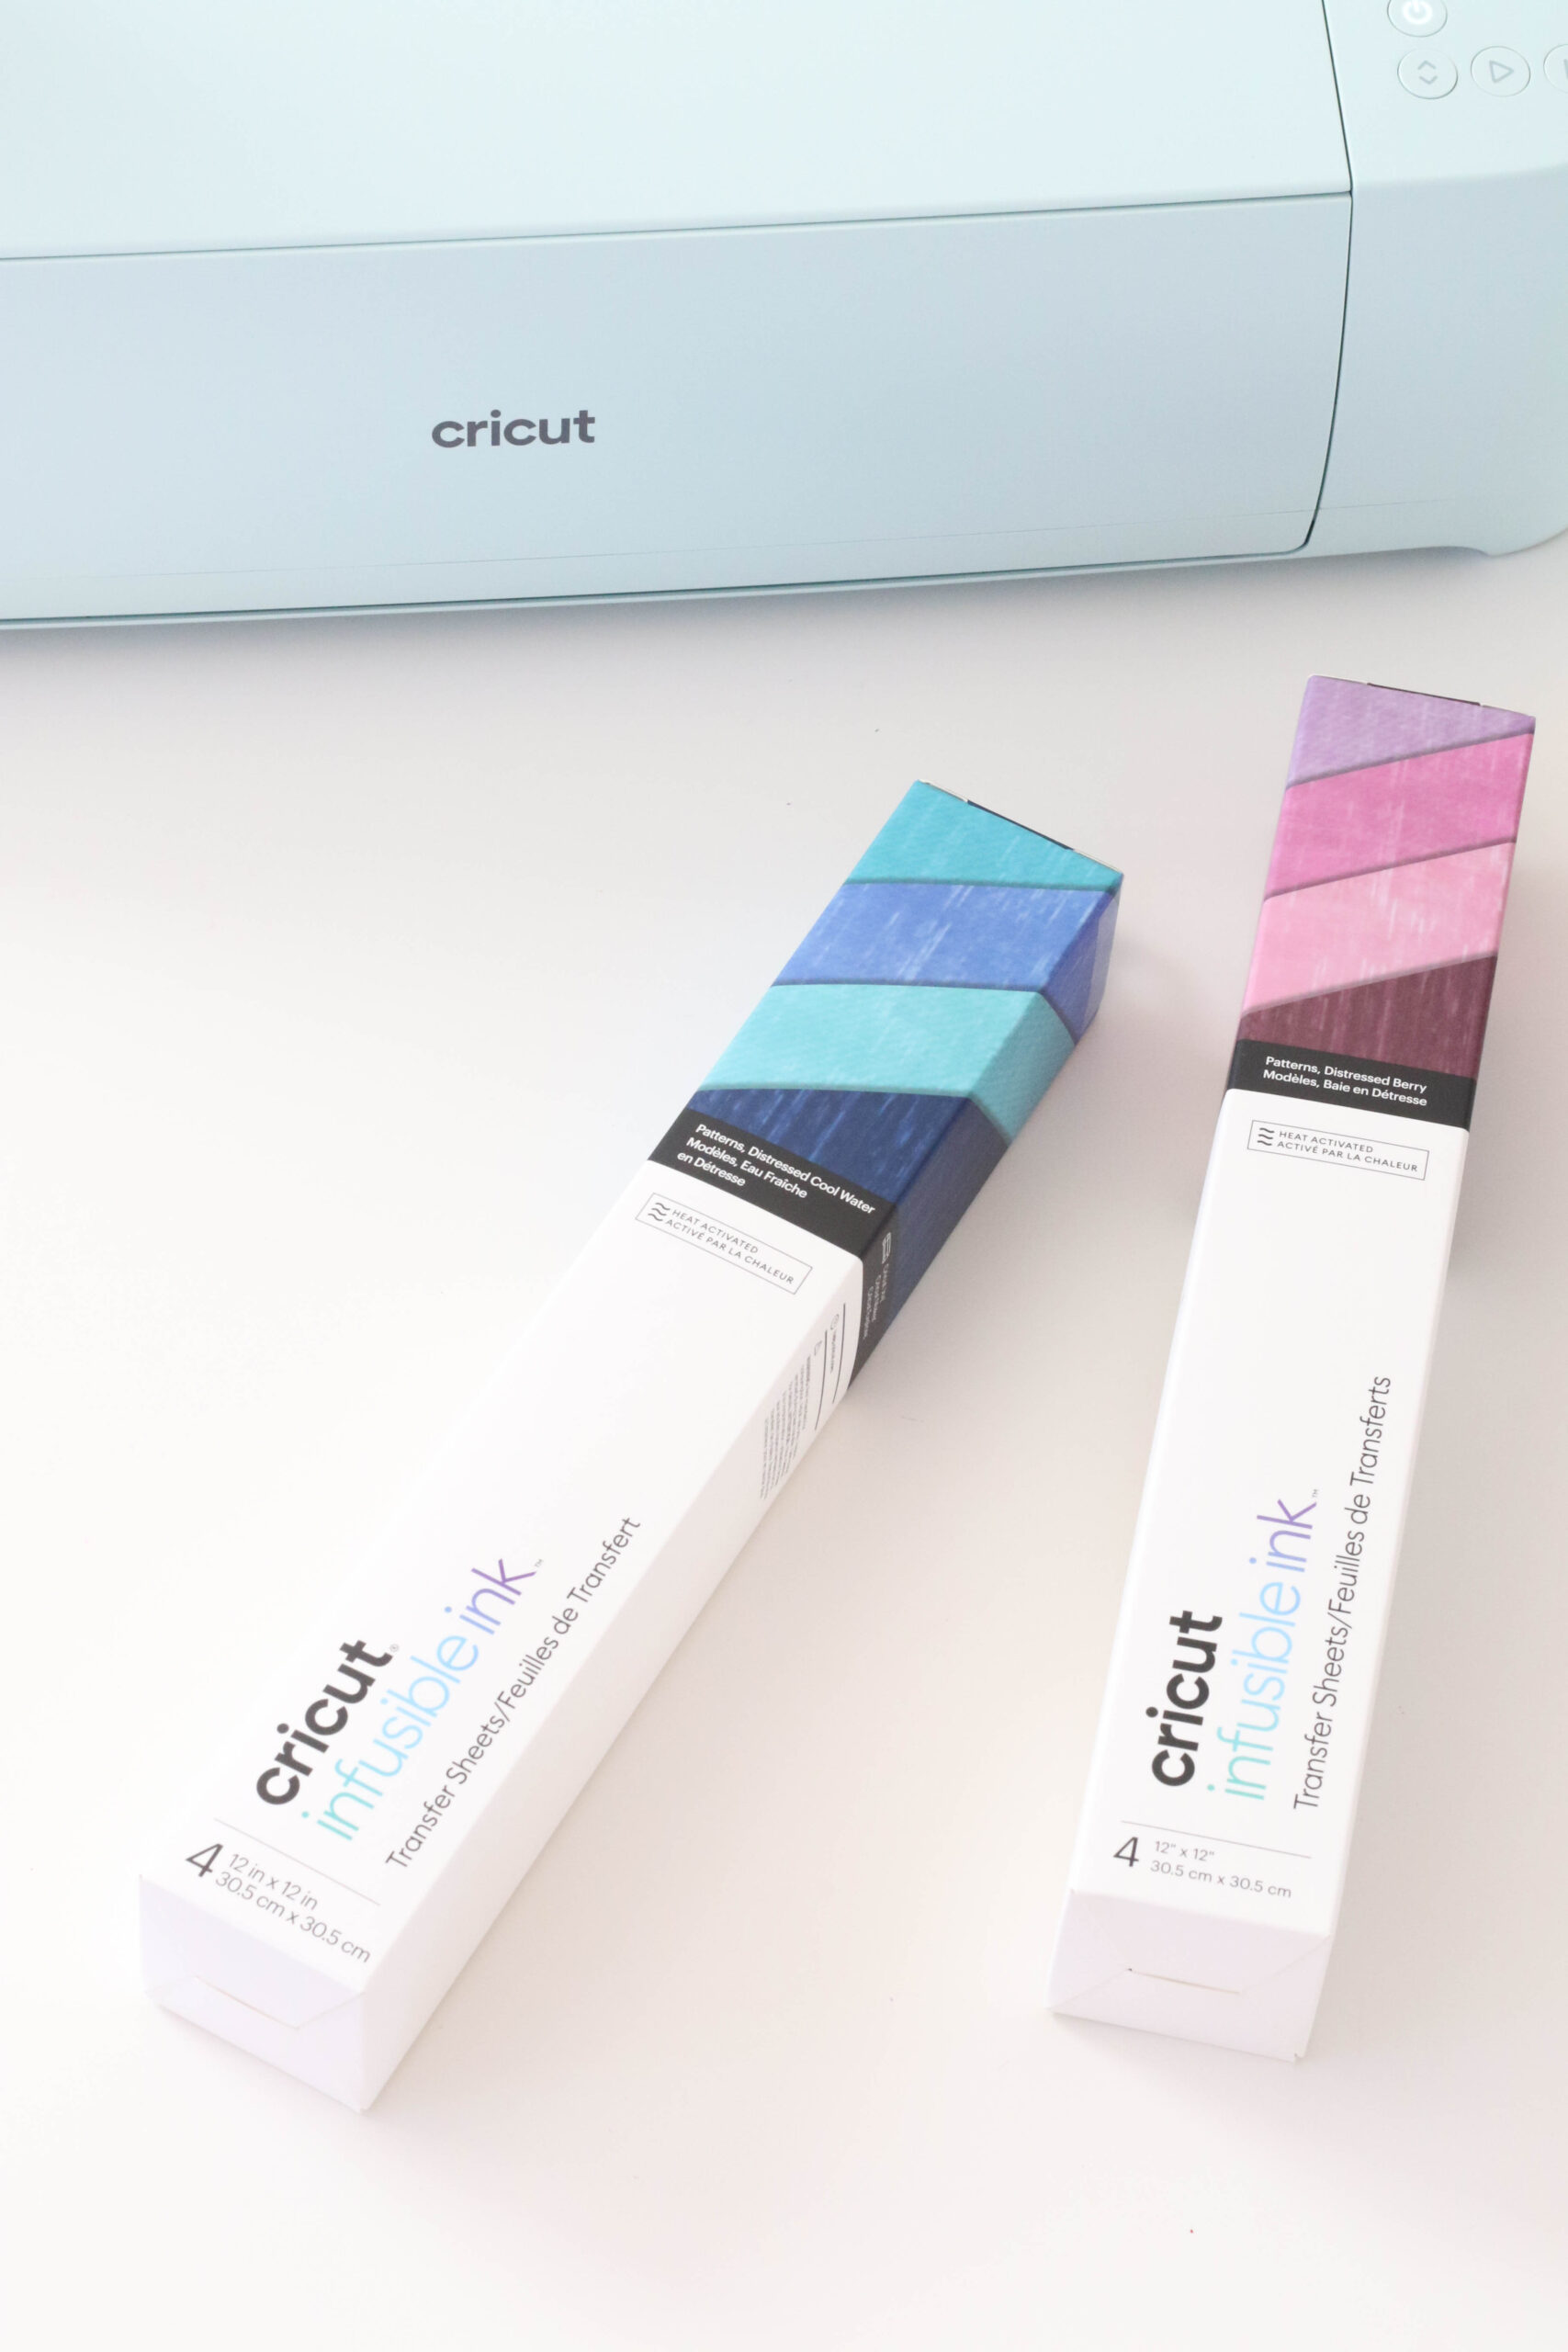
- Infusible Ink Transfer Sheet
- StandardGrip Cricut Mat
- Brayer (optional but very helpful tool)
- Lint roller
- Heat-resistant tape
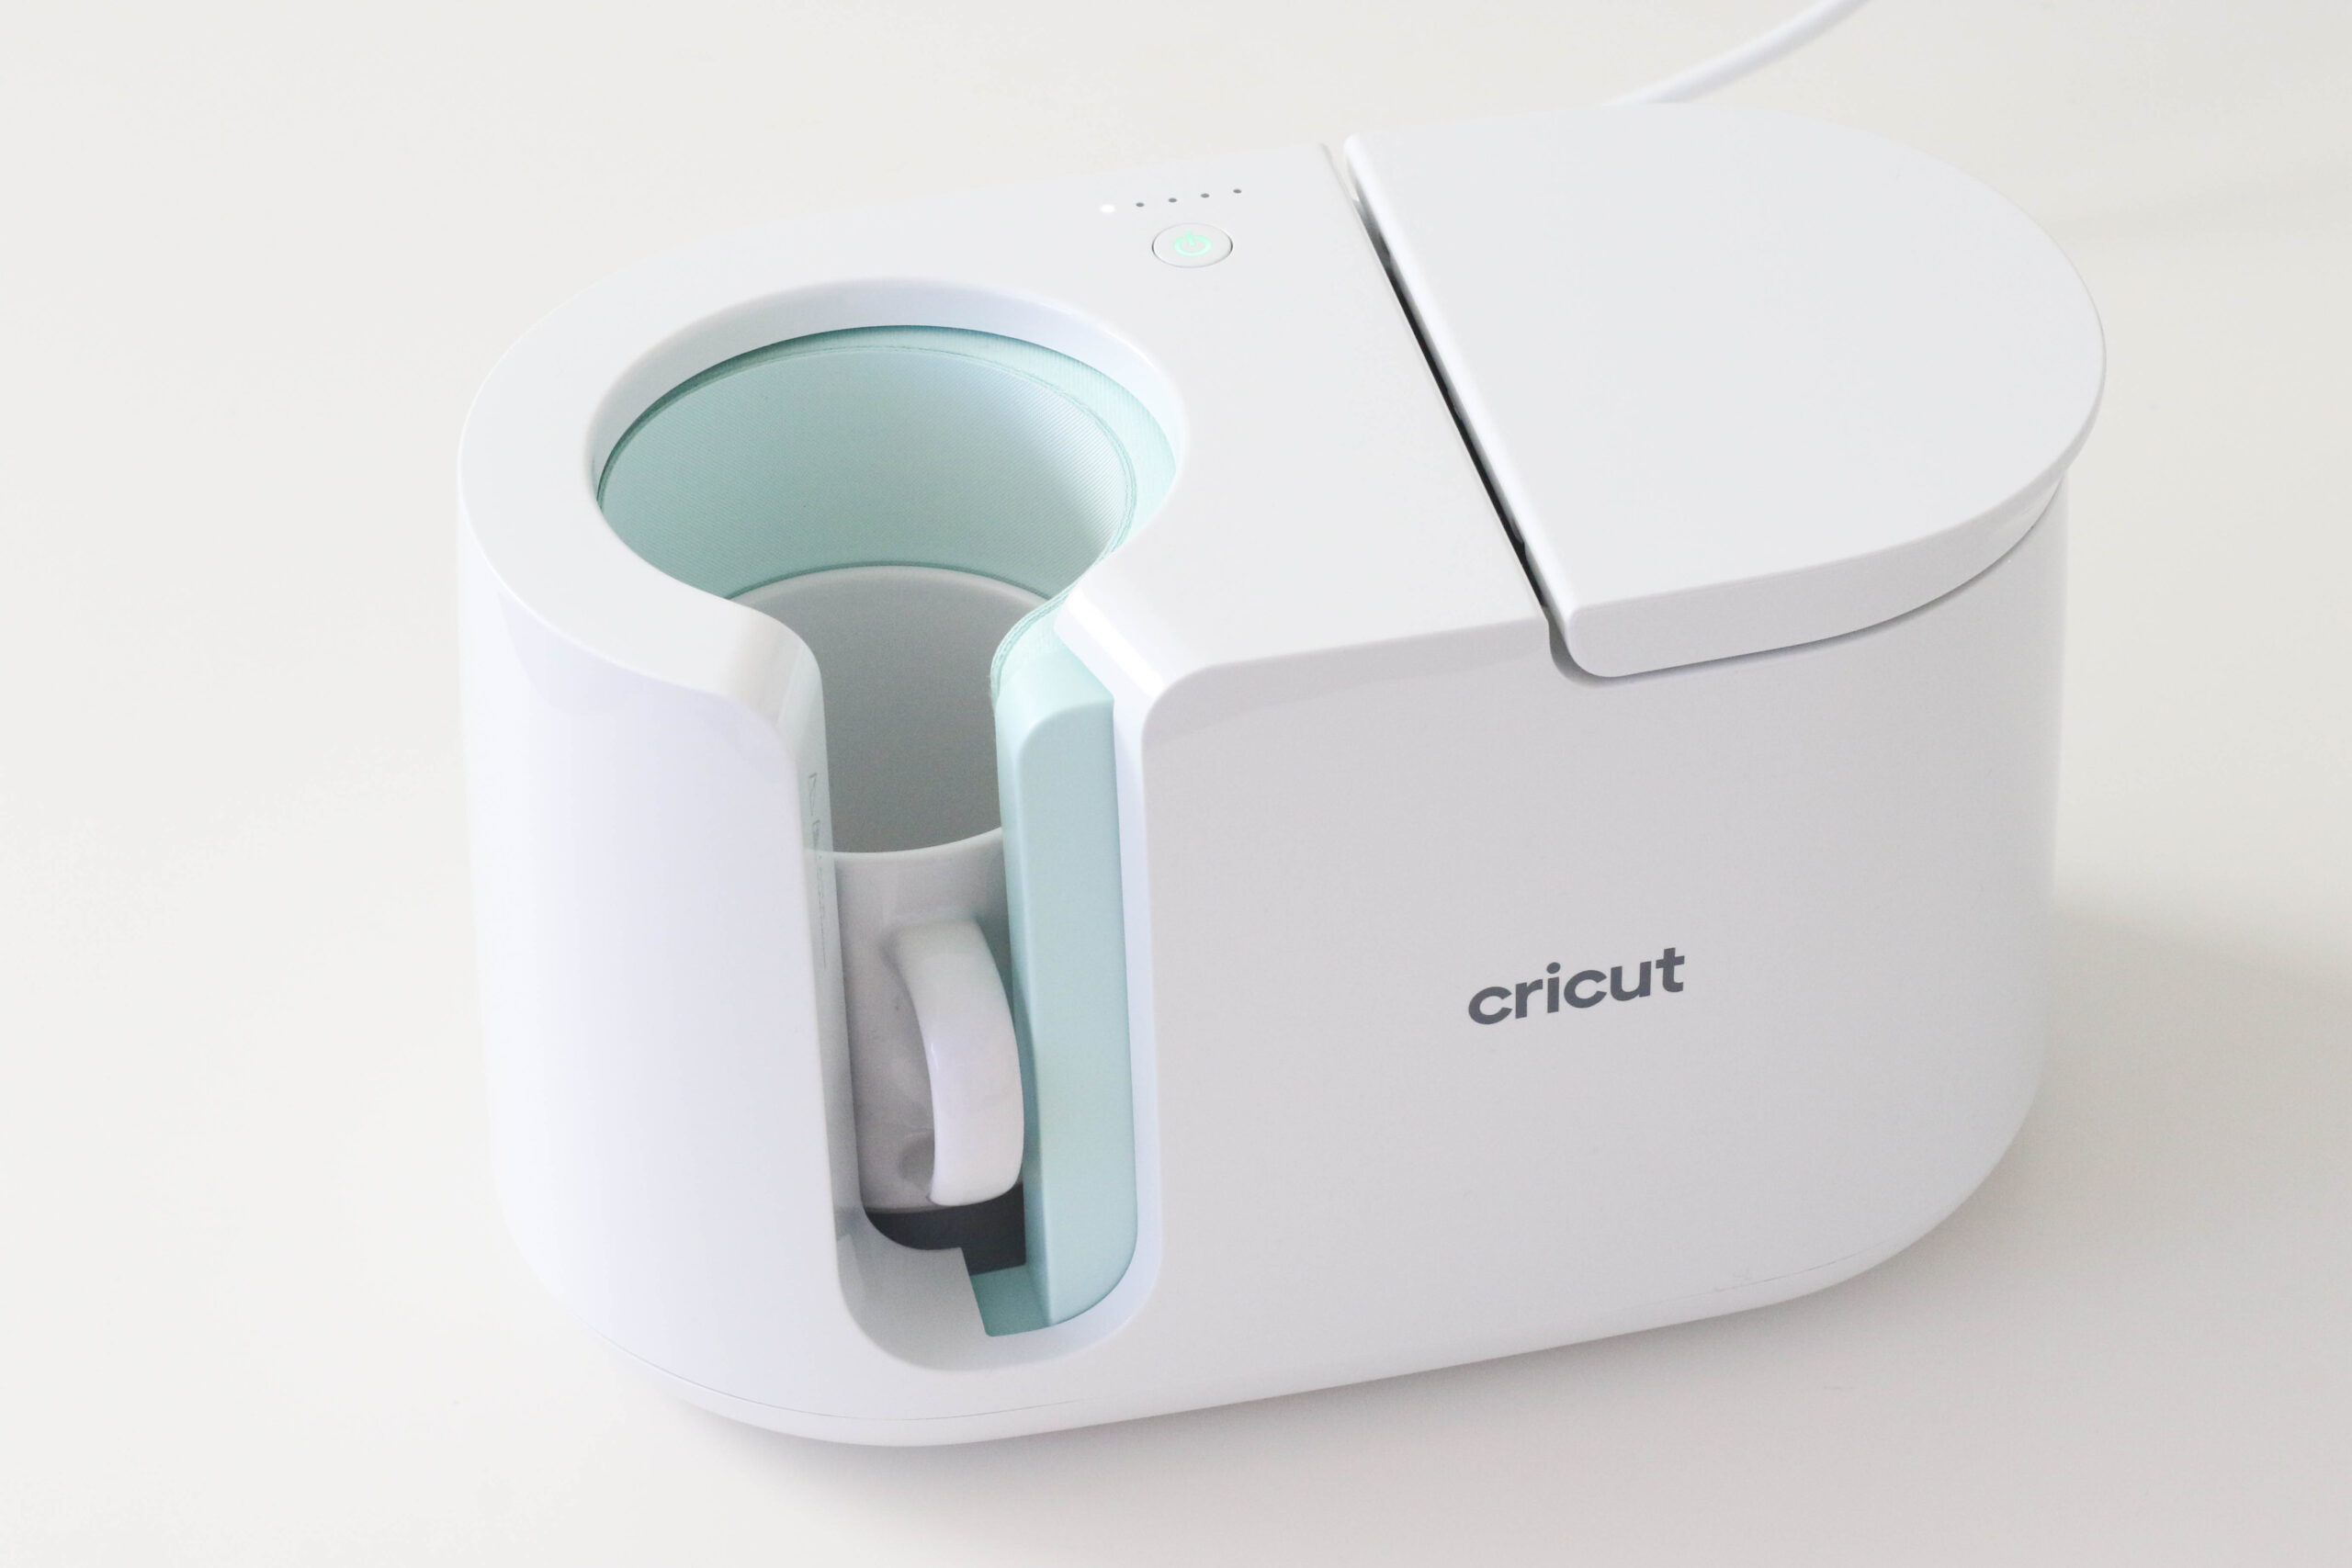
- Cricut Mug Press
- Cricut EasyPress Mat
How do you cut your design?
I logged in into my Cricut Design Space account to cut my design using my Cricut Explorer 3.
Click Make It in the upper right and make sure you click Mirror to reverse your image. It’s important to mirror your design or your image will be backward on your mug. Now click Continue and set your material to Infusible Ink Transfer Sheets. Place your Infusible Ink transfer sheet on a Cricut mat, with the color side up. You can use a brayer to get the transfer sheet flat on the mat if you wish.
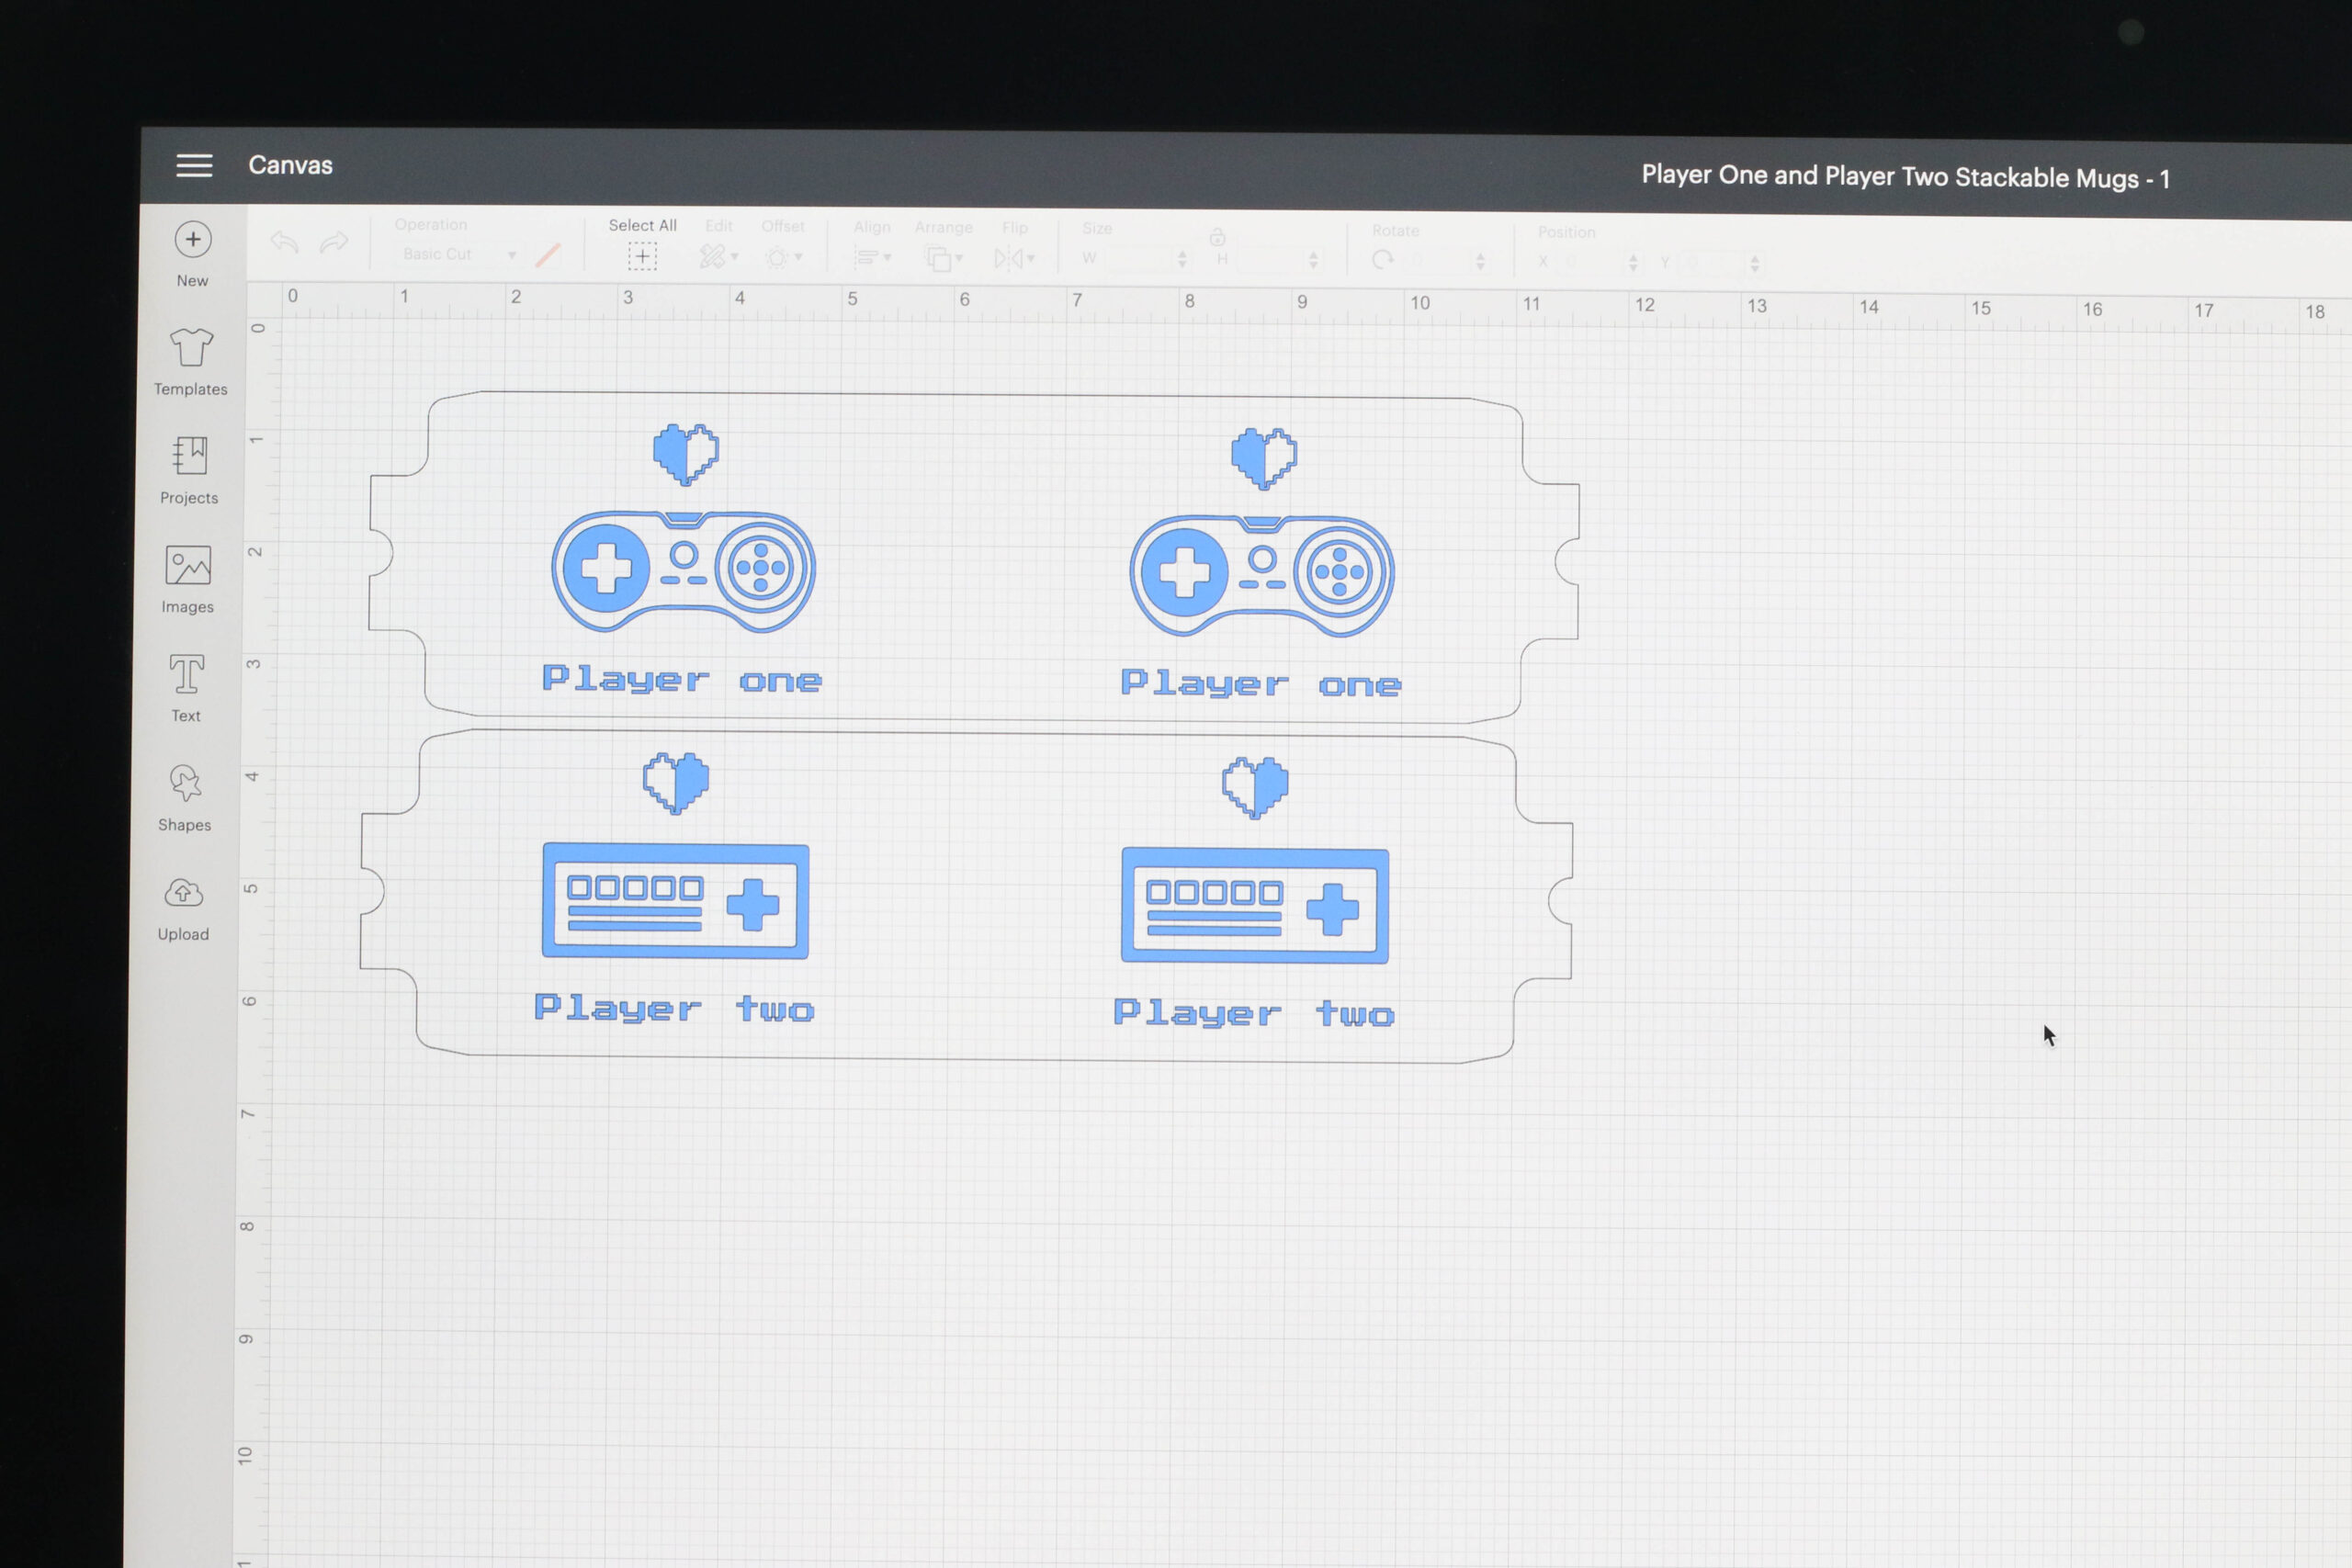
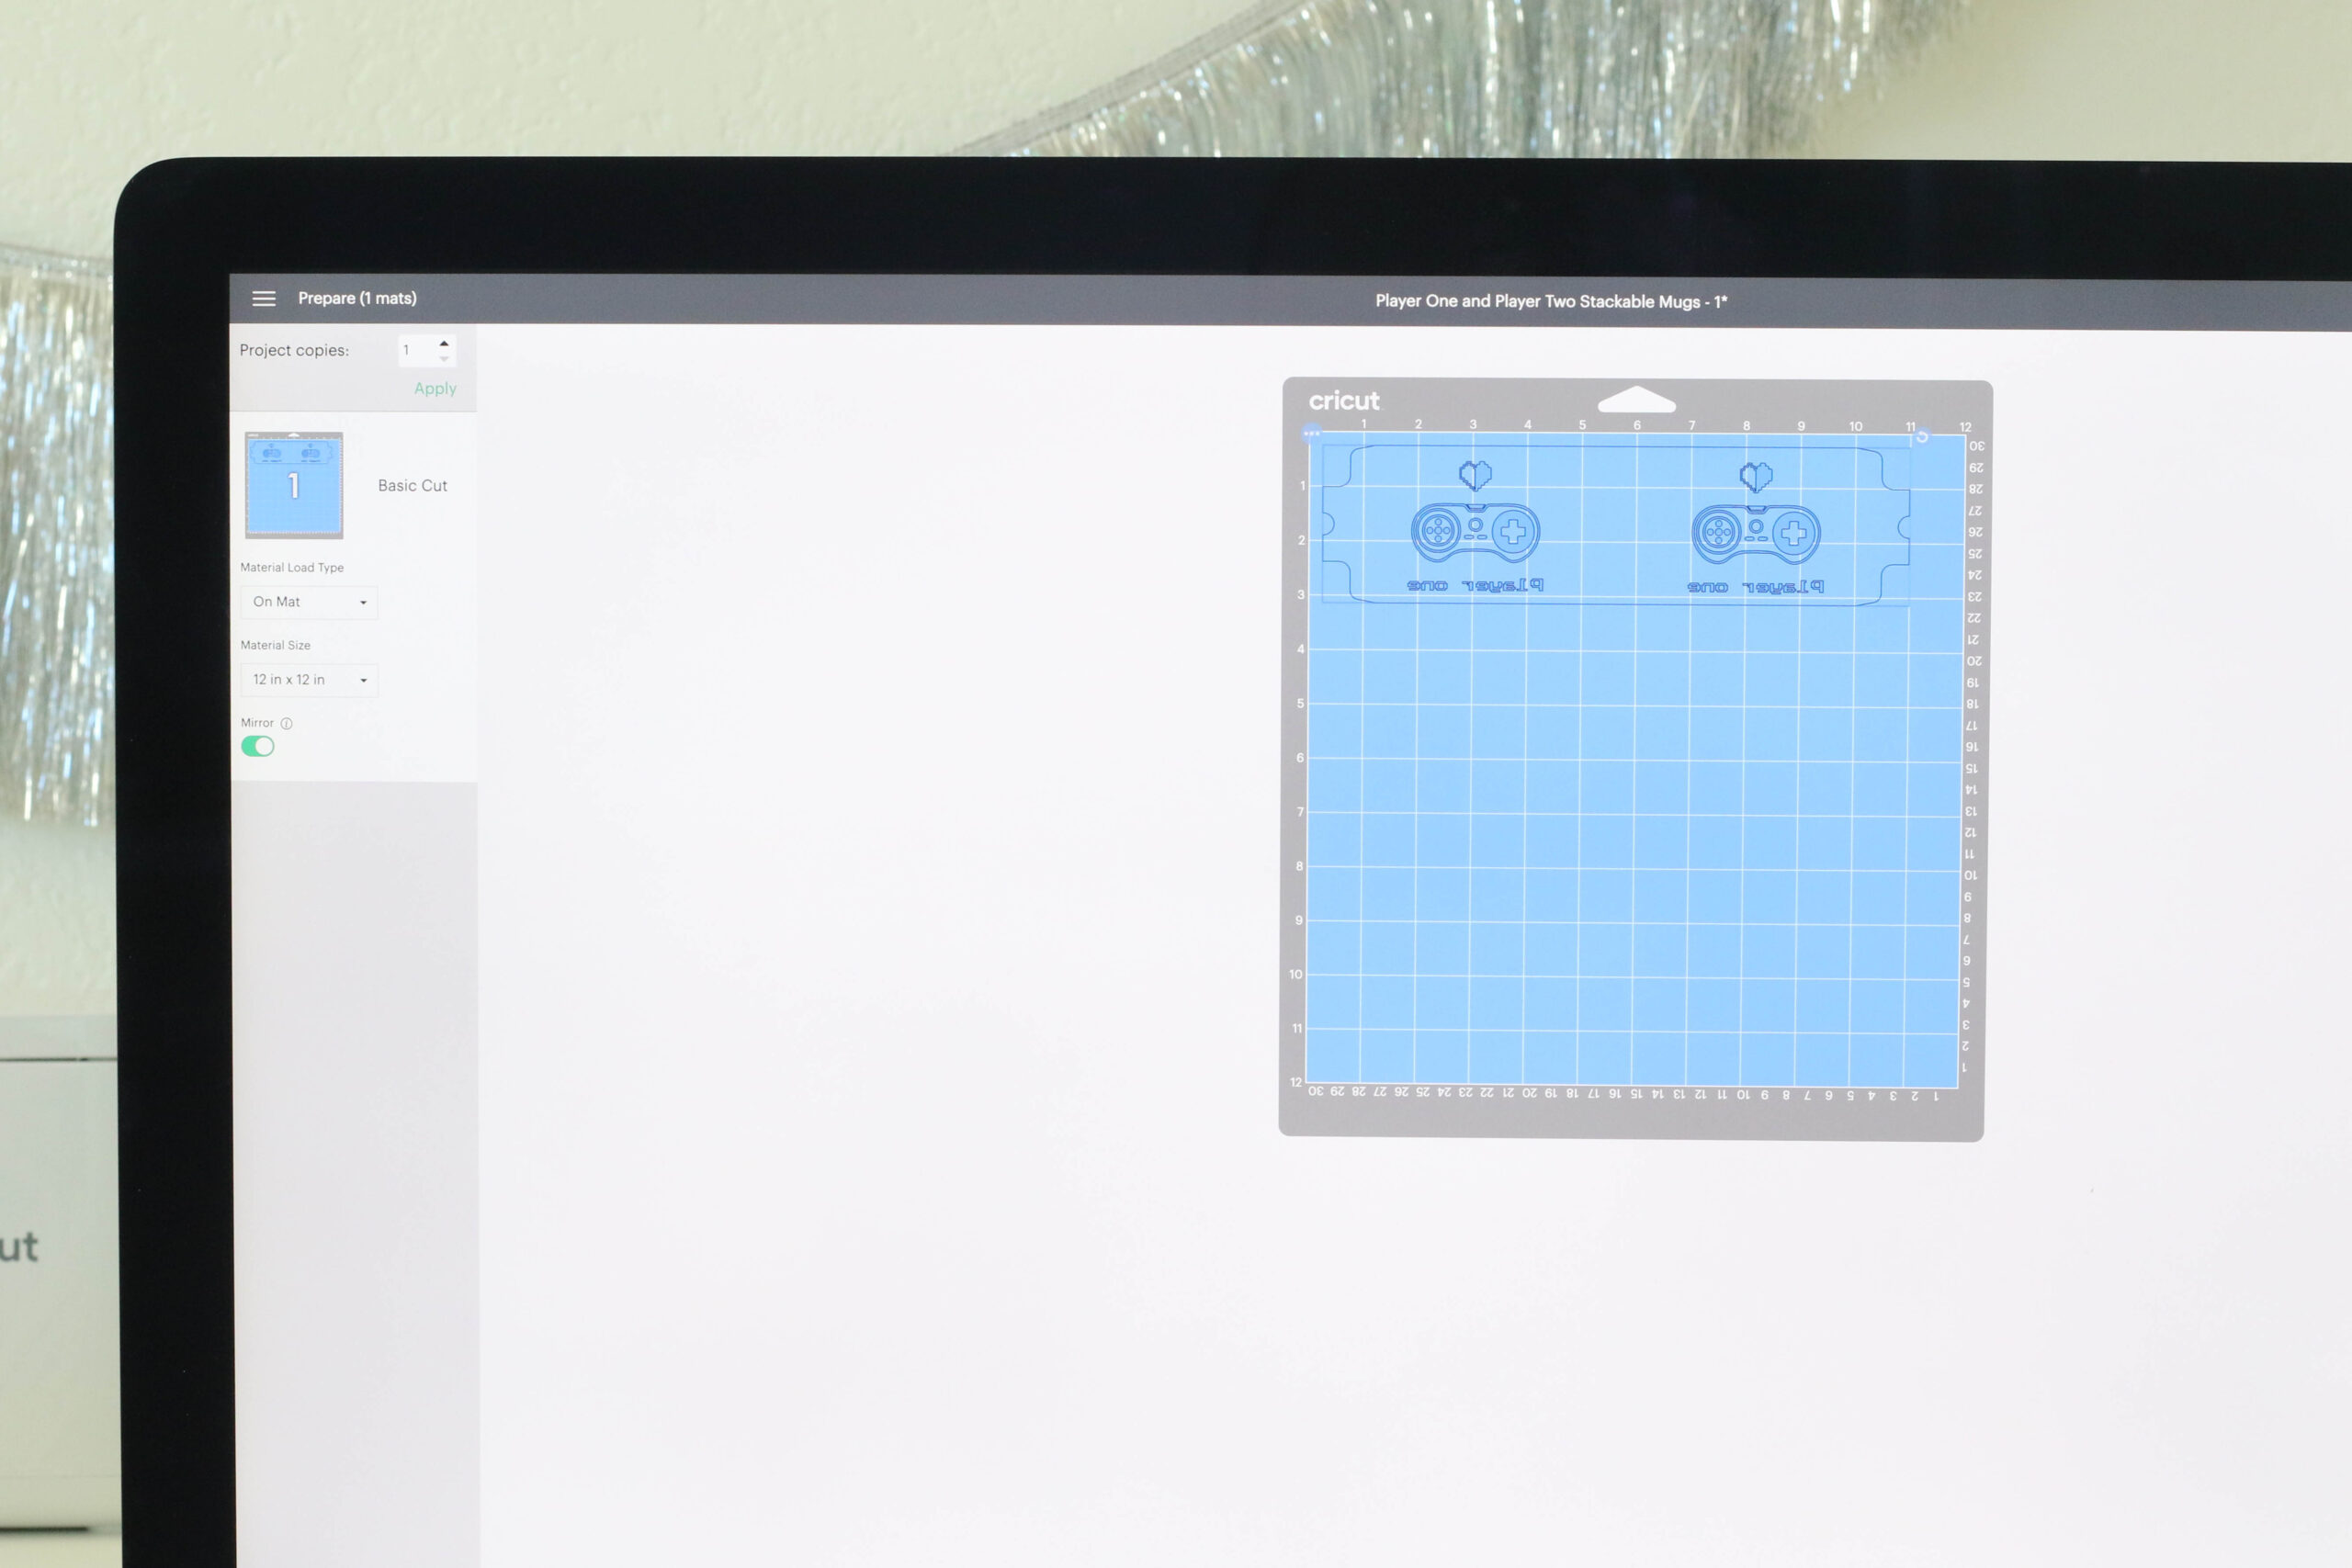
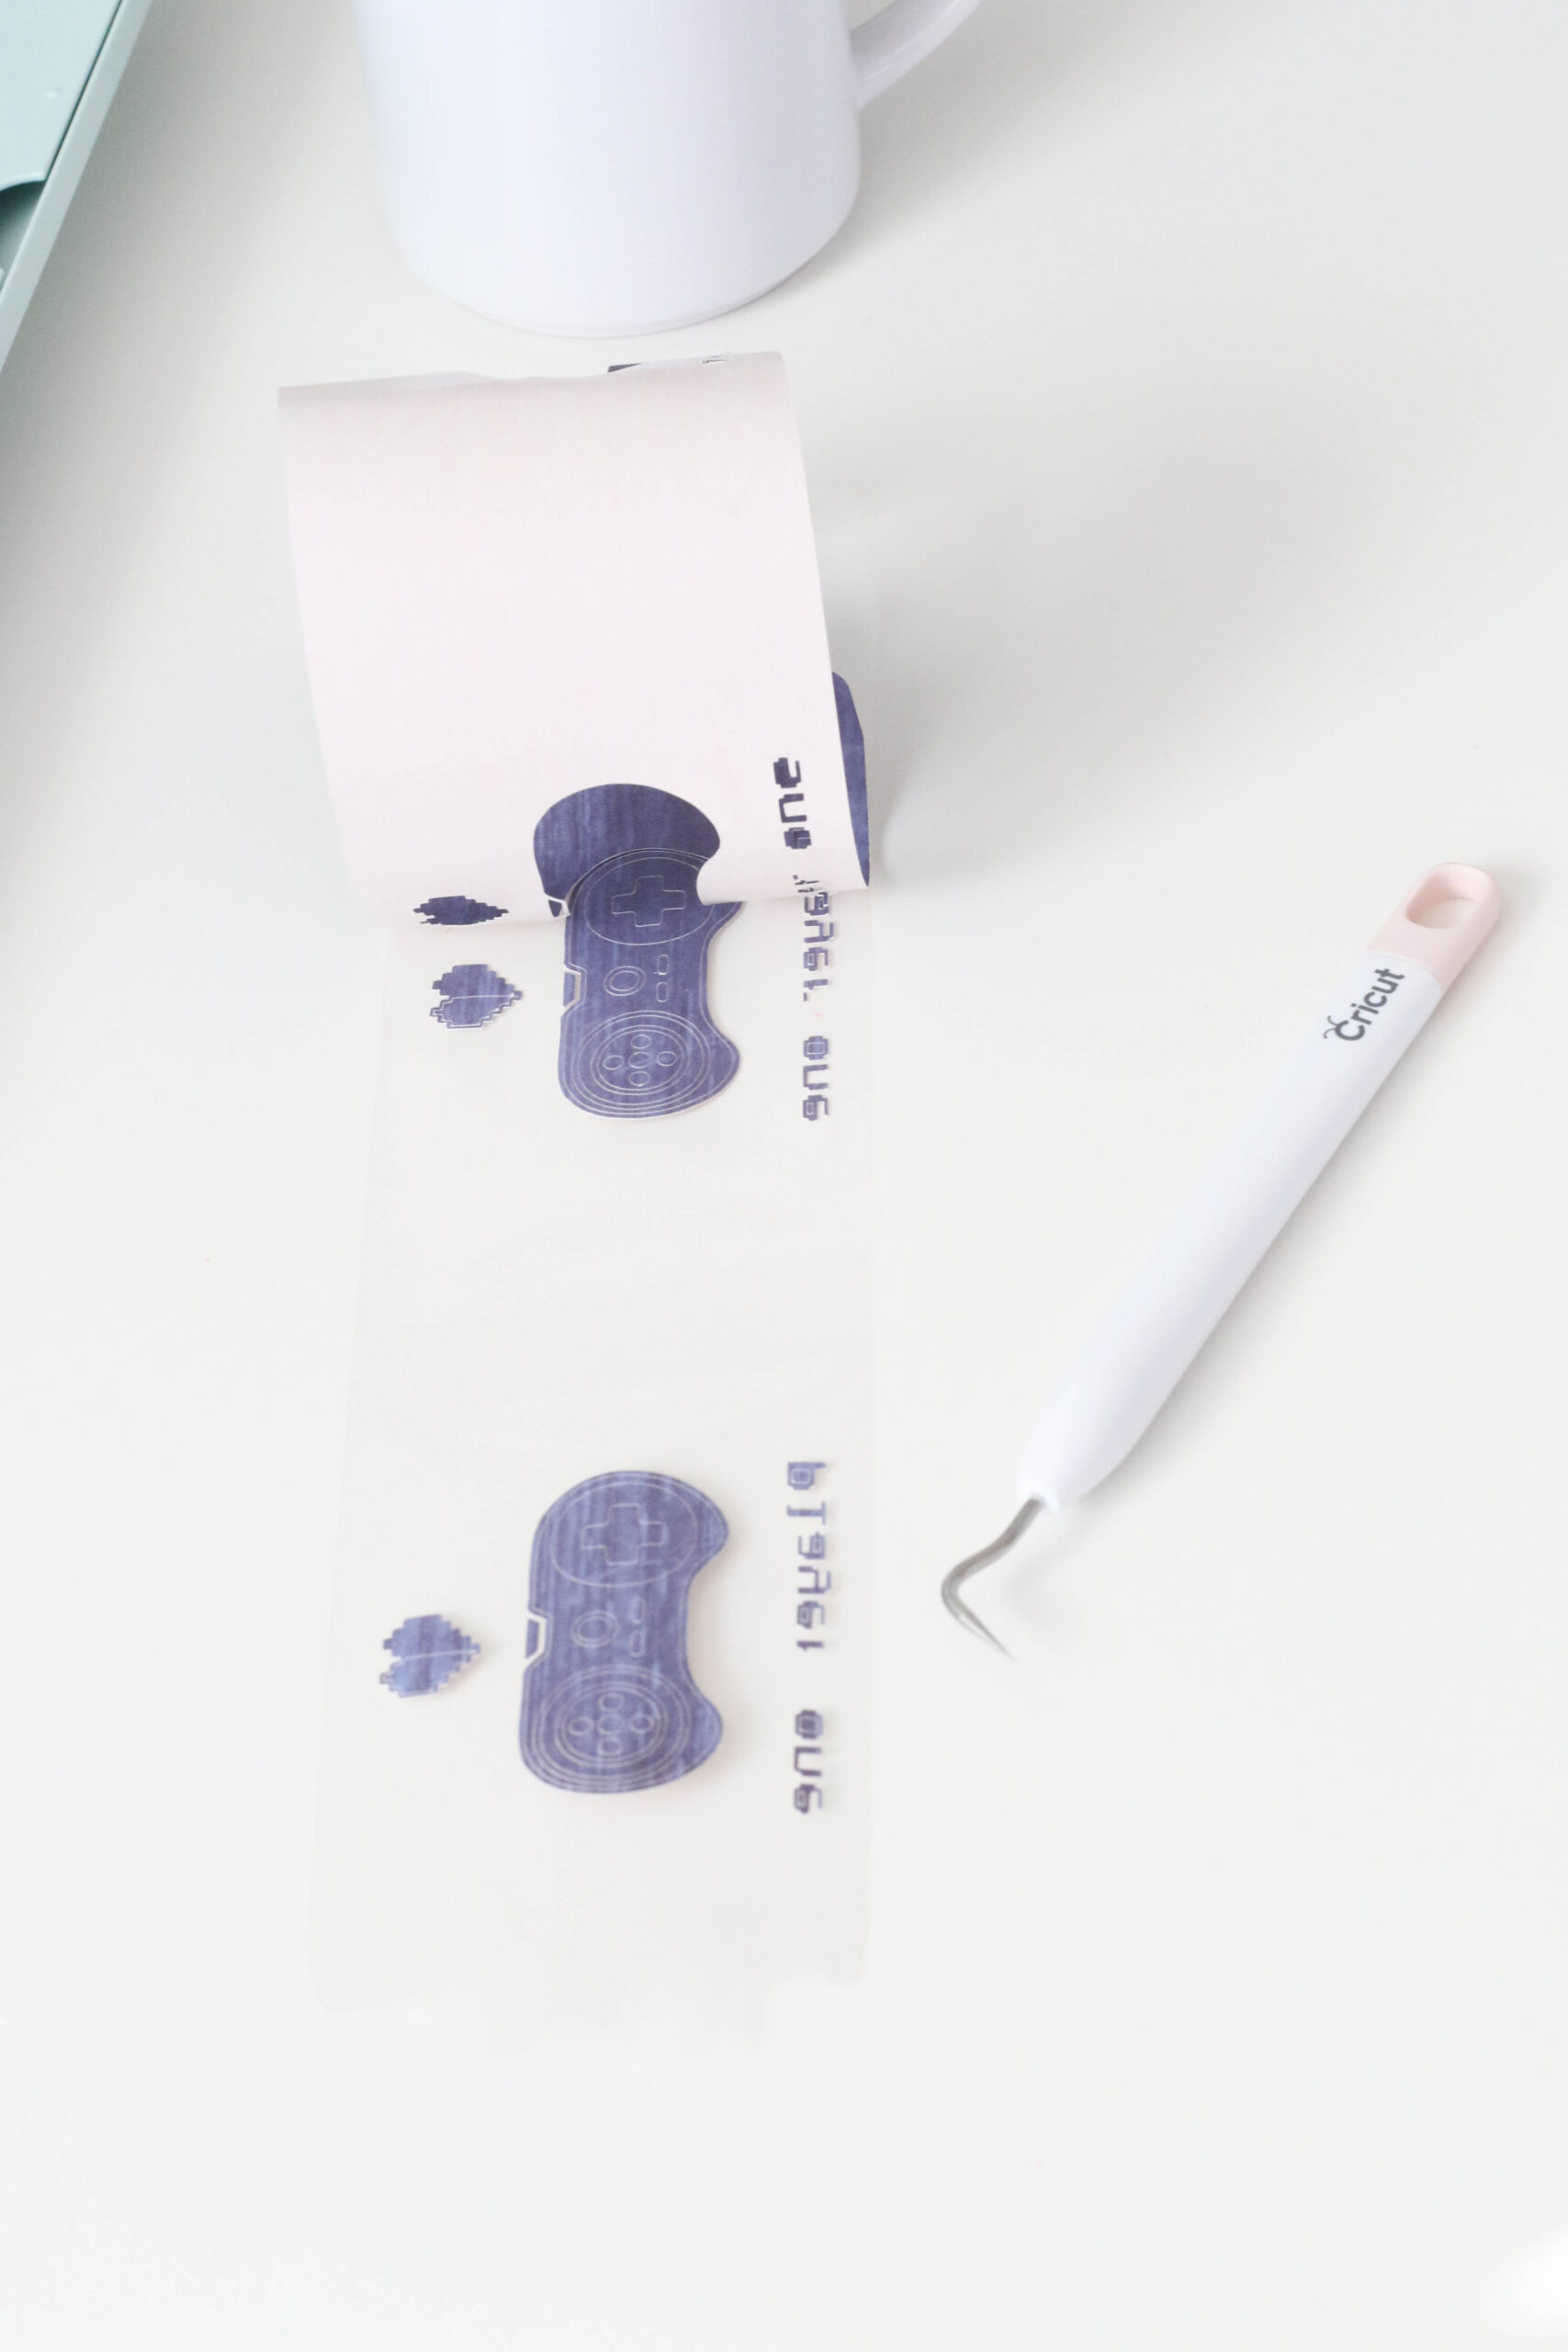
Cut and Weed Your Design
Insert your mat into your Cricut to cut your design. Once it’s cut, weed your design and discard the extra pieces of infusible ink transfer sheets. For the letters, I had to use my weed hook to remove the tiny pieces.


Prepare the Surface of Your Mug
I prepared my mug using rubbing alcohol and a lint roller to make sure the surface was clean before applying my design. Note: I didn’t use heat-resistant tape to adhere my design to the mug but you can if you wish.
Heat Your Mug Press Up
In the meantime, I heated my Cricut Mug Press up.
Once my machine was heated up, I placed my mug in the cylinder and closed the lever. Note: The machine will beep to let you know your mug is ready.
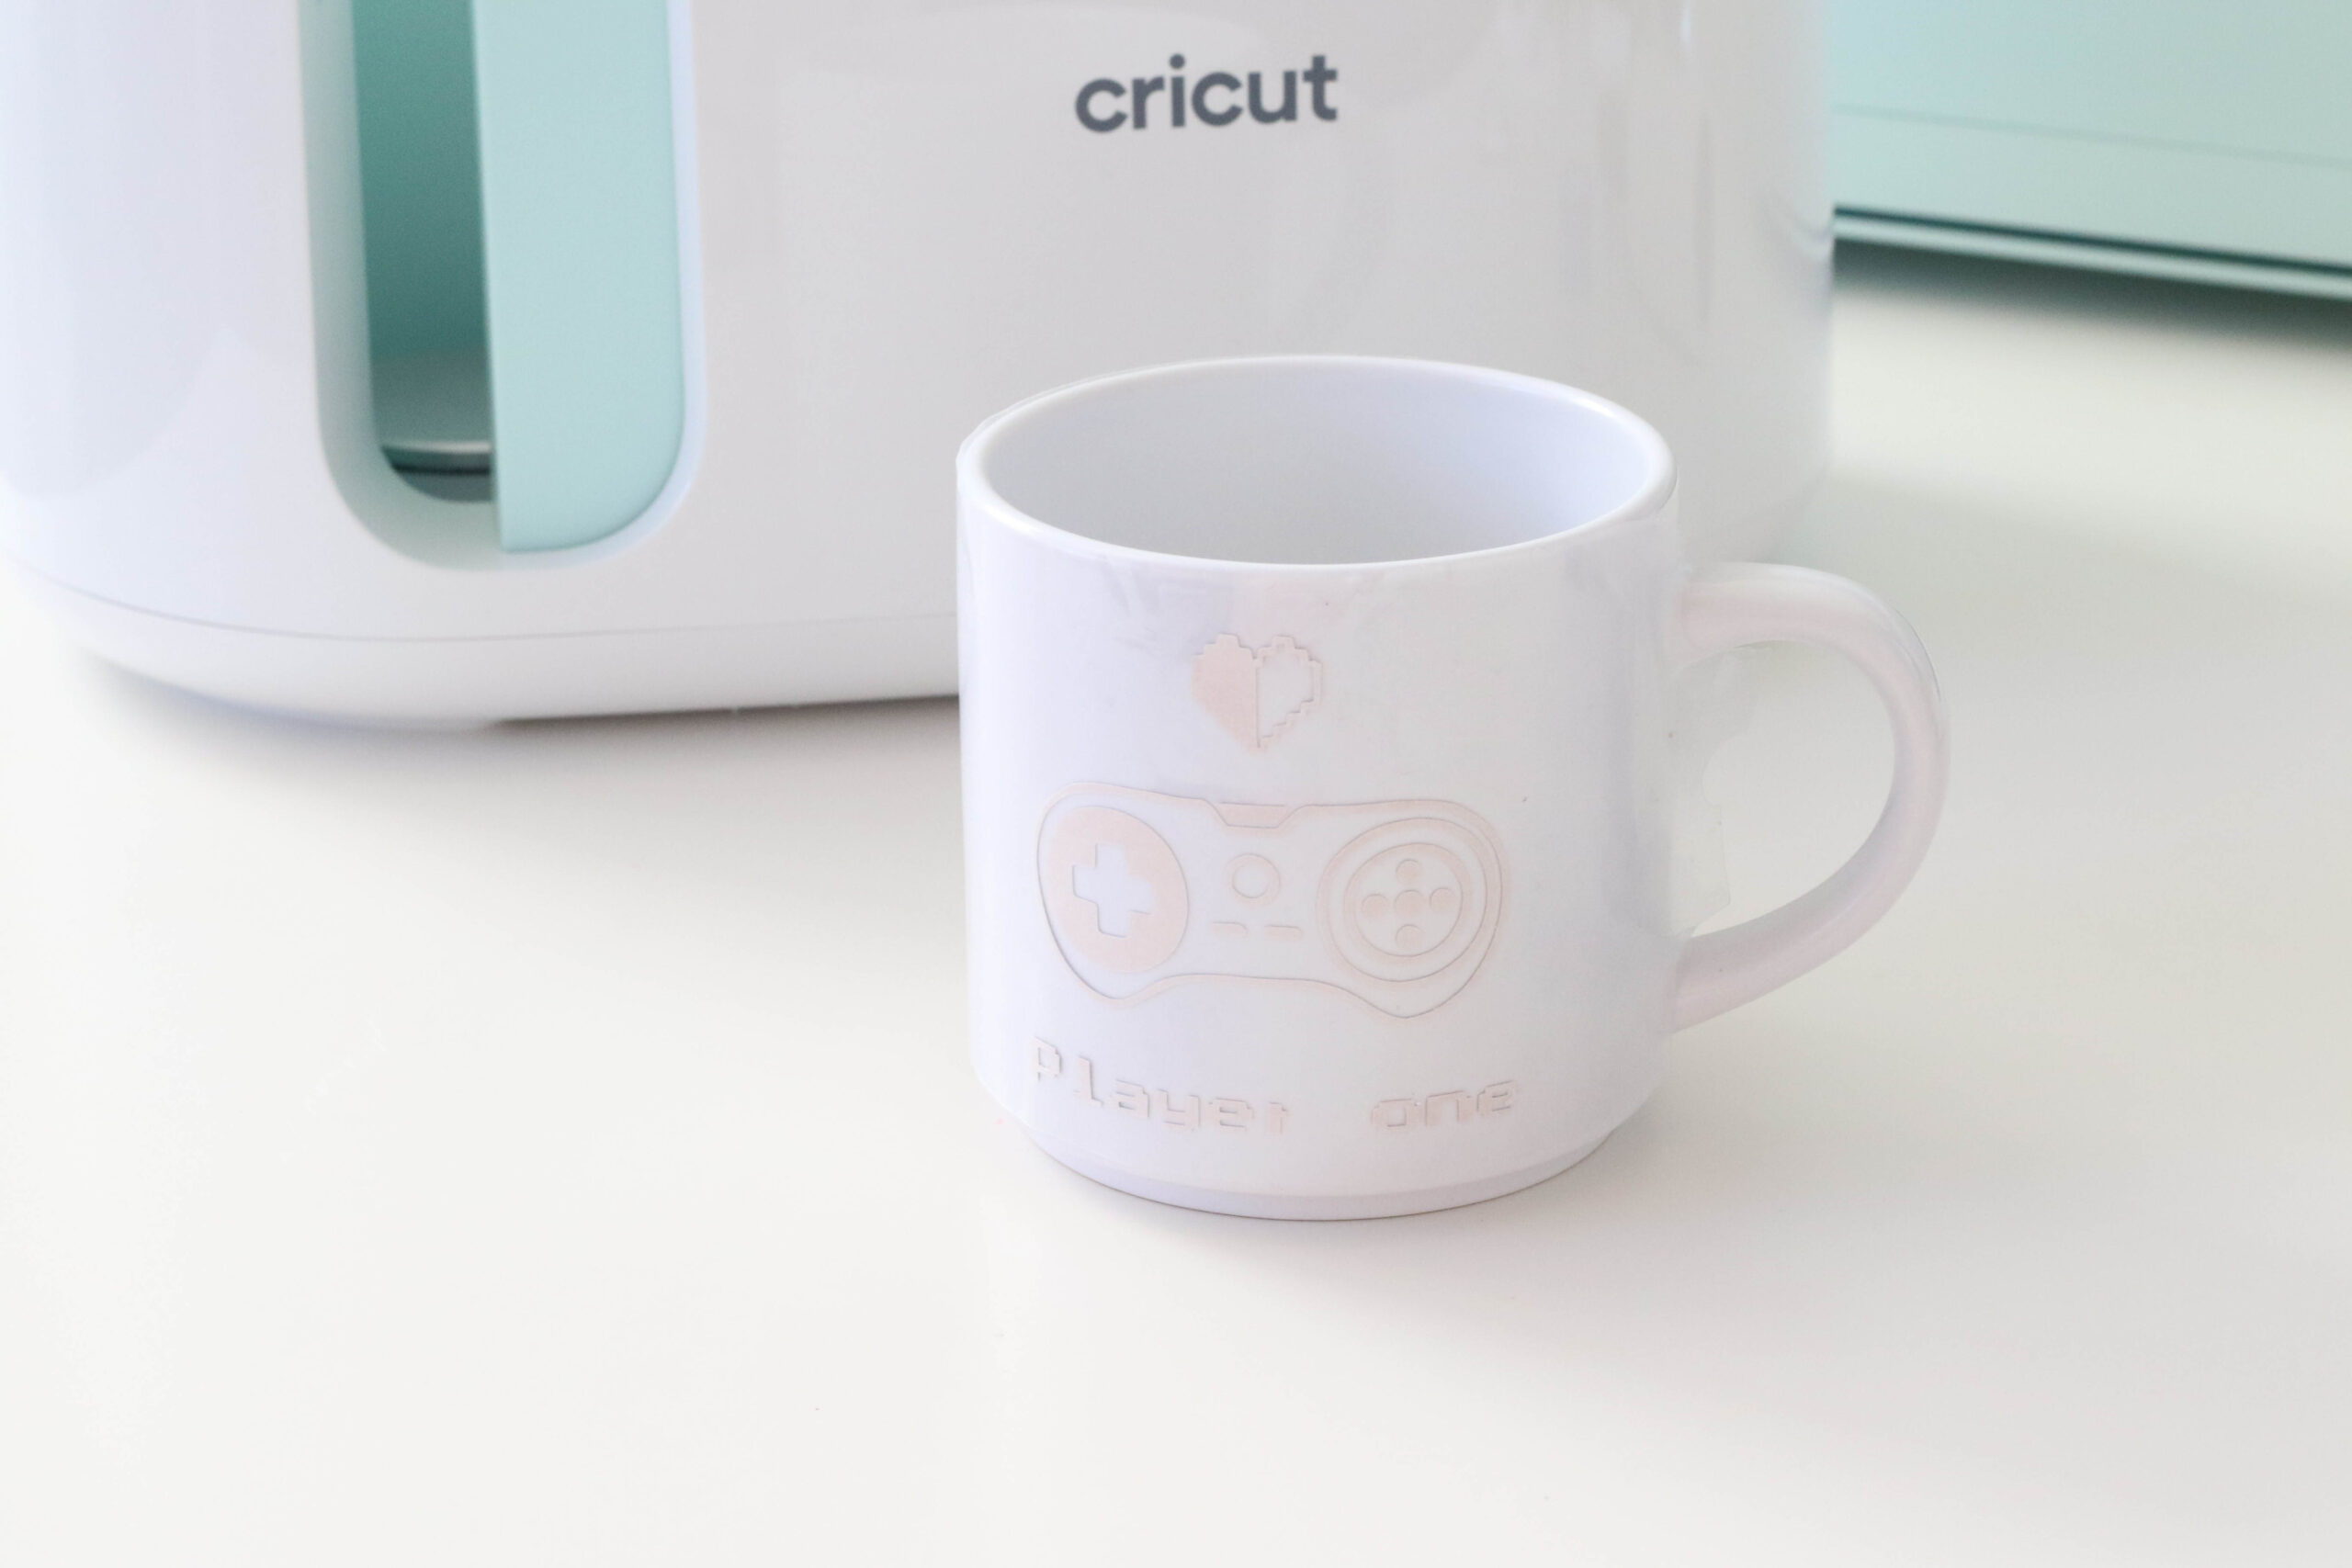
Reveal Your Mug Design
Once your mug is ready, carefully remove it from the machine and place it on any heat-resistant surface if you don’t have the EasyPress mat. Let it cool completely before peeling the infusible ink transfer sheet to reveal your sublimated design.
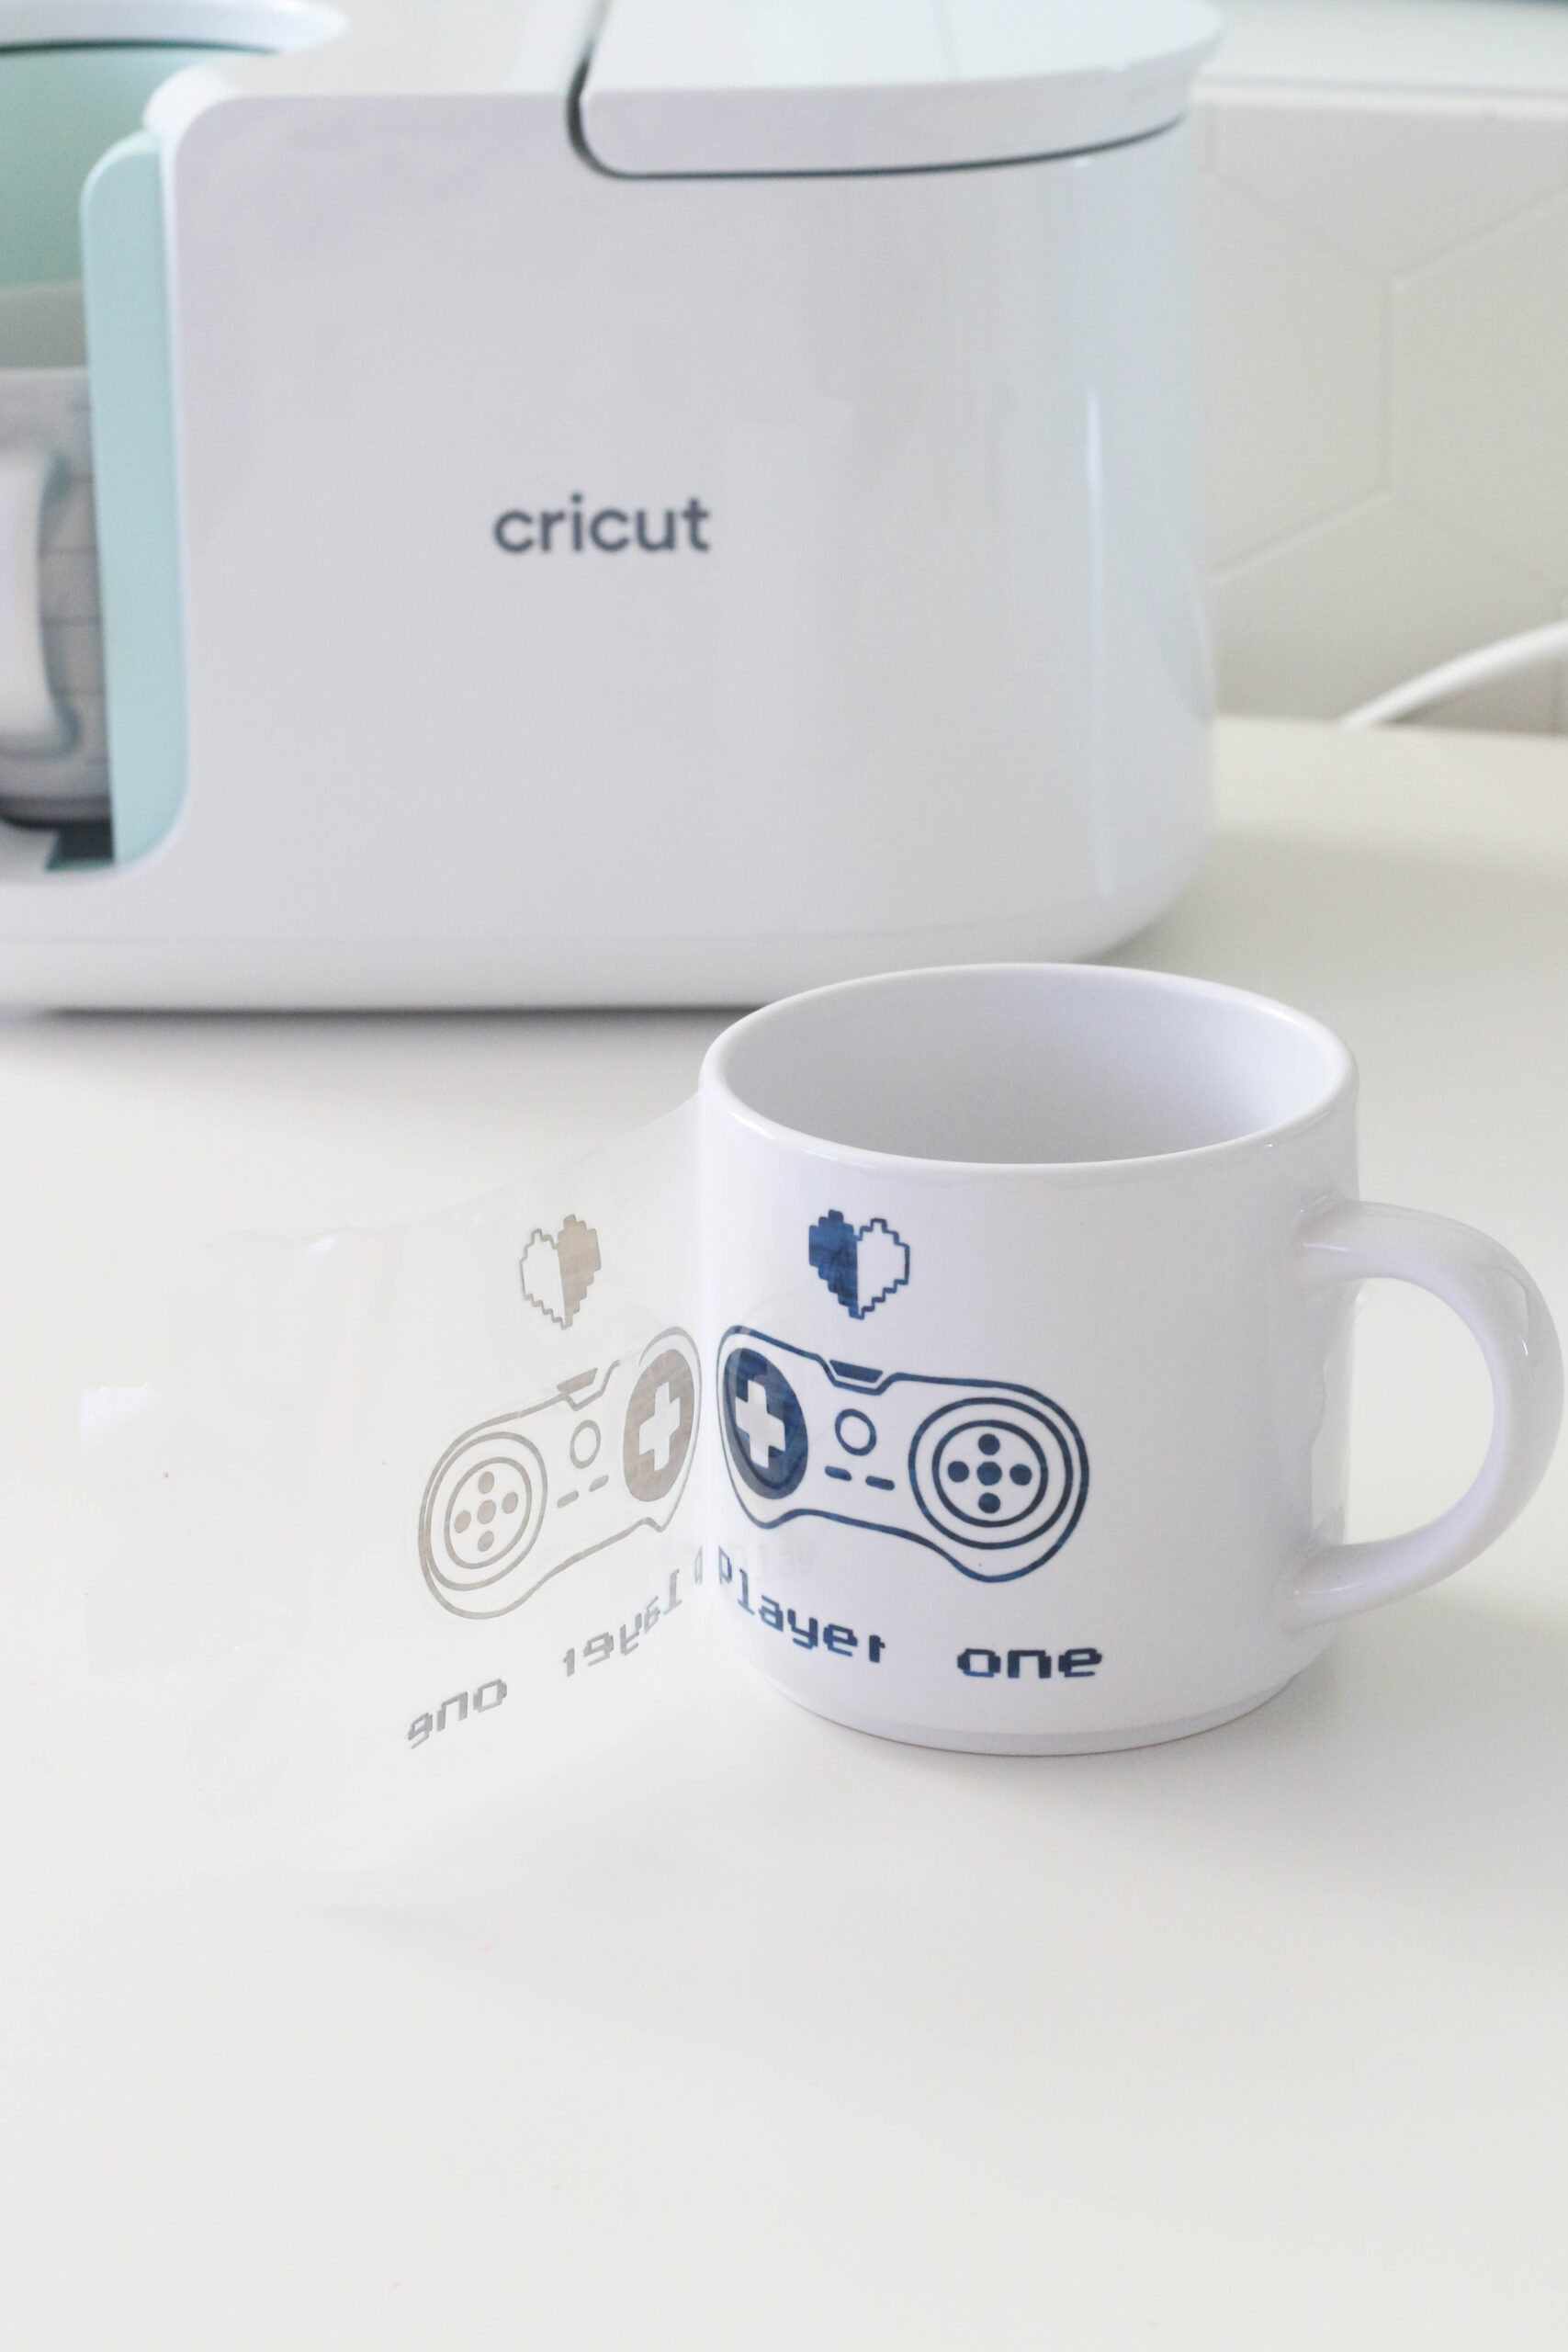
The only issue I had with this specific design was with the letter R in the word player. For some reason, my machine didn’t cut it properly. Luckily, I had a set of ceramic mug markers in my stash and I was able to fix it.

If you love personalized mugs as much as I do, consider getting a Cricut Mug Press. It’s simply fantastic and so easy to use!
Let me know if you have any questions!
Happy New Year, friends!