This post is sponsored by Brother Crafts. All opinions stated are my own.
Hello, friends! We are kicking off the new posts of 2020 with another easy and fun DIY using my Disney ScanNCut DX SDX230D Innov-is! If you missed our DIY mug using vinyl, you can see the tutorial here.
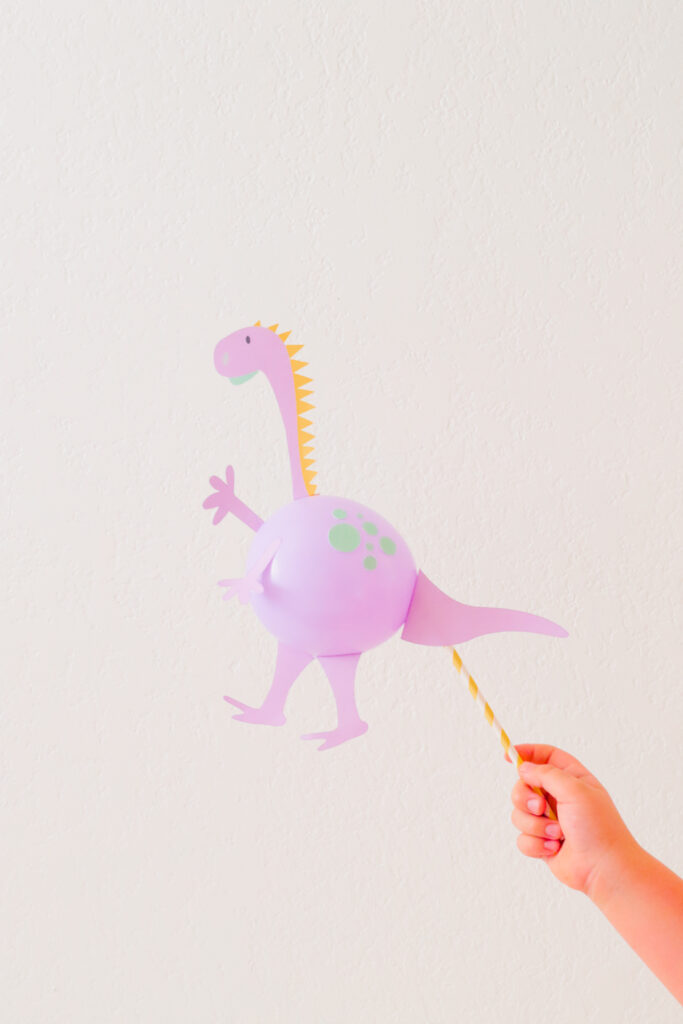
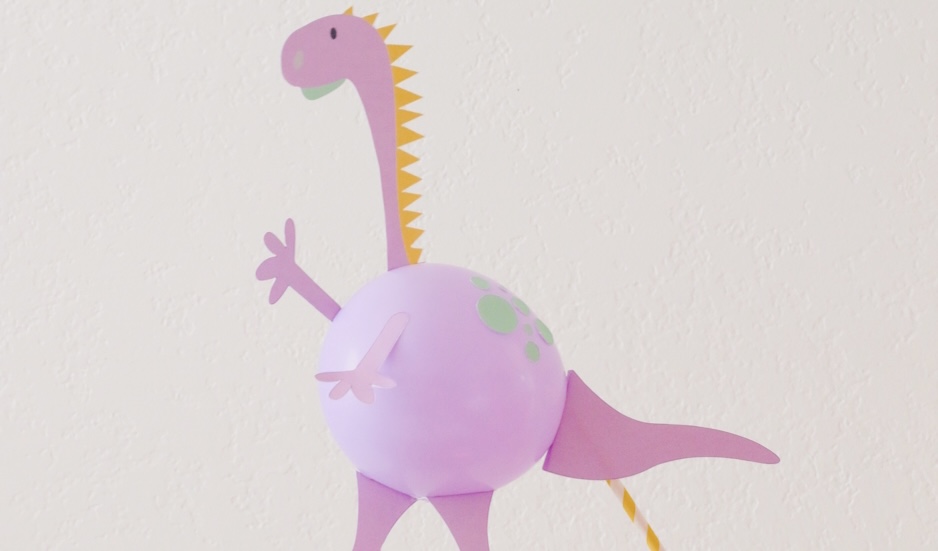
Today I am sharing how you can create a super cute DIY dinosaur balloon using our free dinosaur printables in 3 easy steps! How cute did it turn out?
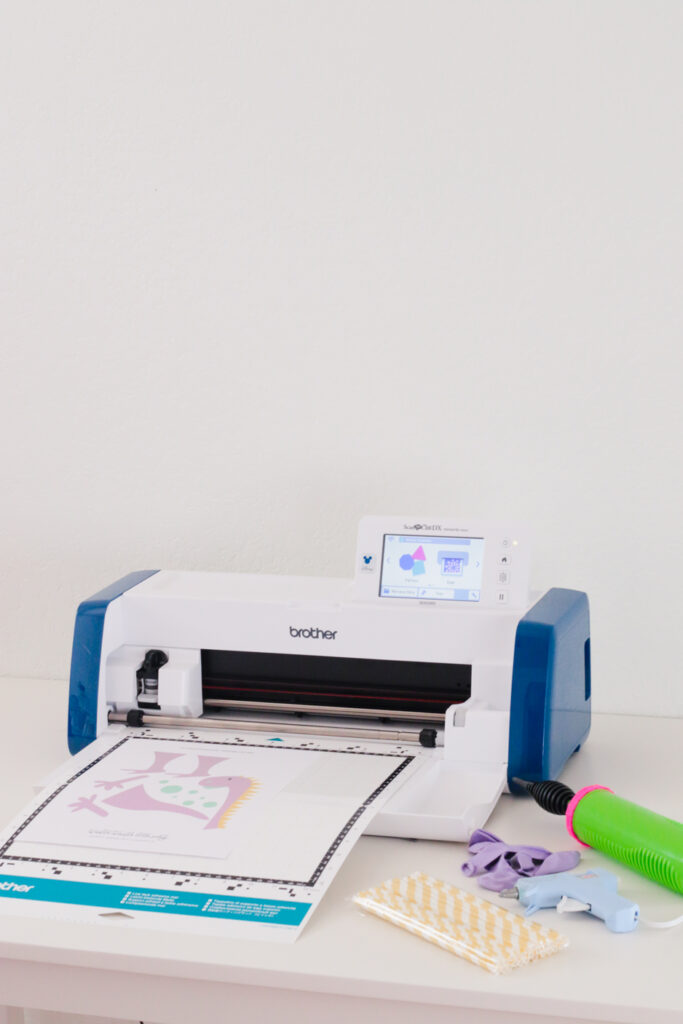
Step 1: I printed my file on white cardstock and placed it on the mat.
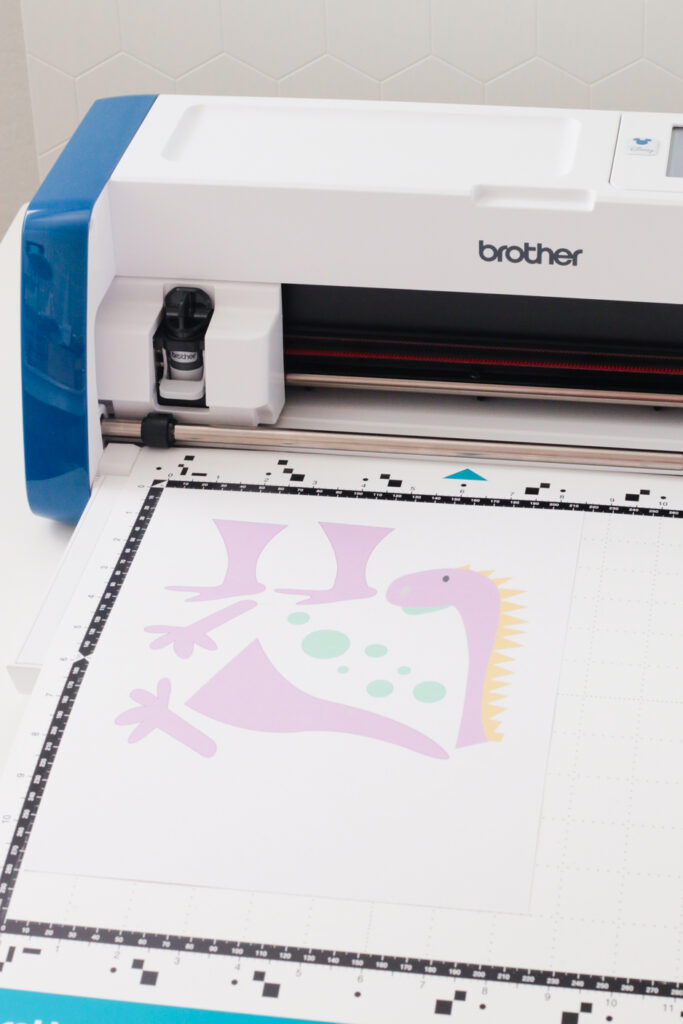
Step 2: I then selected direct cut.
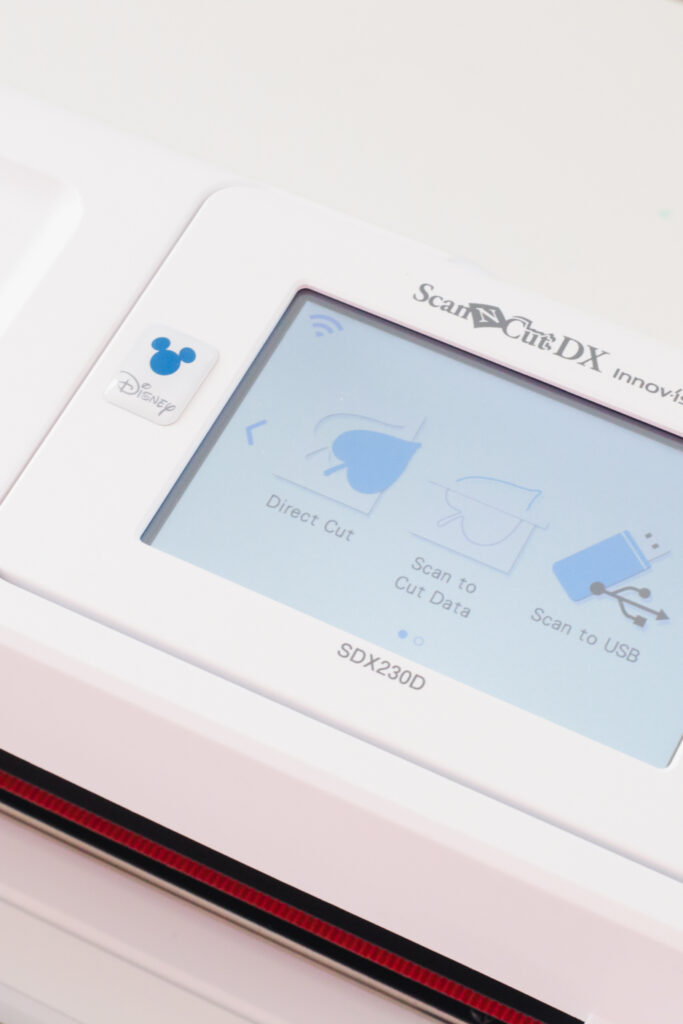
The machine will cut the designs in about 2 minutes. That’s right! Only two minutes!
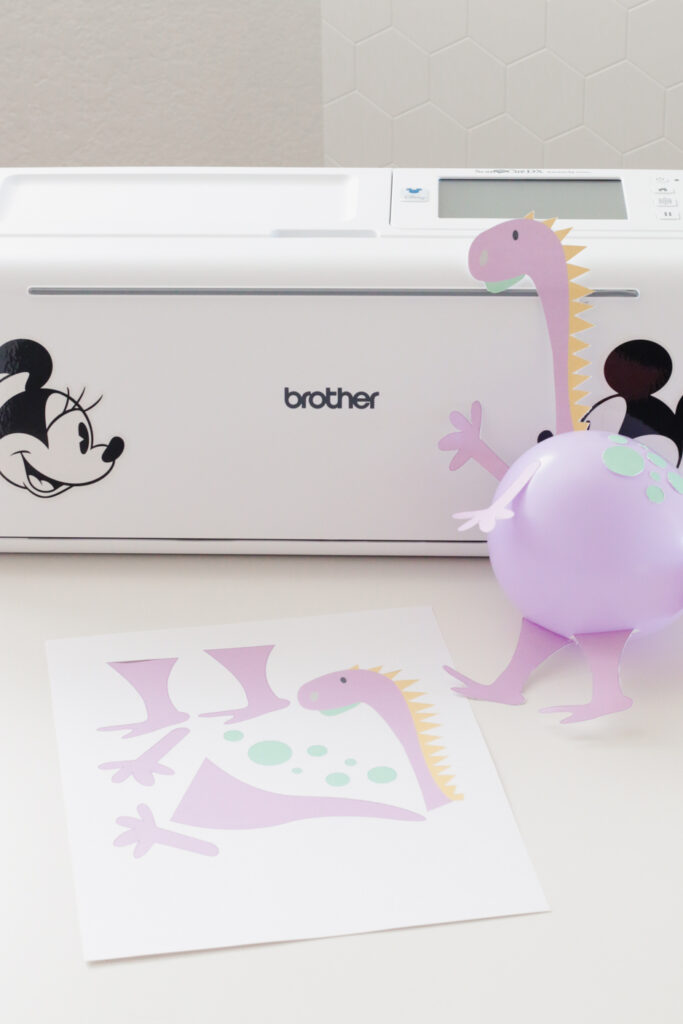
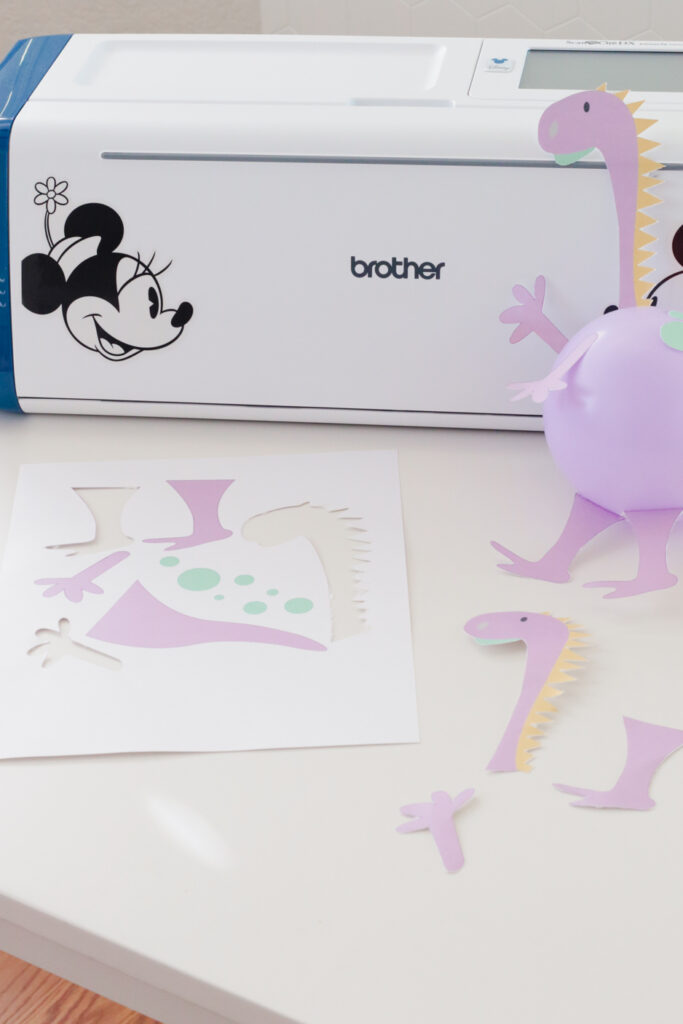
STEP 3: Once all the dinosaur parts have been cut, all you have to do is attach them to the balloon using hot glue.
Note: No need helium. Simply use a balloon pump to inflate your balloon.
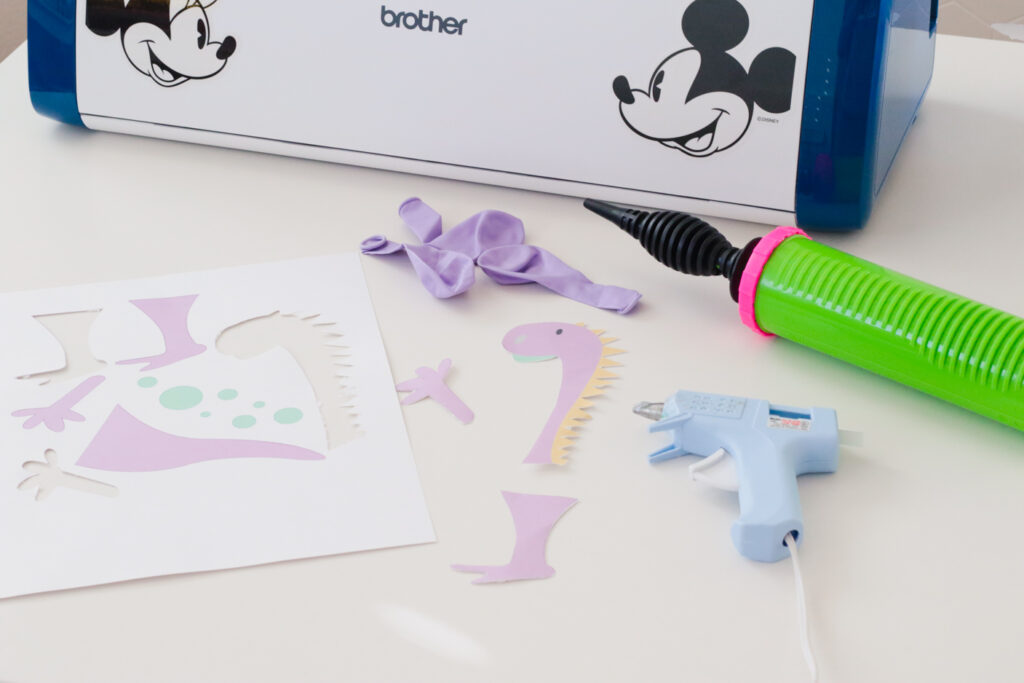
You can glue a paper straw to the back of the tail to create a balloon wand if you wish!
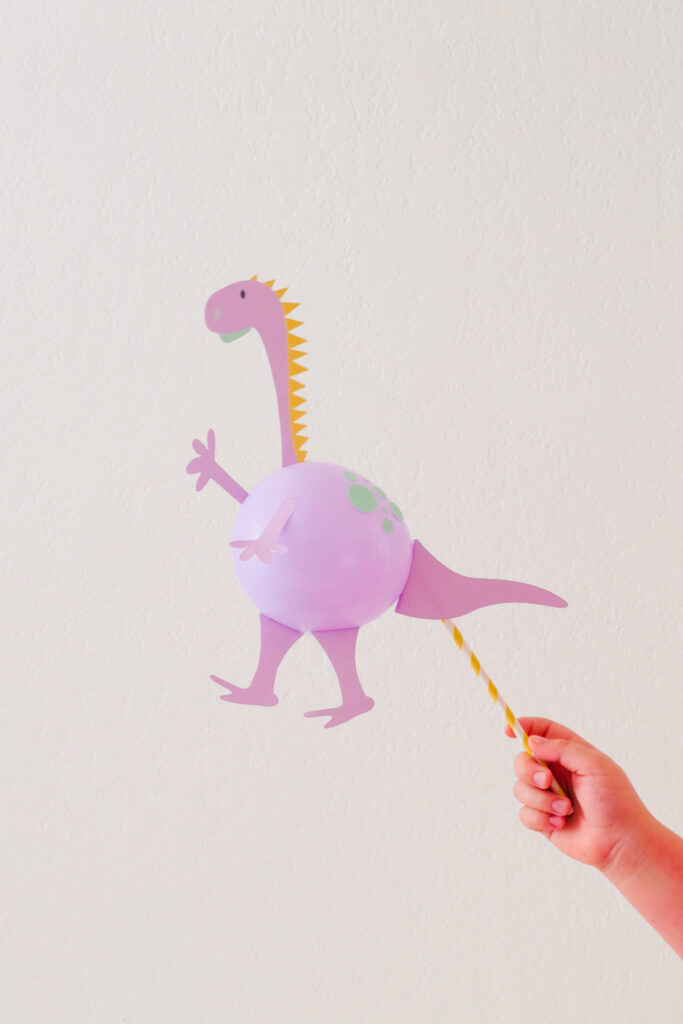
Voila! Adorable dinosaur balloon the kids will love! It makes a fun party favor idea for a dinosaur themed birthday party or party décor!
I hope you enjoyed this cute DIY idea using a cutting machine, my friends! I can’t wait to share our next project!

The cutest! My nephew will love these!