Hello, friends!
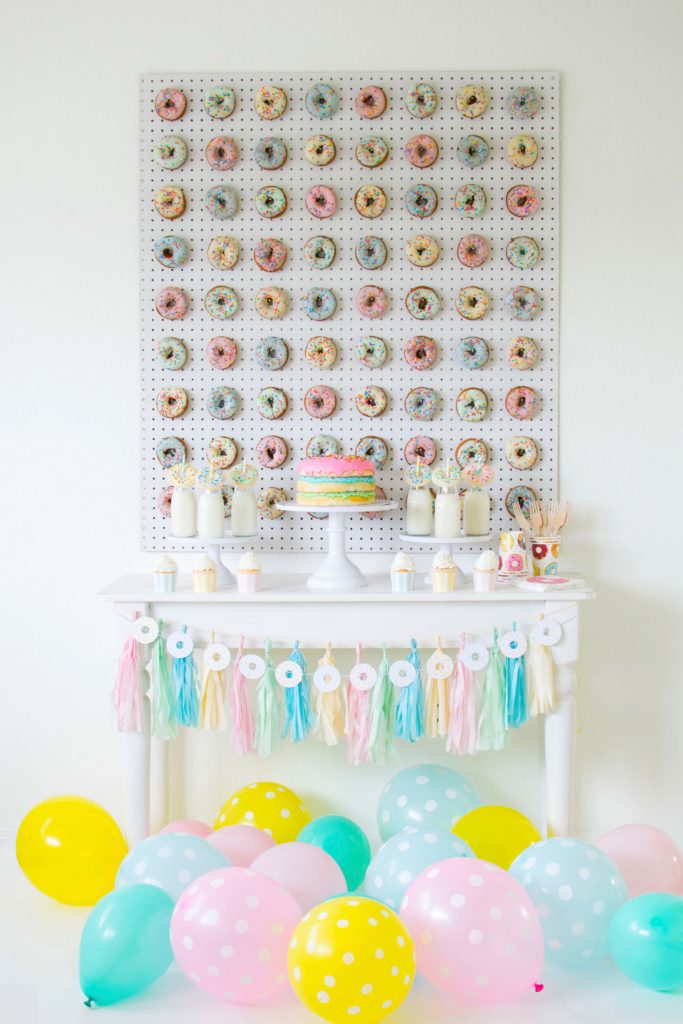
I am so excited to share our own step-by-step tutorial on how you can create a beautiful Donut Wall! I recently designed one for our Summer Donut Party and thought it would be nice to share the tutorial with our lovely readers as well!
Building a Donut Wall is simple and with just a few supplies you can create an eye-catching display for your next celebration! Promise you will wow your special guests
Shall we get started?
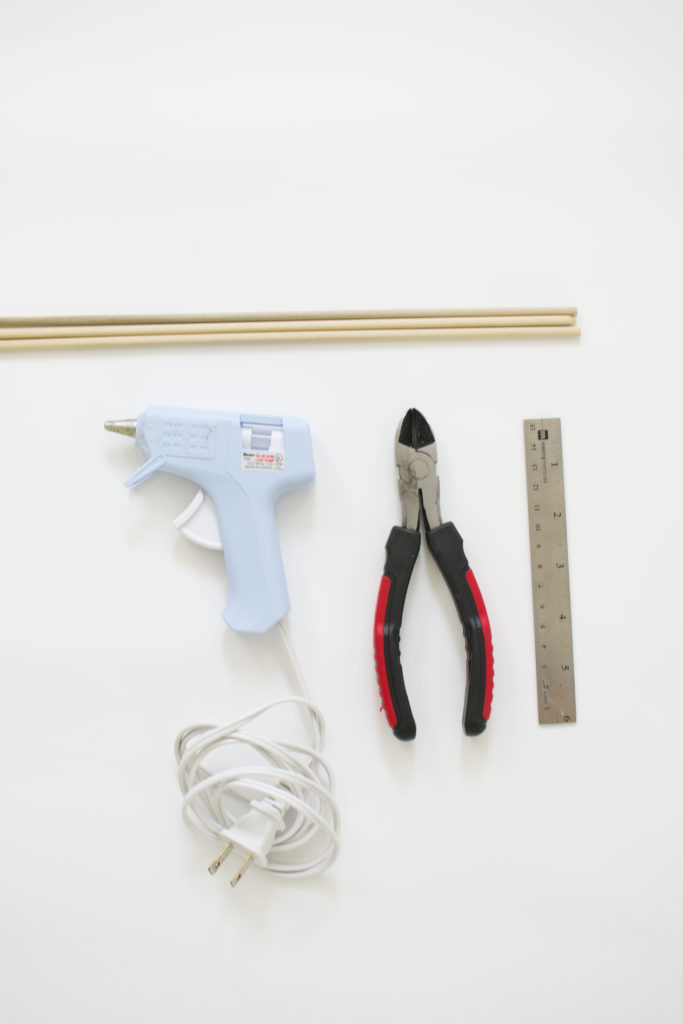
What you will need:
- A pegboard *I purchased mine at Lowe’s. They cut it for me at 48″x42″.
- Spacers from a pegboard kit
- 3/16×48 Dowels (You can find them in aisle 48 at Lowe’s. Look for the ones with the black tip.)
- Pliers
- Ruler or measuring tape
- Hot Glue
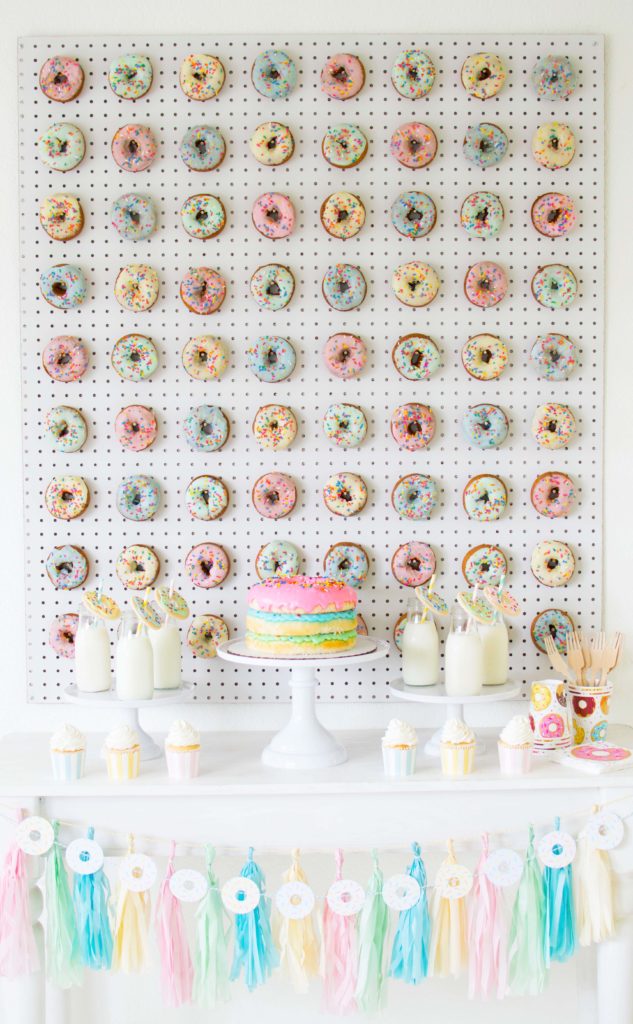
- Donuts *For my pegboard I used 72 donuts.
Instructions:
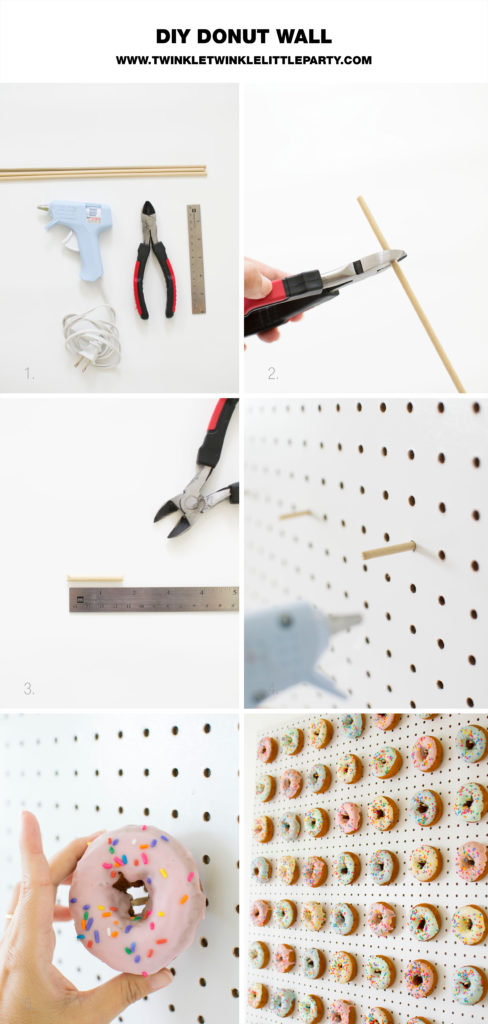
Mount your pegboard on the wall using spacers.
- Gather the rest of your supplies.
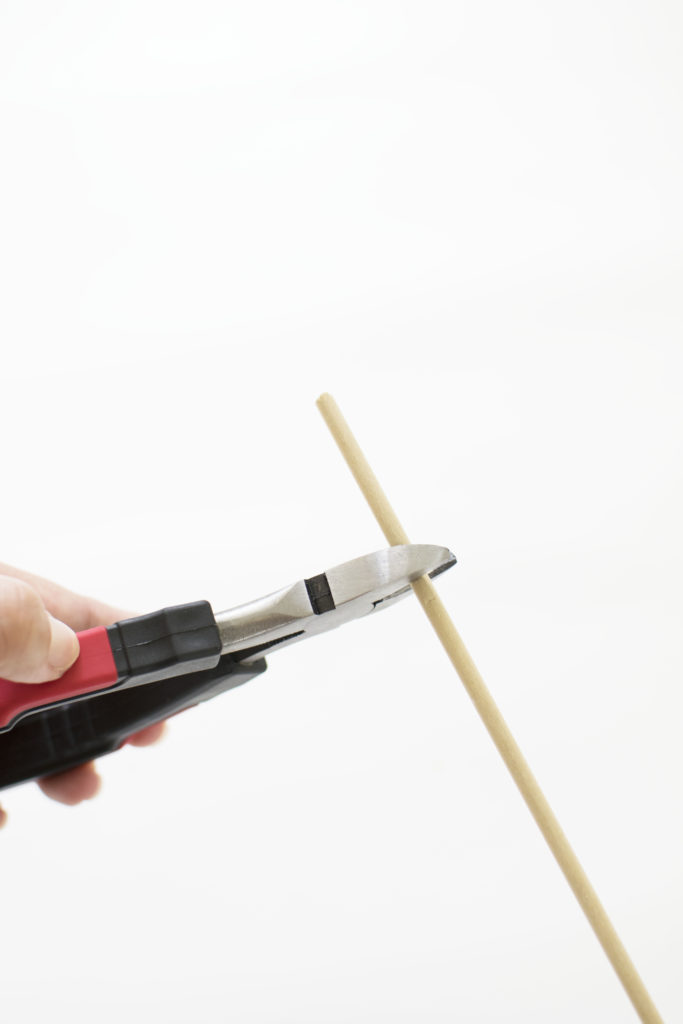
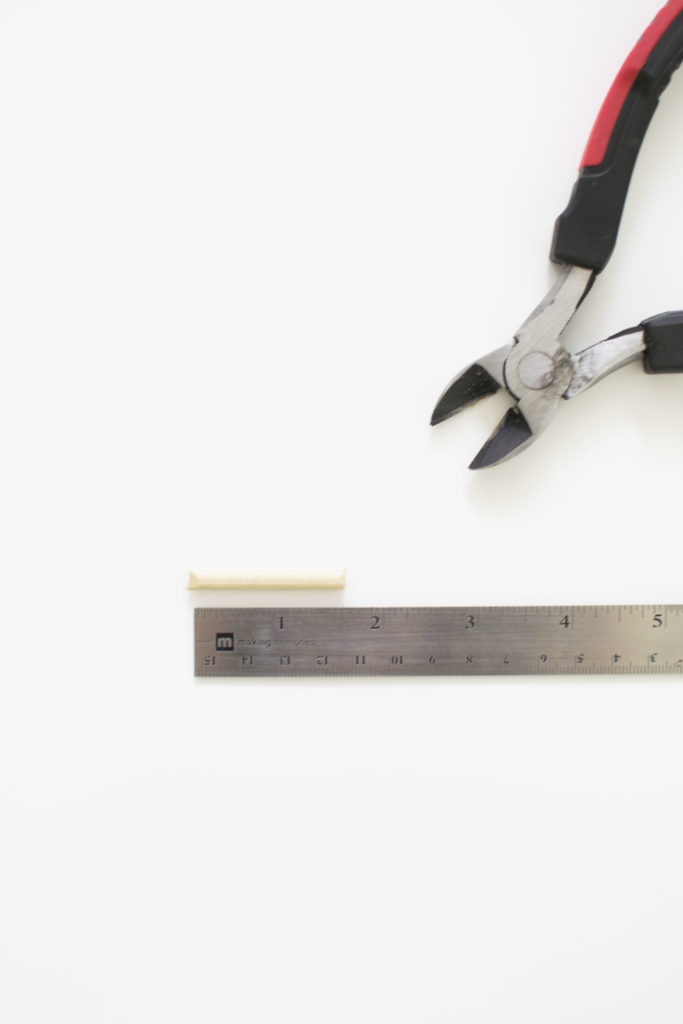
2. Using the pliers, cut the dowels into 1 1/2 or 2″ segments.
Note: If you cut the dowels at 2″, the tip will stick out more when you place your donuts.
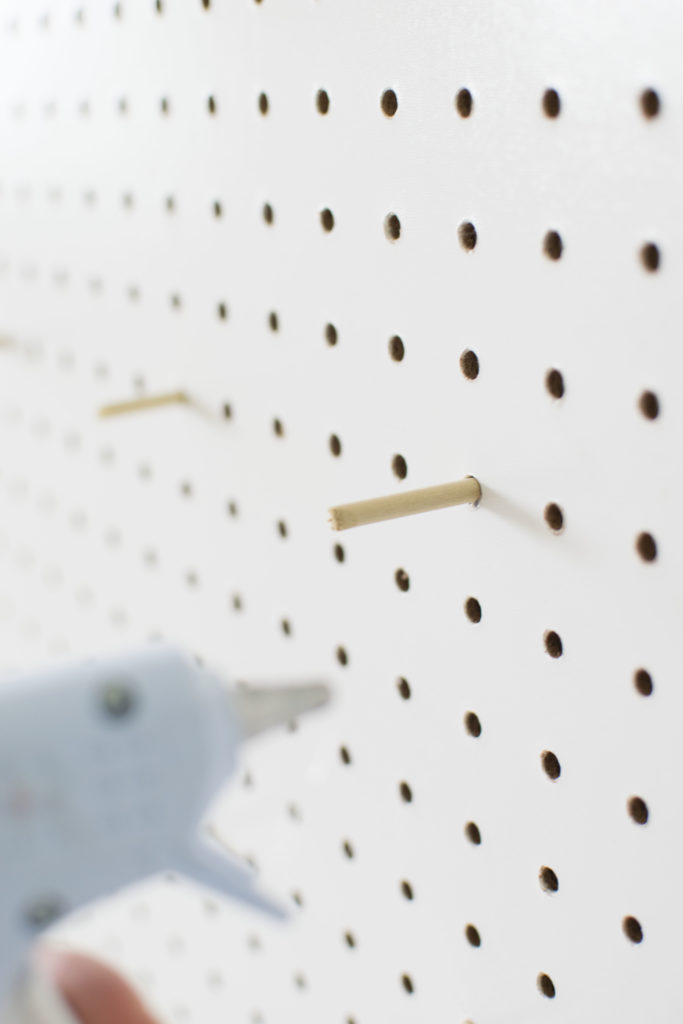
3. Using hot glue, secure your dowel segments into the pegboard.
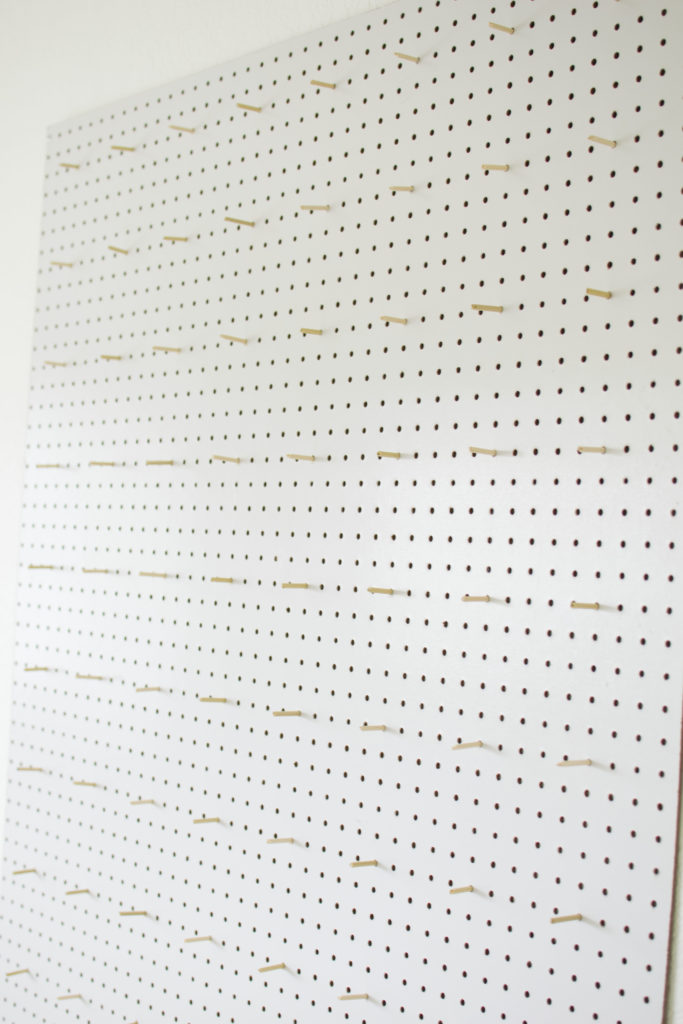
4. Start hanging your donuts on the pegboard.
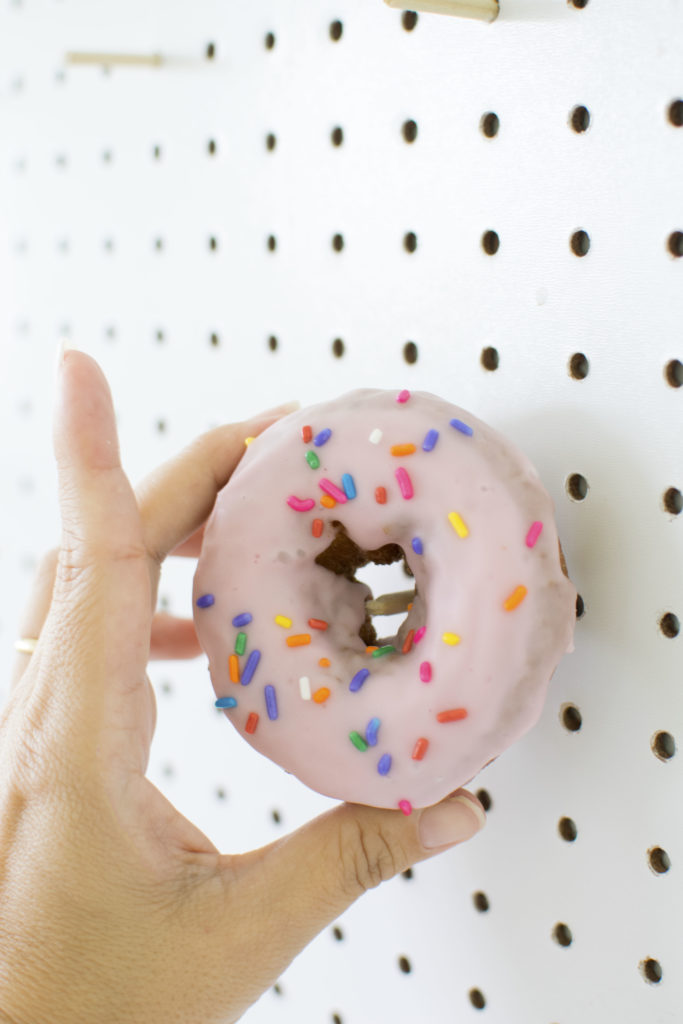
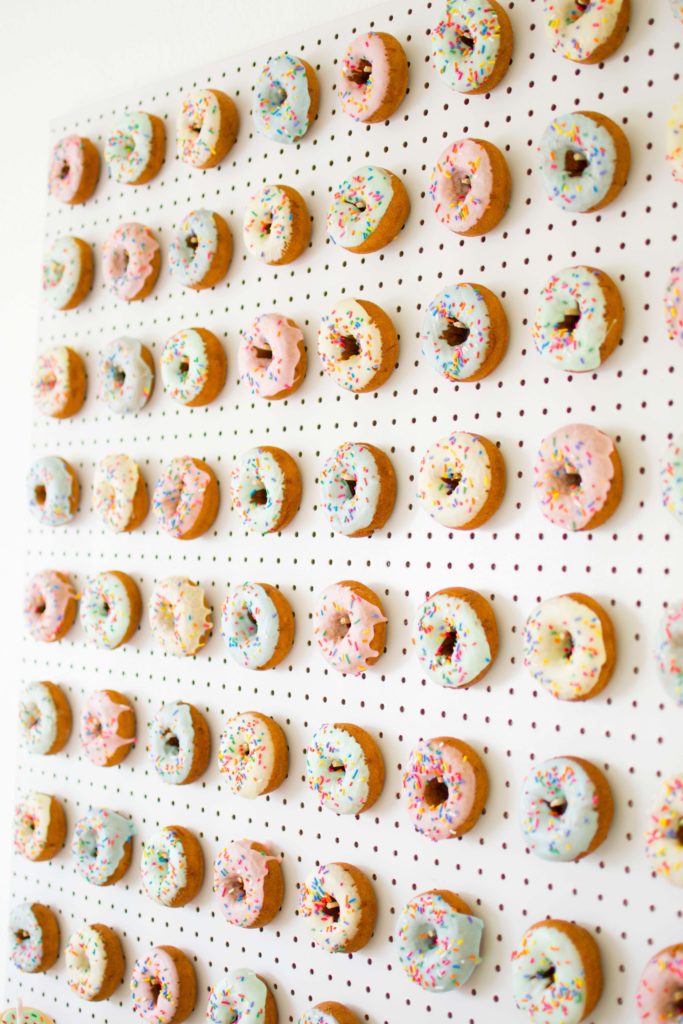
Ta-da! You now have a beautiful donut display!
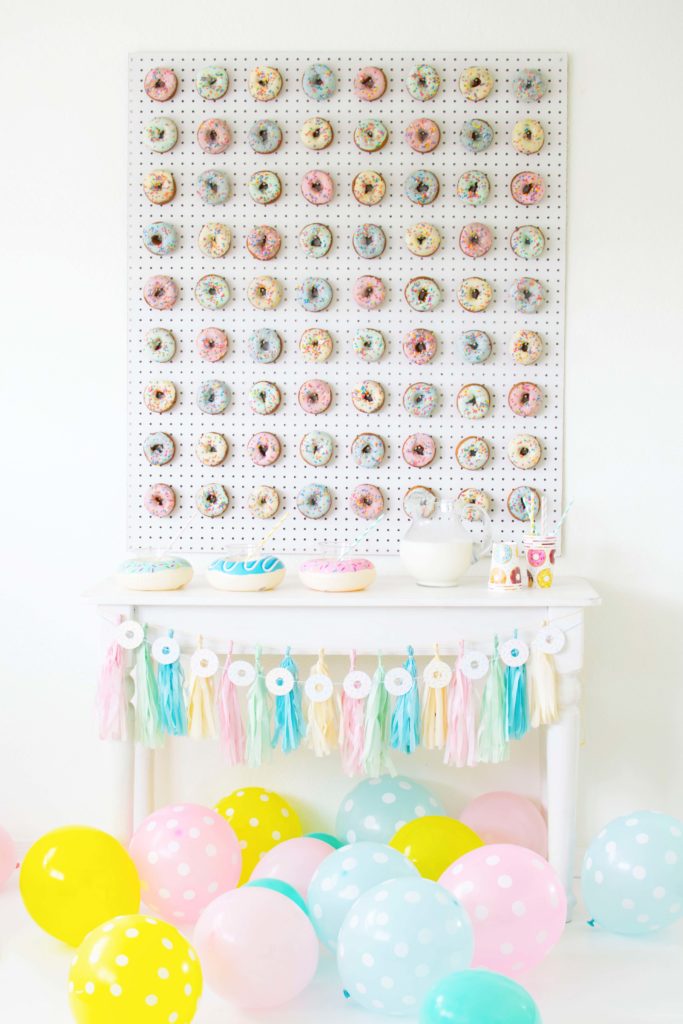
I hope this post inspired you to create your own Donut Wall!
 PIN FOR LATER