Hello, friends!
I am excited to share a fun DIY with you today!
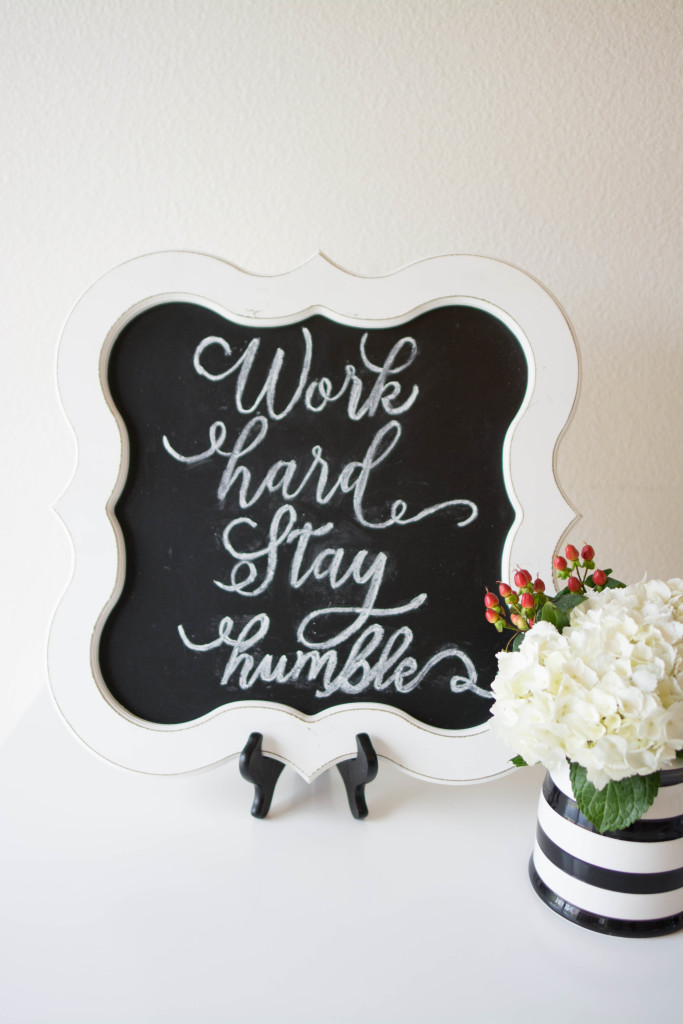
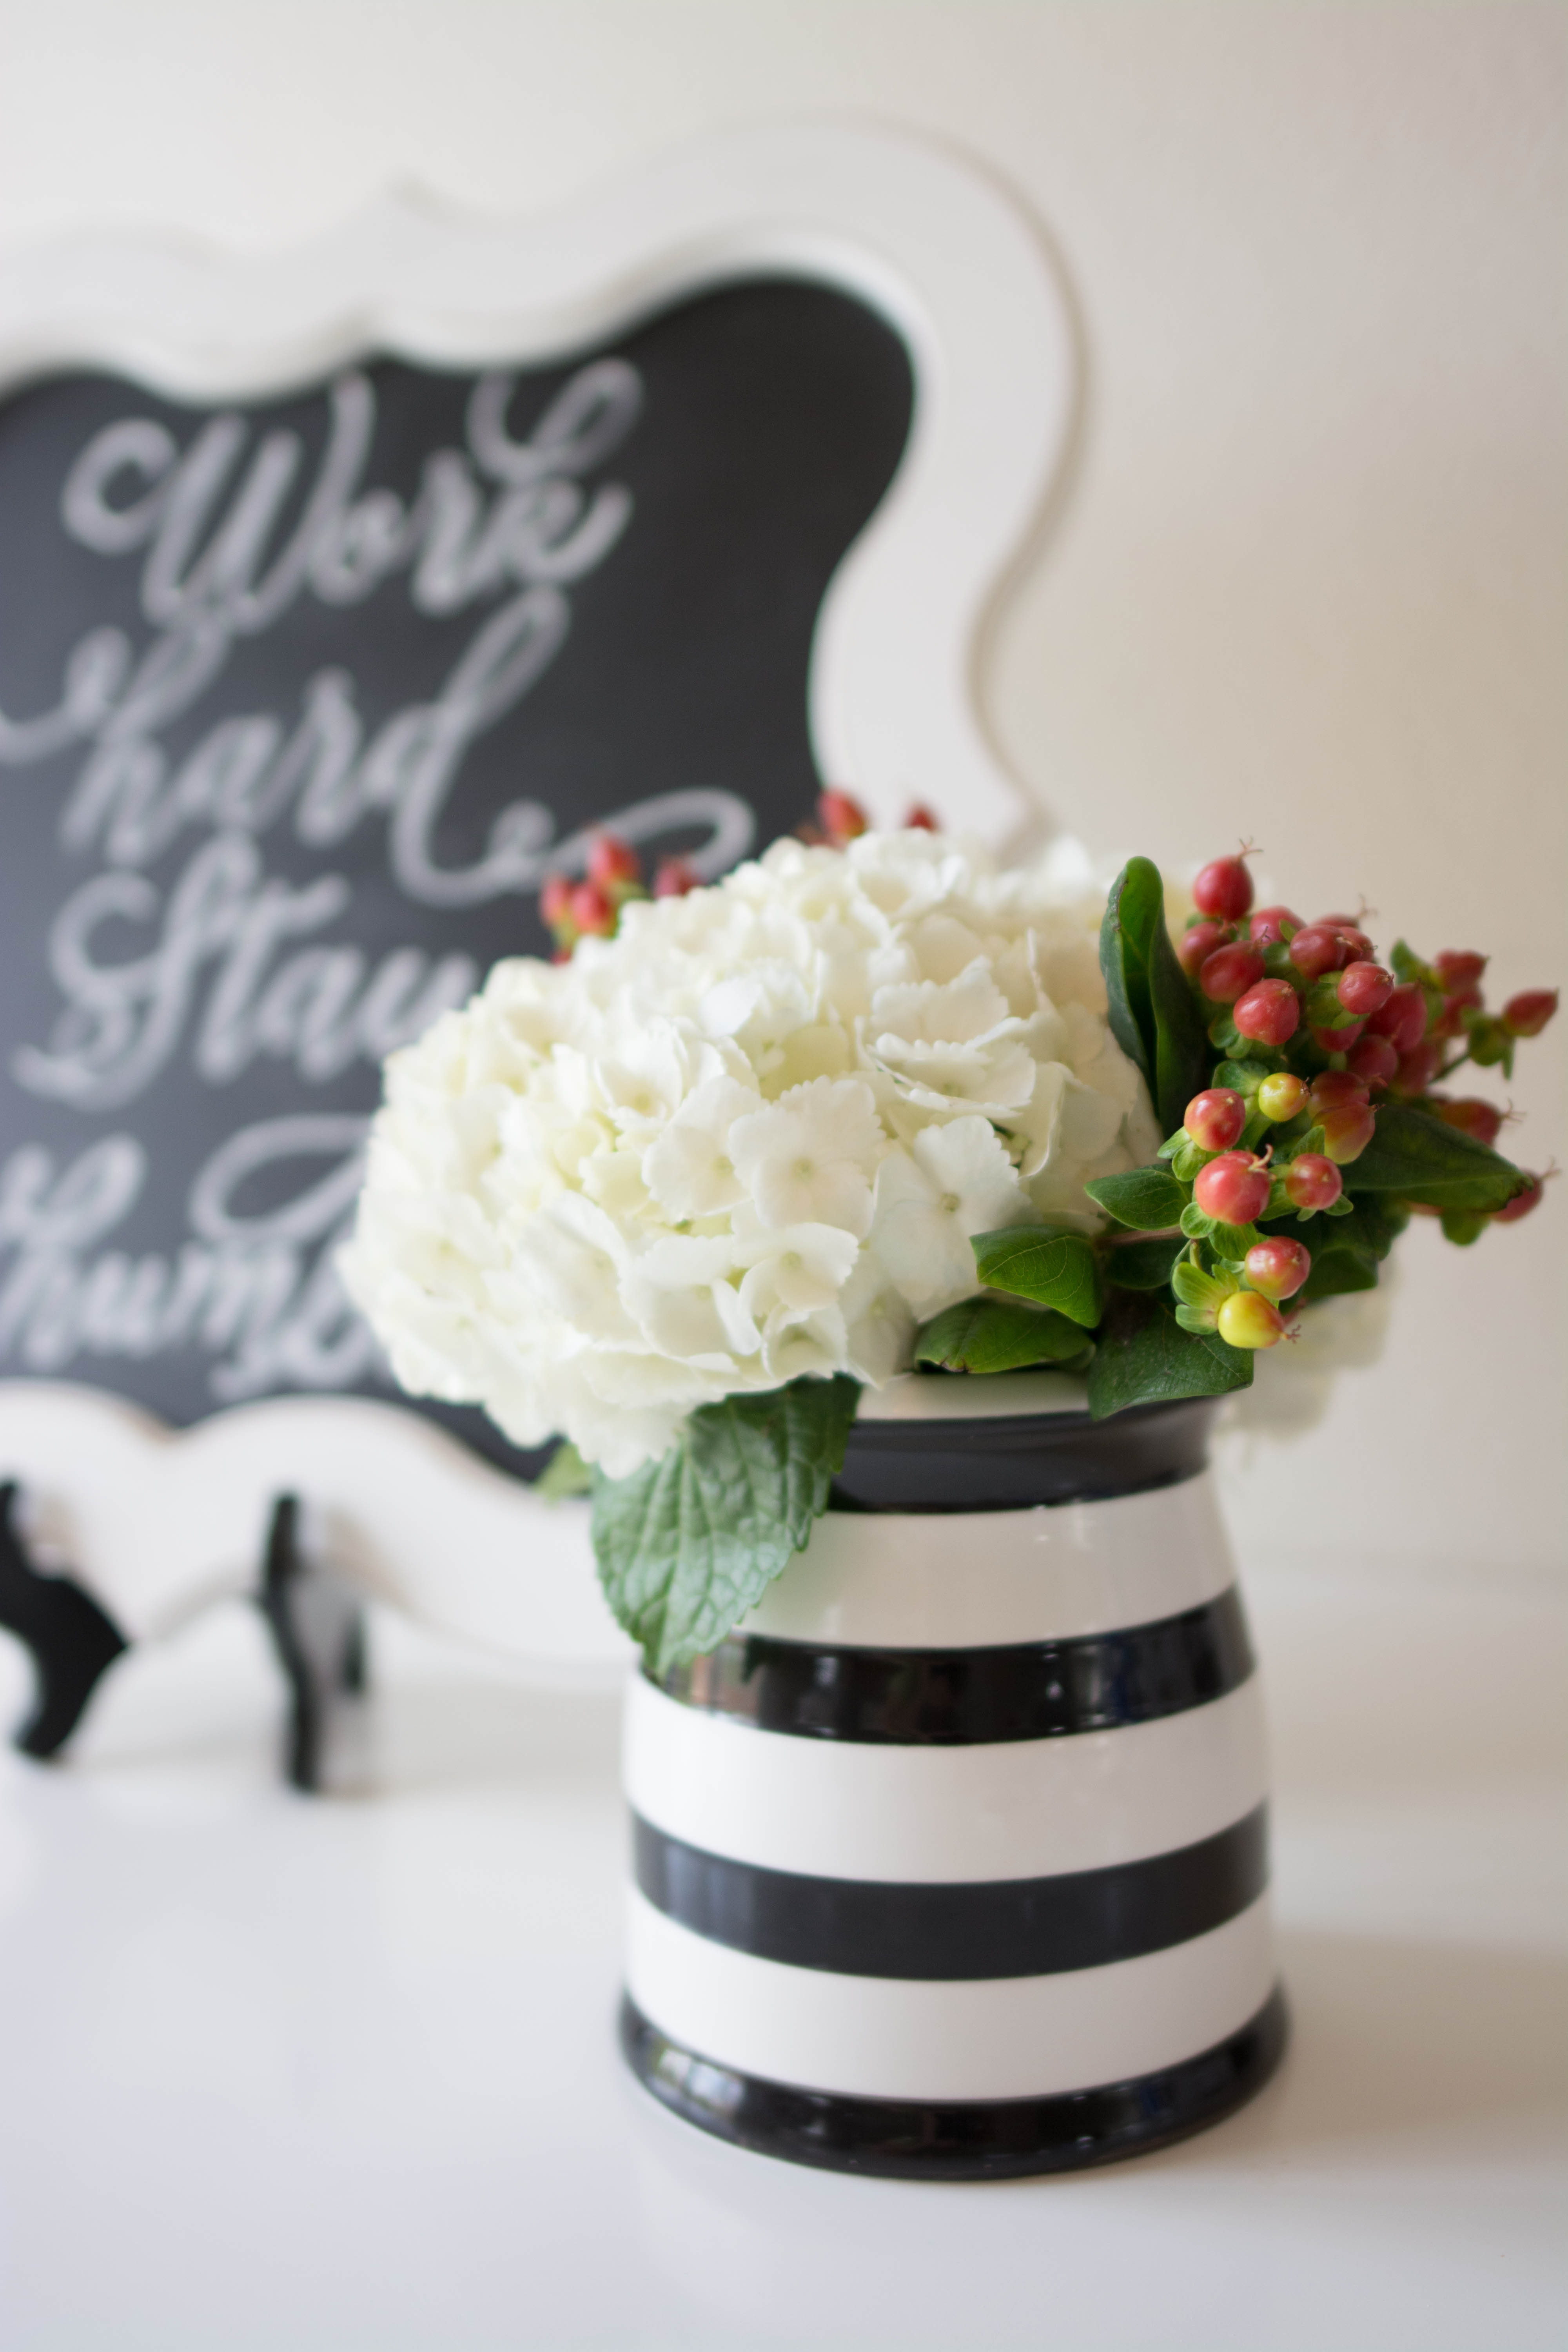
While shopping at one of my local craft stores, I saw this beautiful white chalkboard frame. I instantly fell in love with it! I am not very good at writing on chalkboard even though my handwriting is pretty decent. Being a perfectionist at heart, I wanted my chalkboard sign to have one of those pretty calligraphy fonts. I found a tutorial using transfer paper, which I don’t even know where I can find it. So, I decided to apply the same concept I used for a previous DIY project I worked on few days ago while planning a styled shoot.
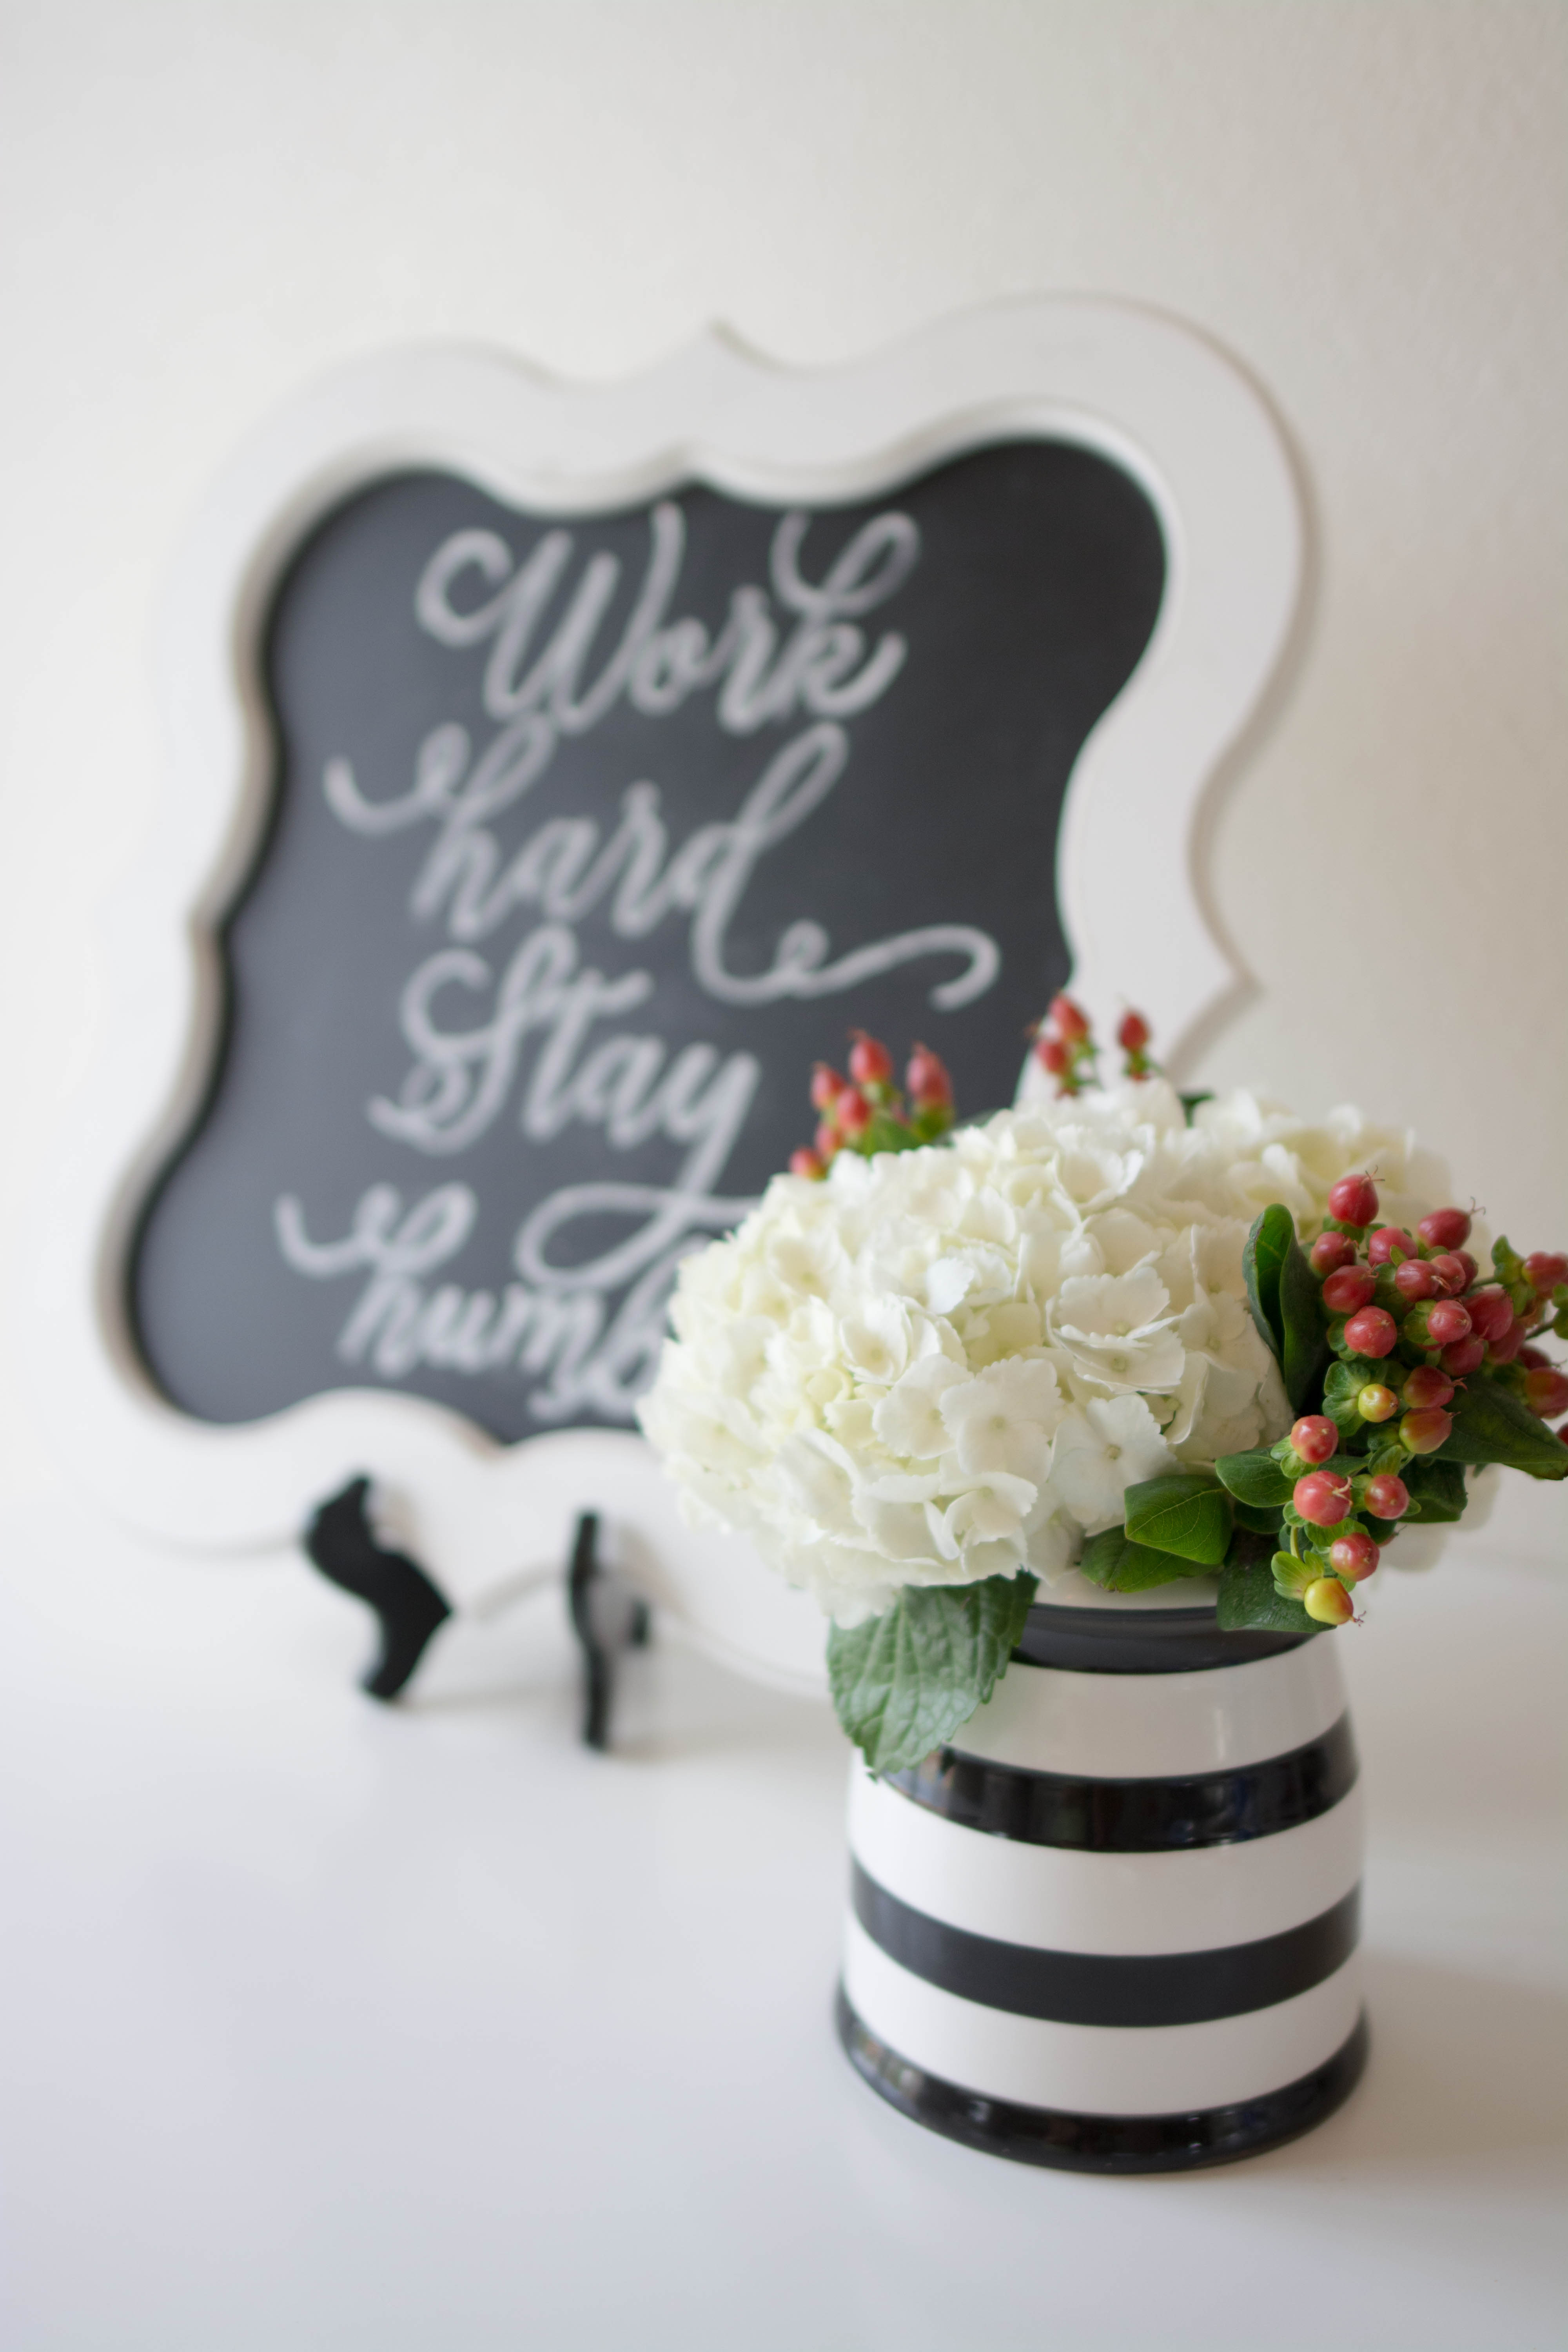
Here’s my chalkboard sign! It doesn’t look perfect (my baby girl woke up from her nap and ‘humble’ looks a bit off … boo!), but with this tutorial, we will be able to keep practicing until we become amazing at it *wink *wink
 Here’s what you will need!
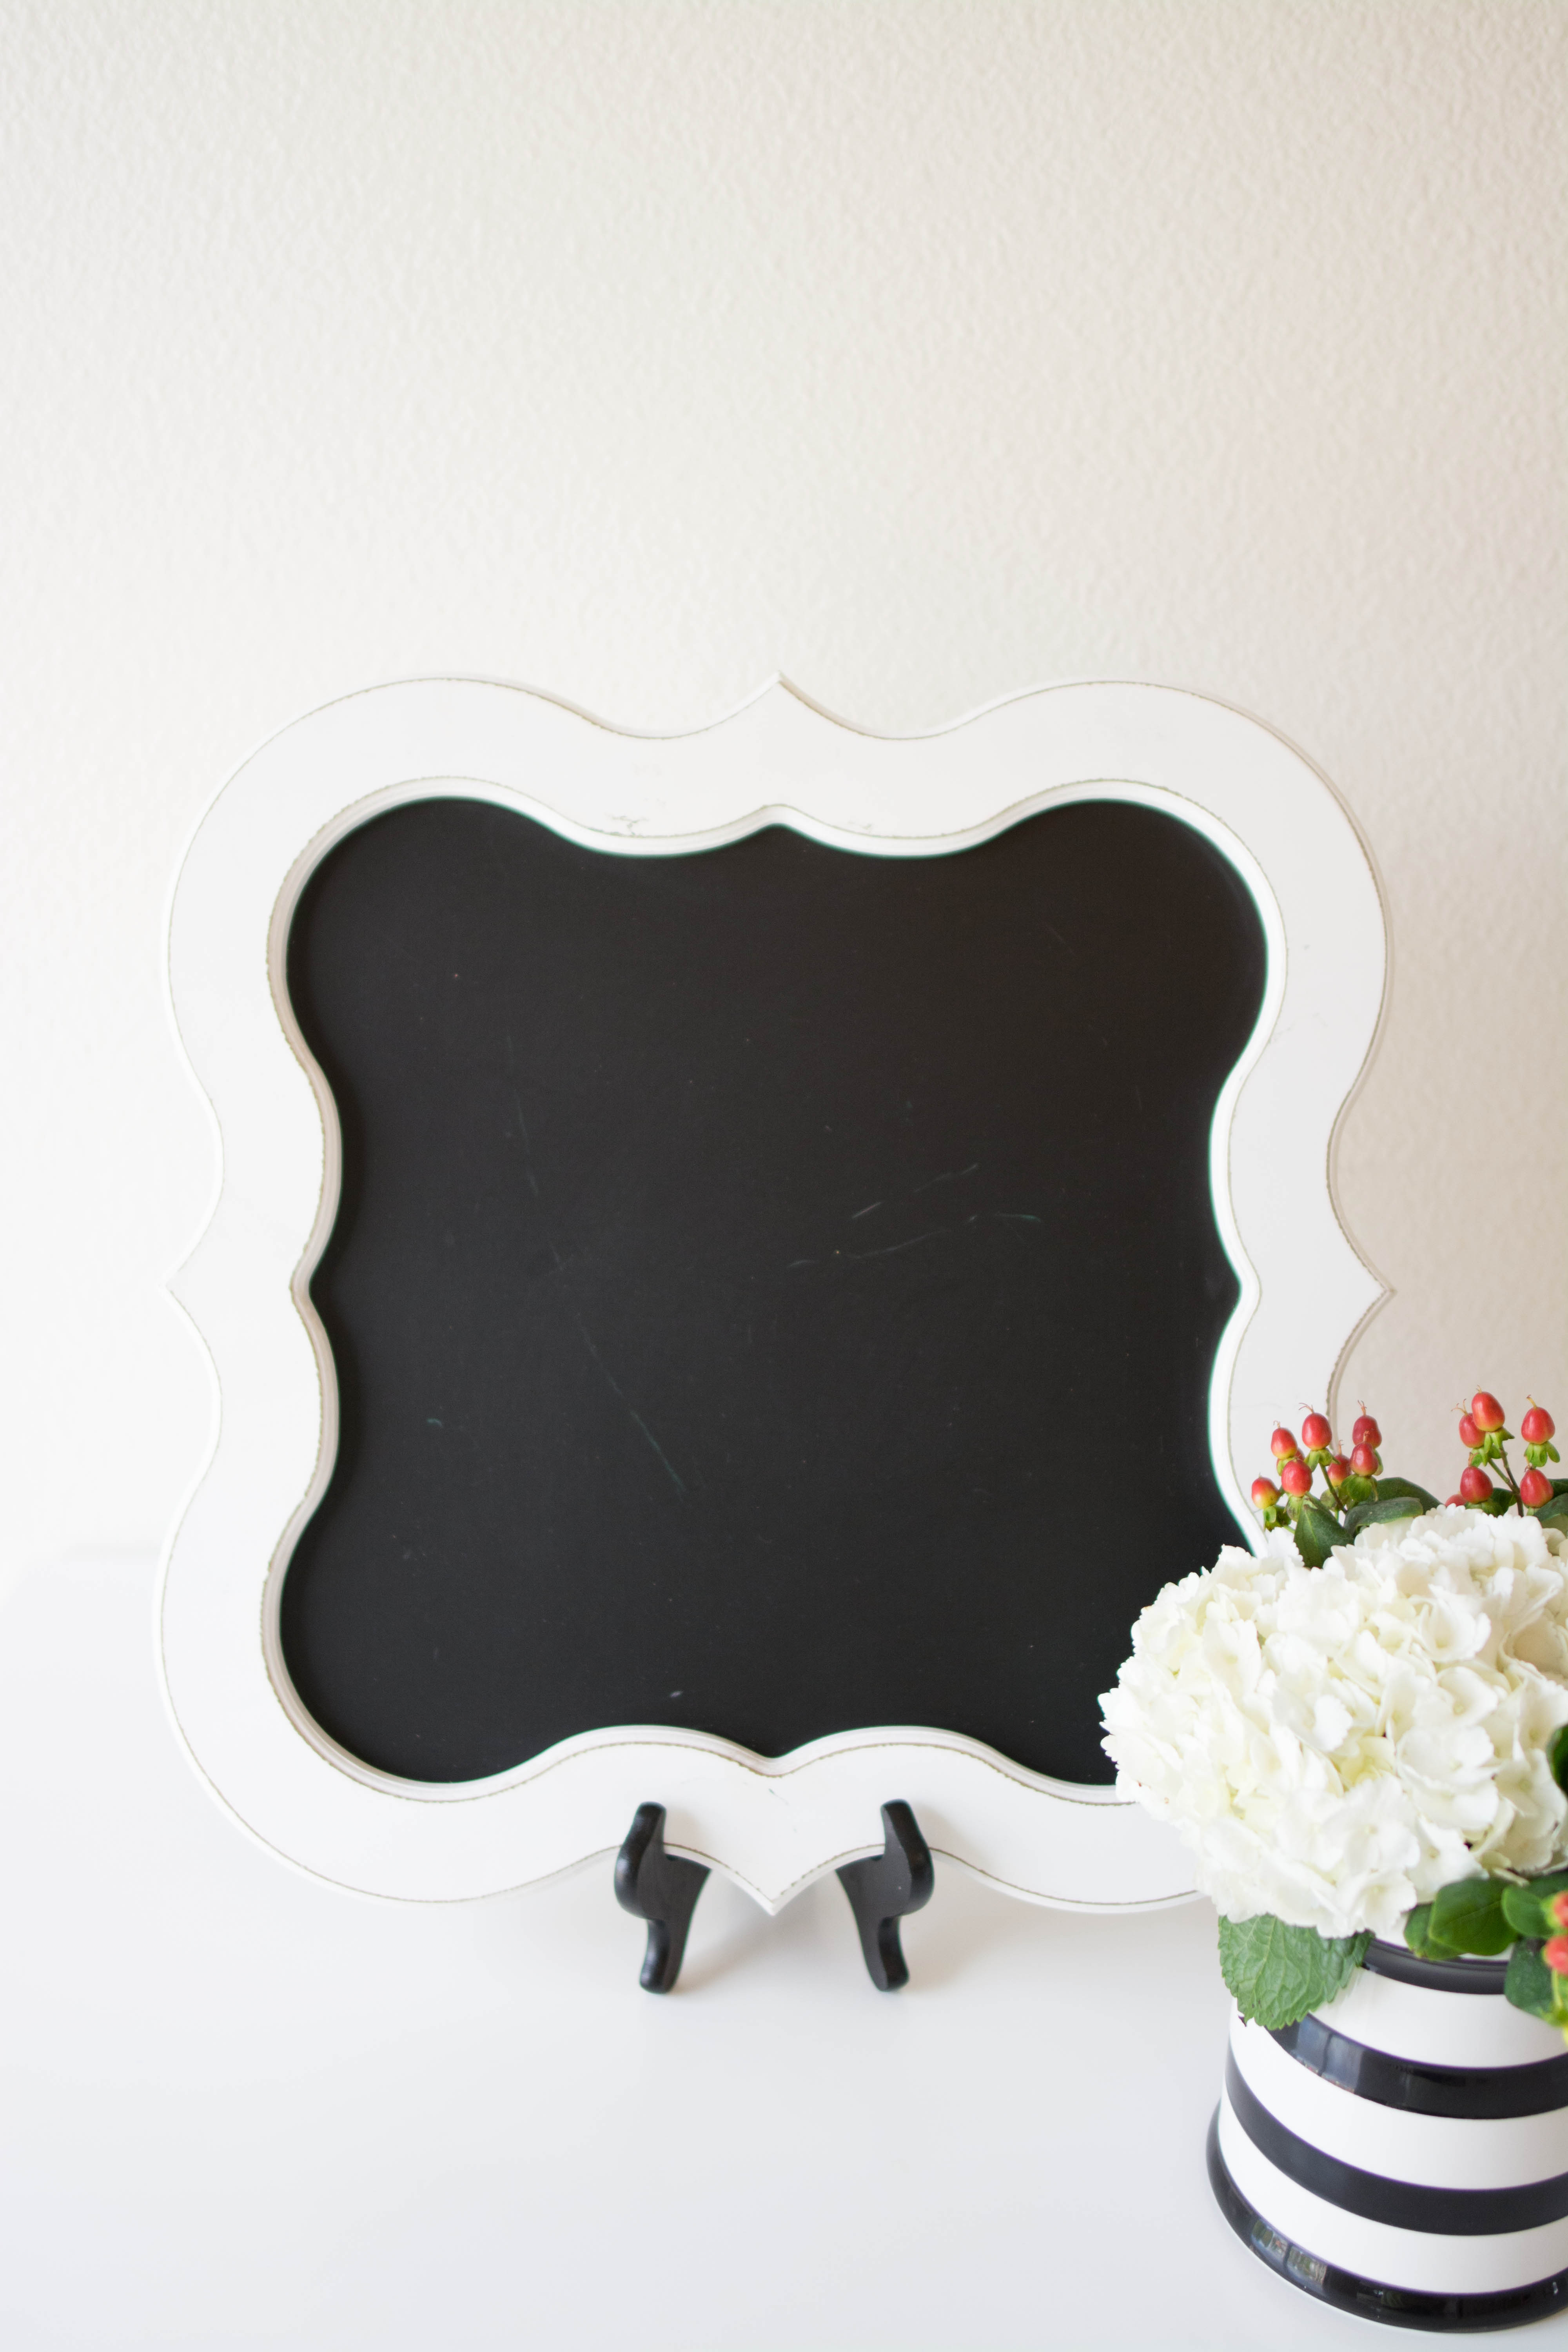
Chalkboard frame. This one is 17.9 x 17.9!
Scissors, pencil, tape and chalk!

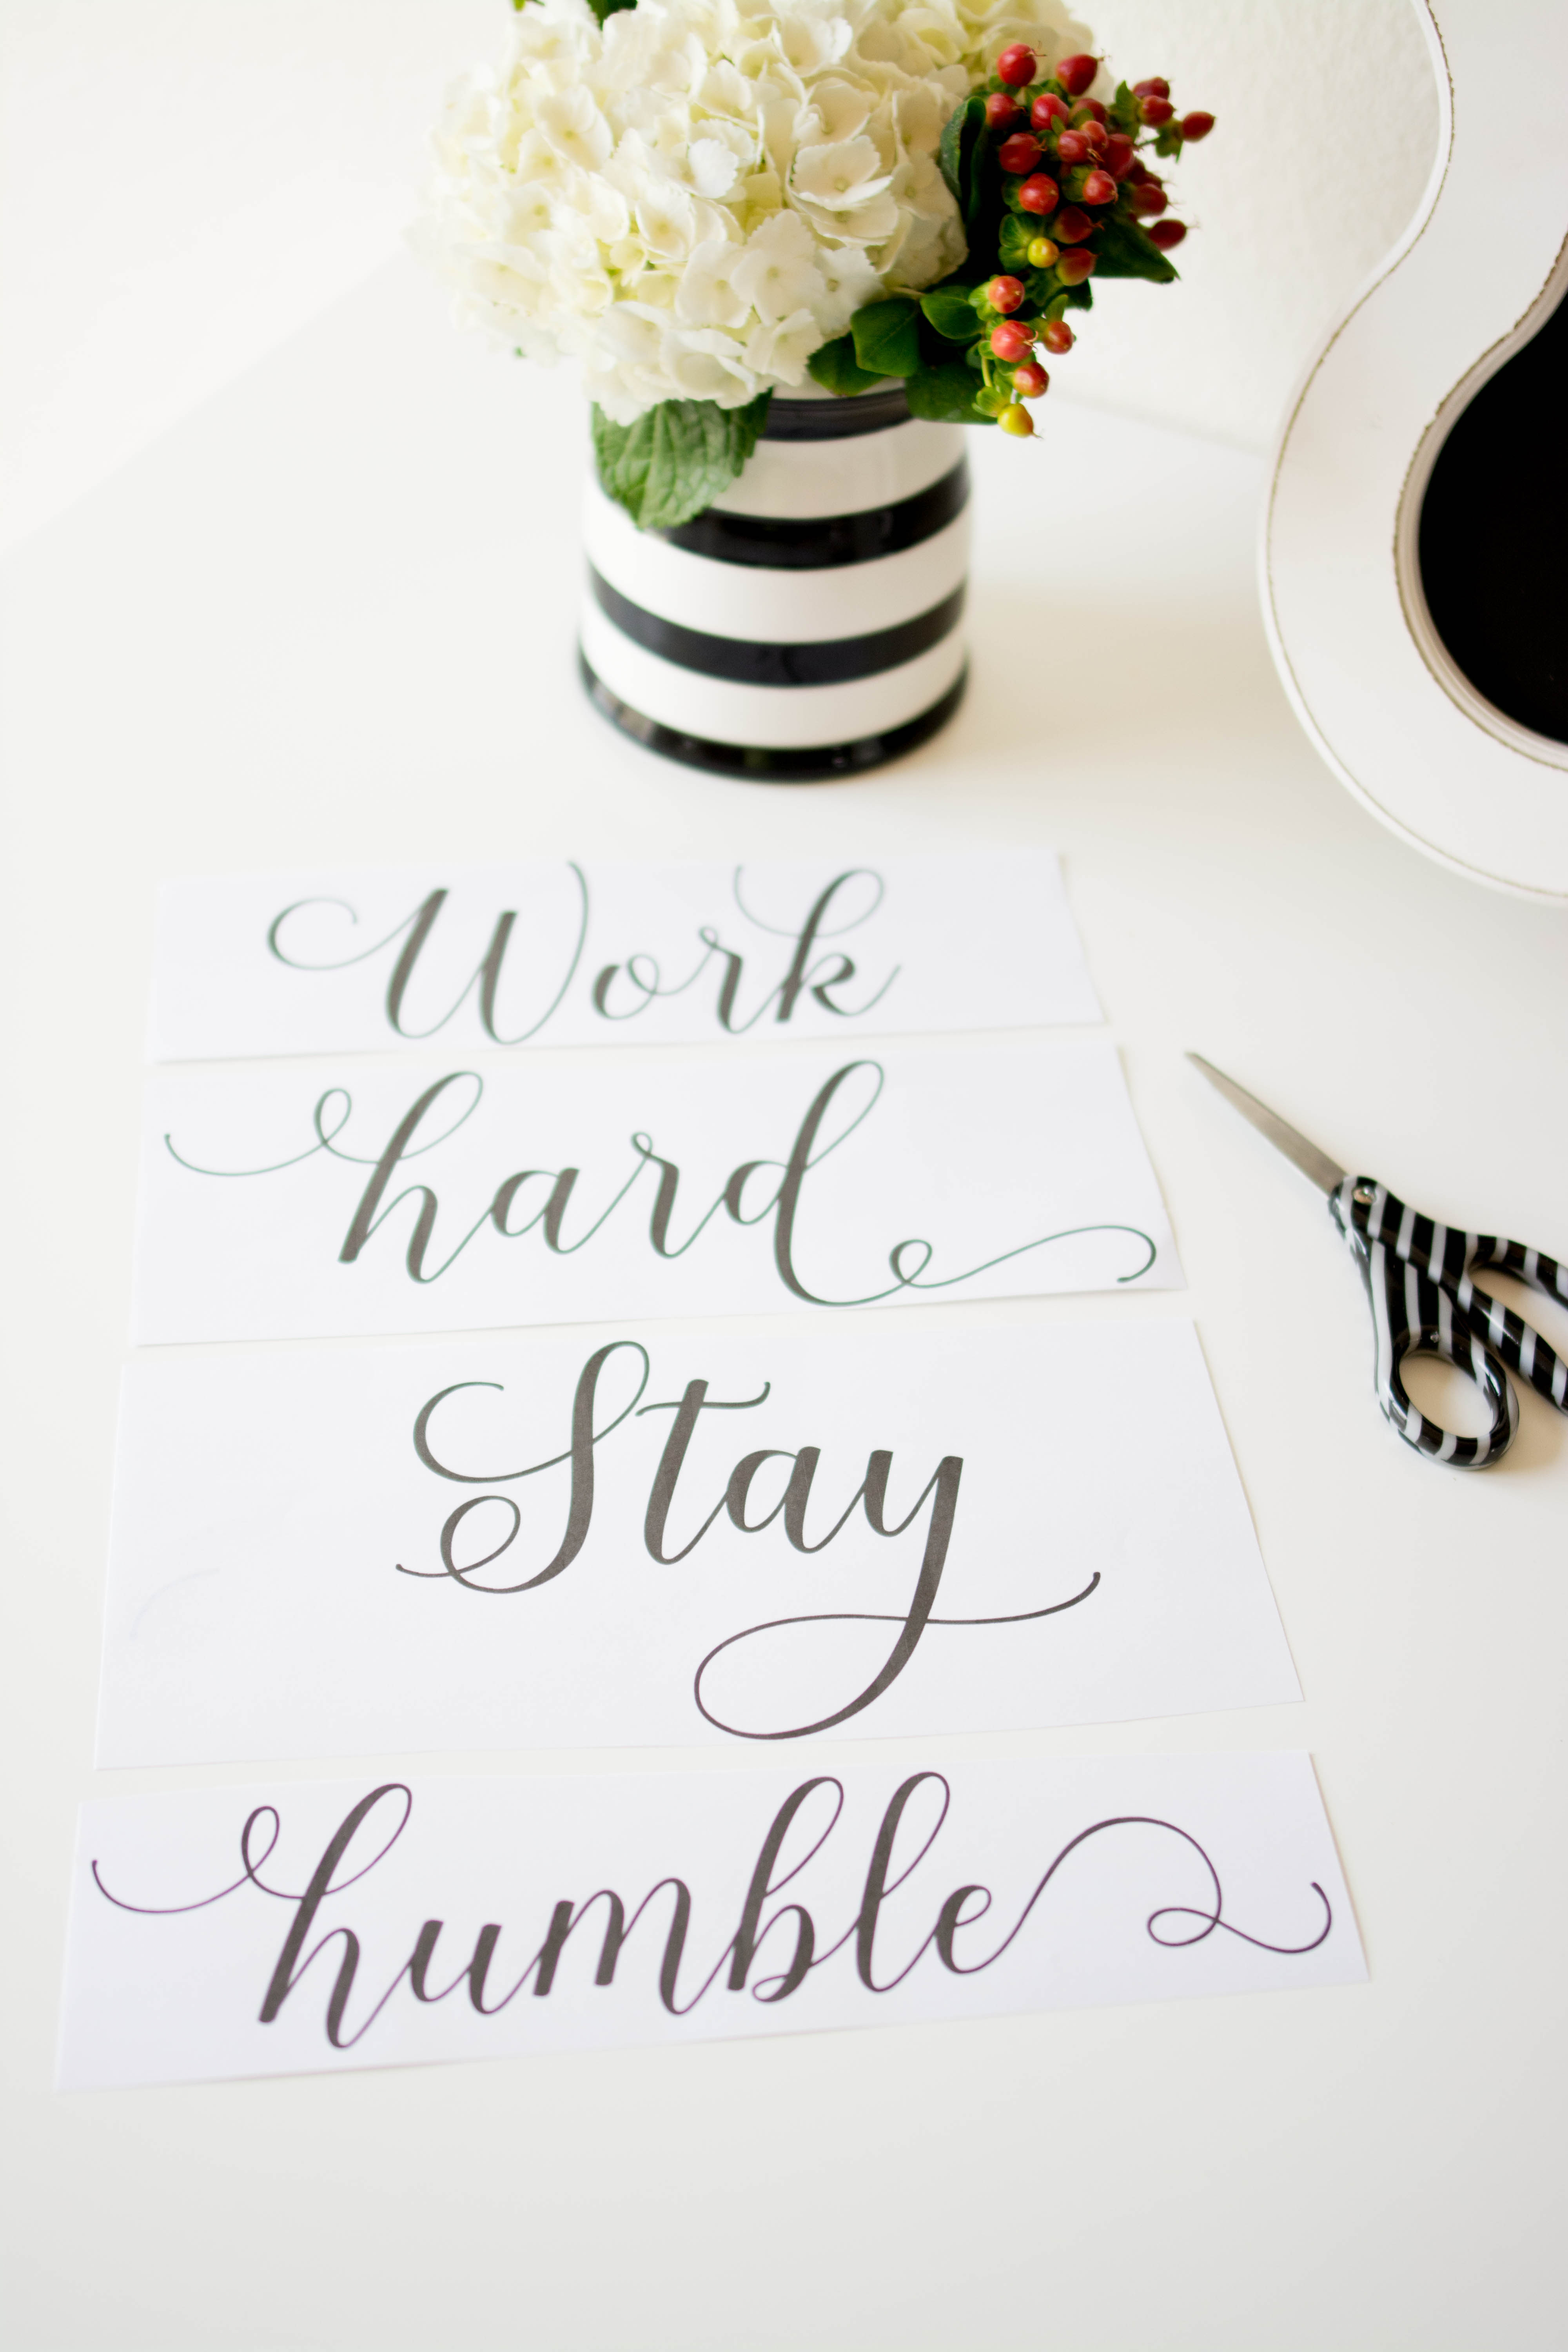
First, download our free Work Hard Stay Humble template here! Print this file on regular printing paper.

Using your scissors, cut into strips separated by words.
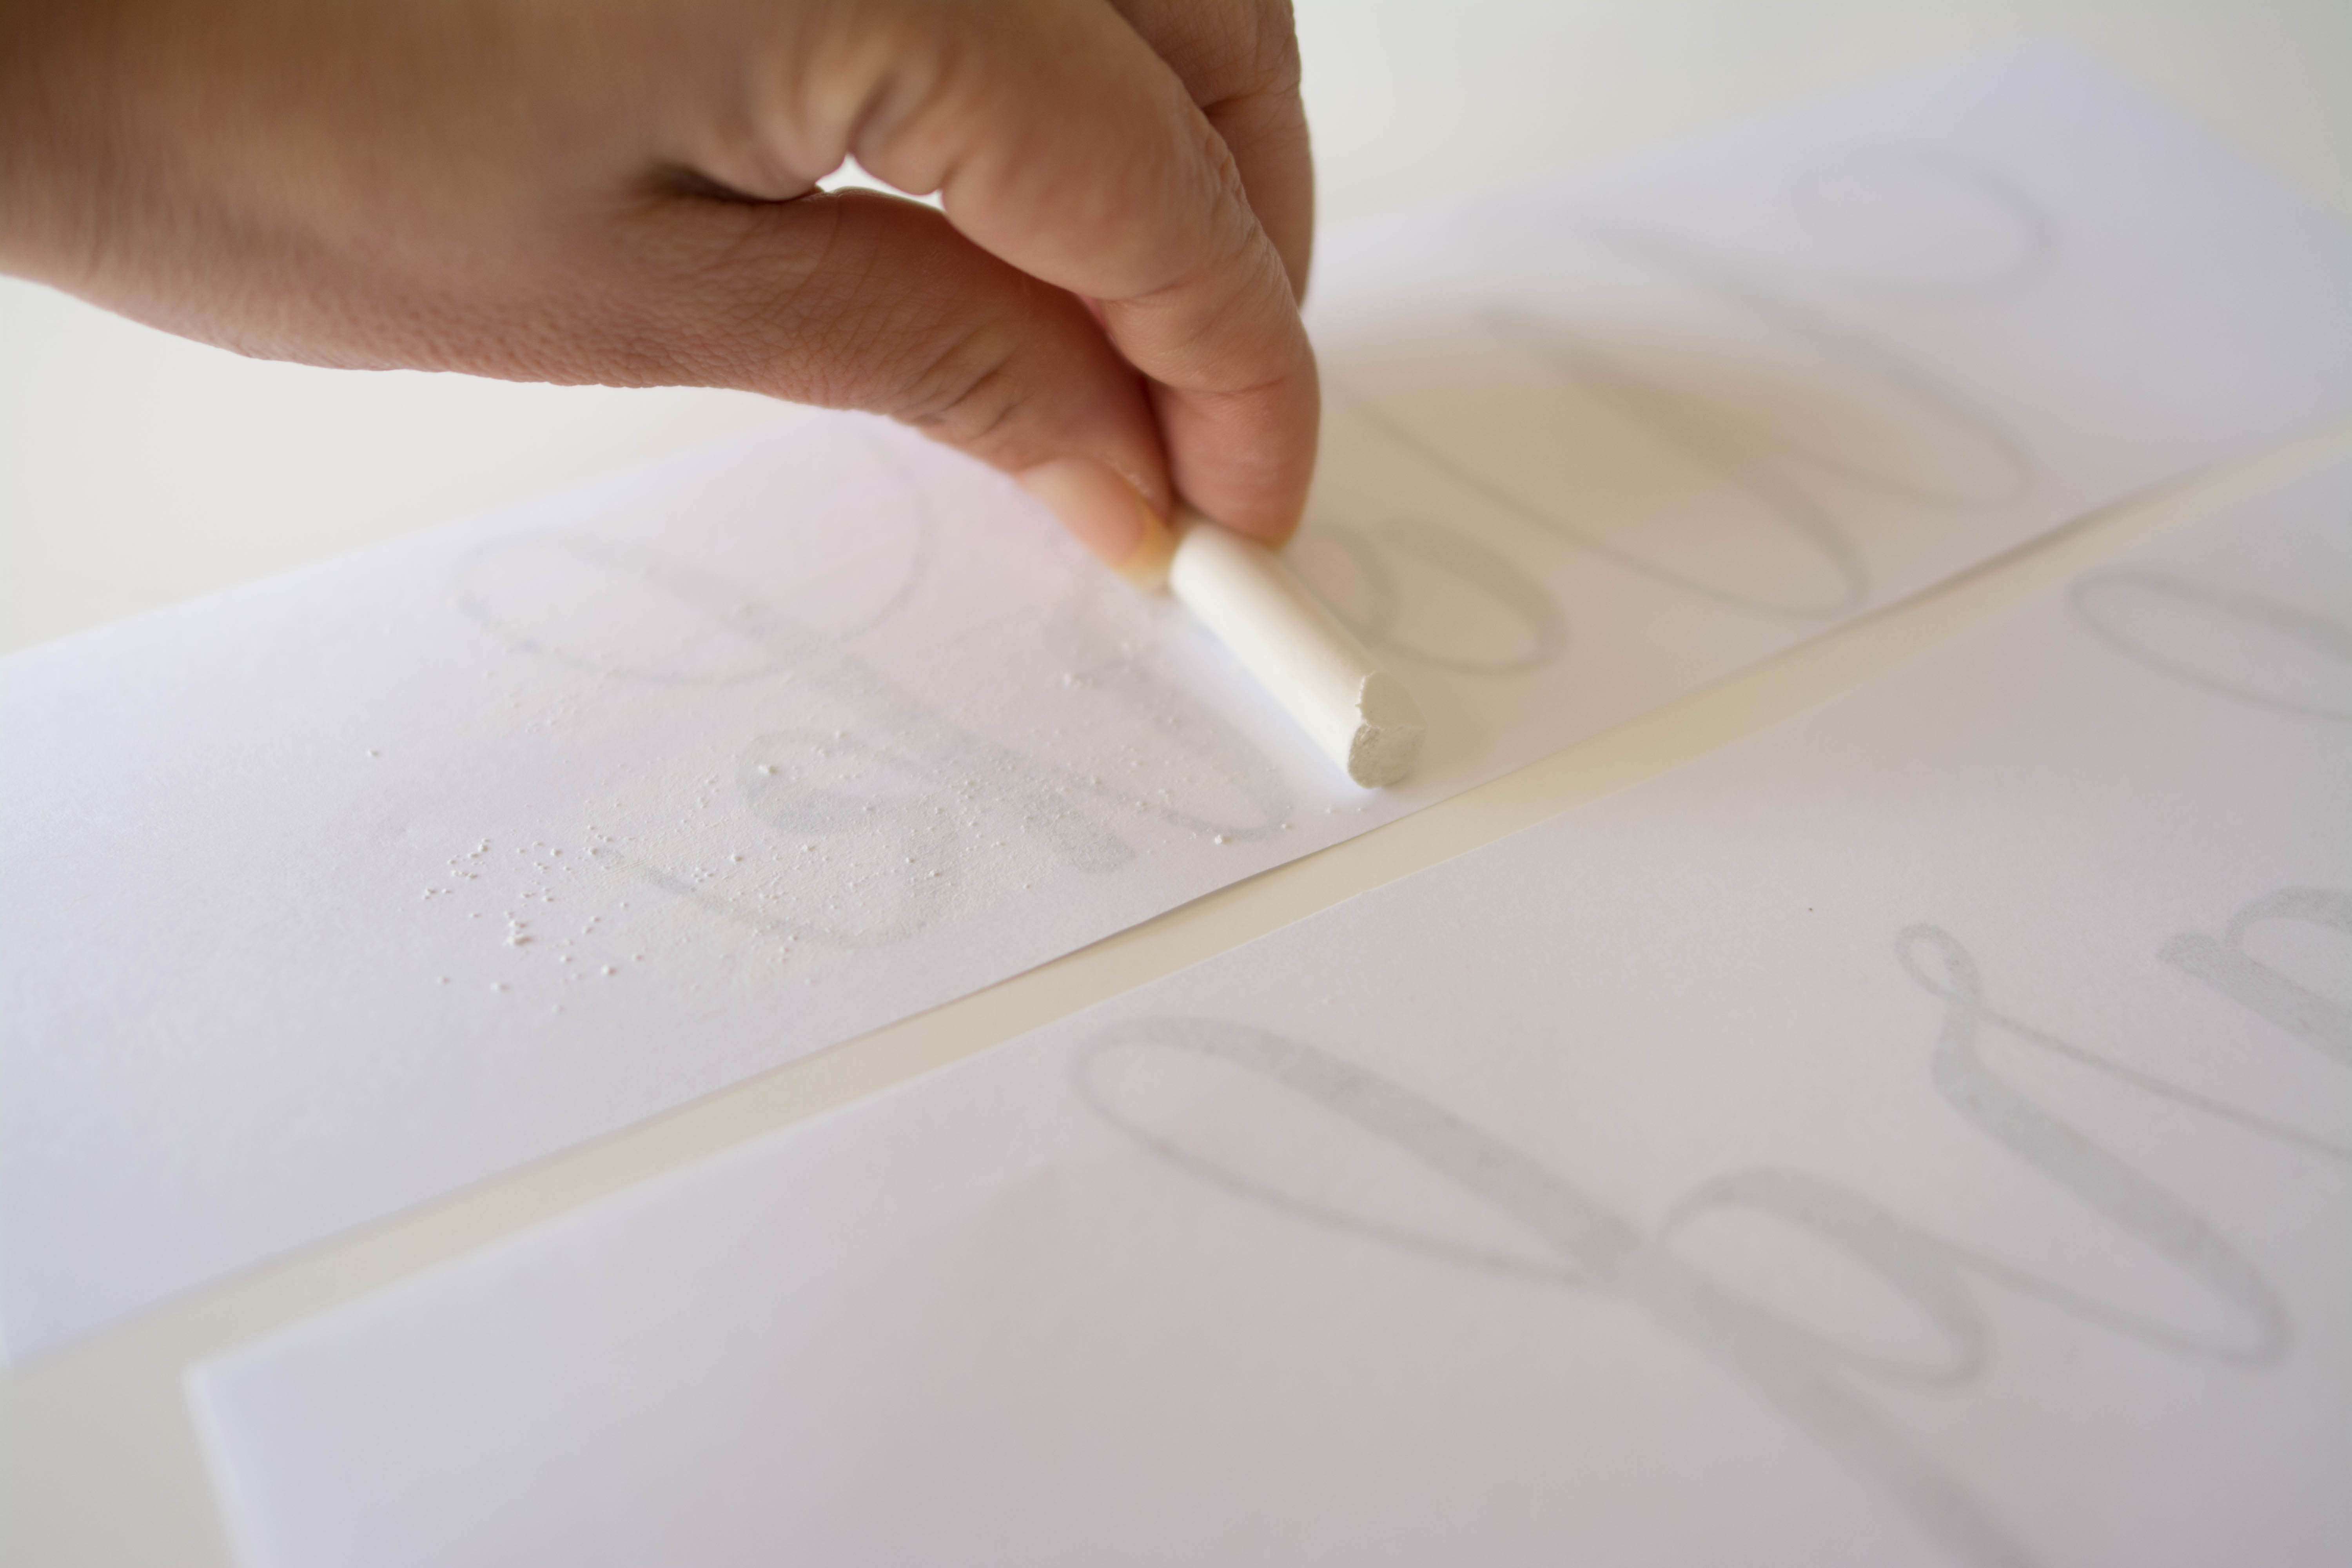
Rub chalk on the back of each separate word. Make sure you cover all the text. Gently shake the paper to get rid of any excess chalk.
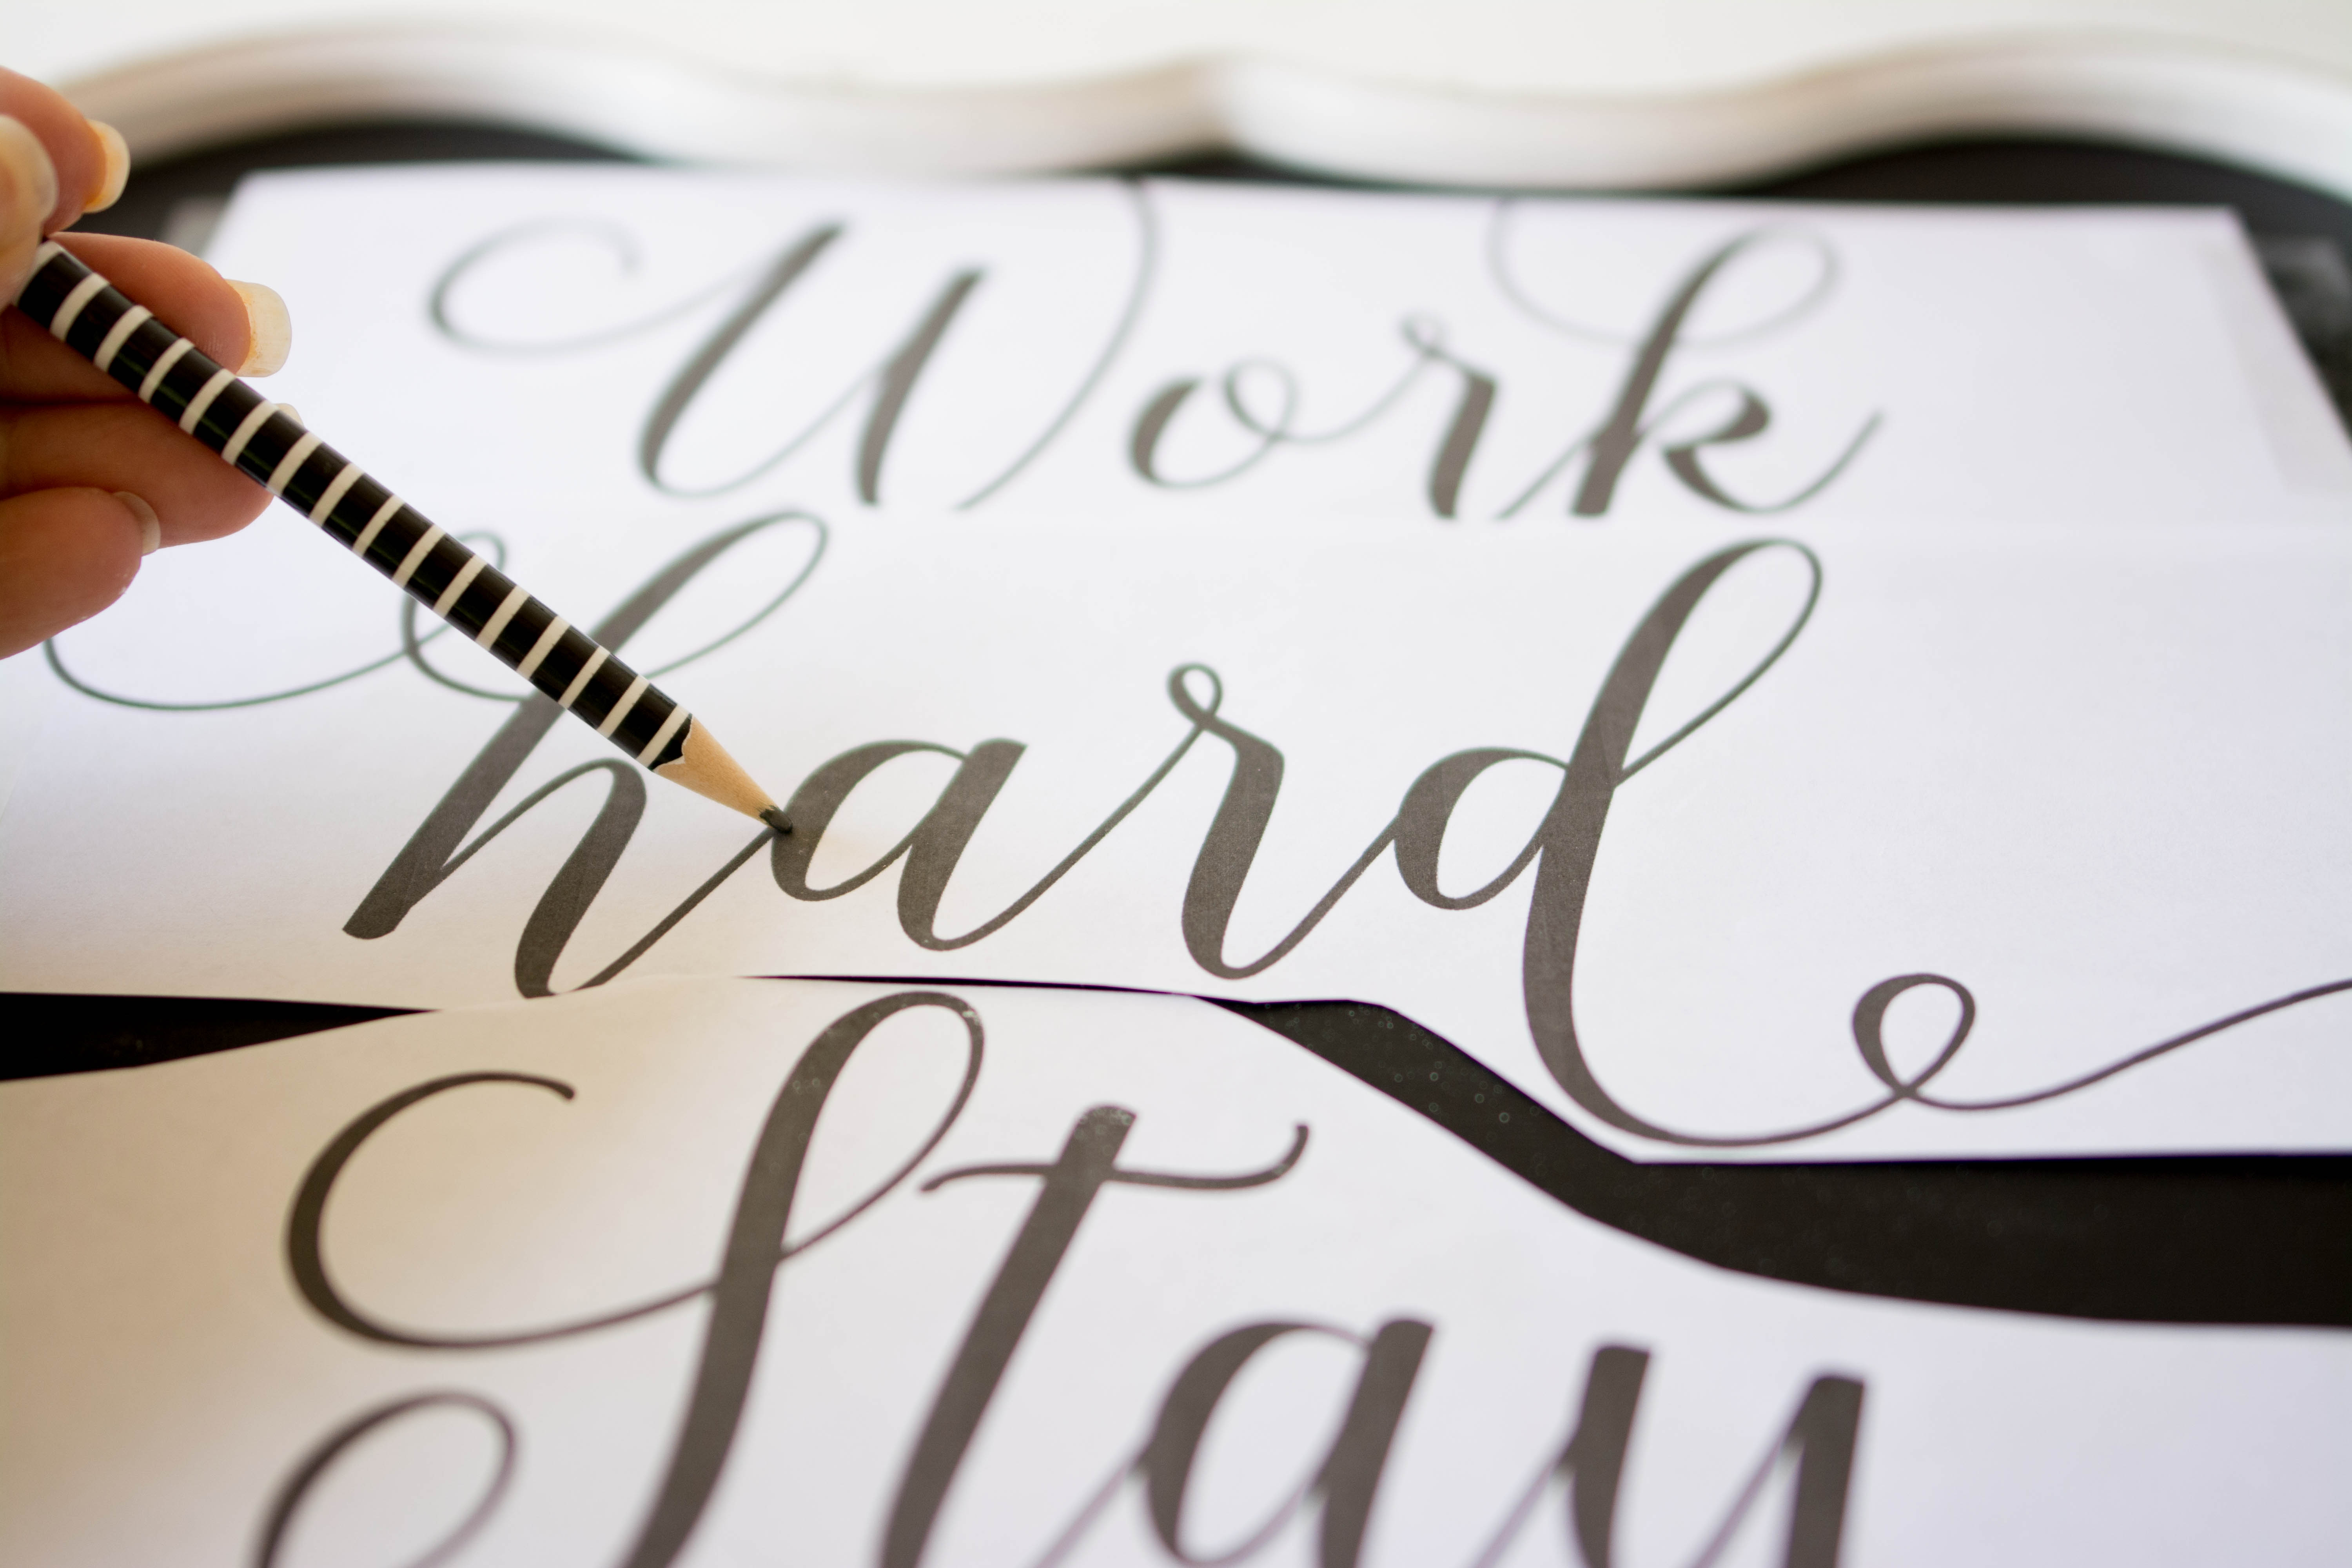
Tape each word to the board. Note: Depending on the size of the frame, you might have to keep trimming it to accommodate the whole design.

Using a pencil, start tracing and filling in the design.
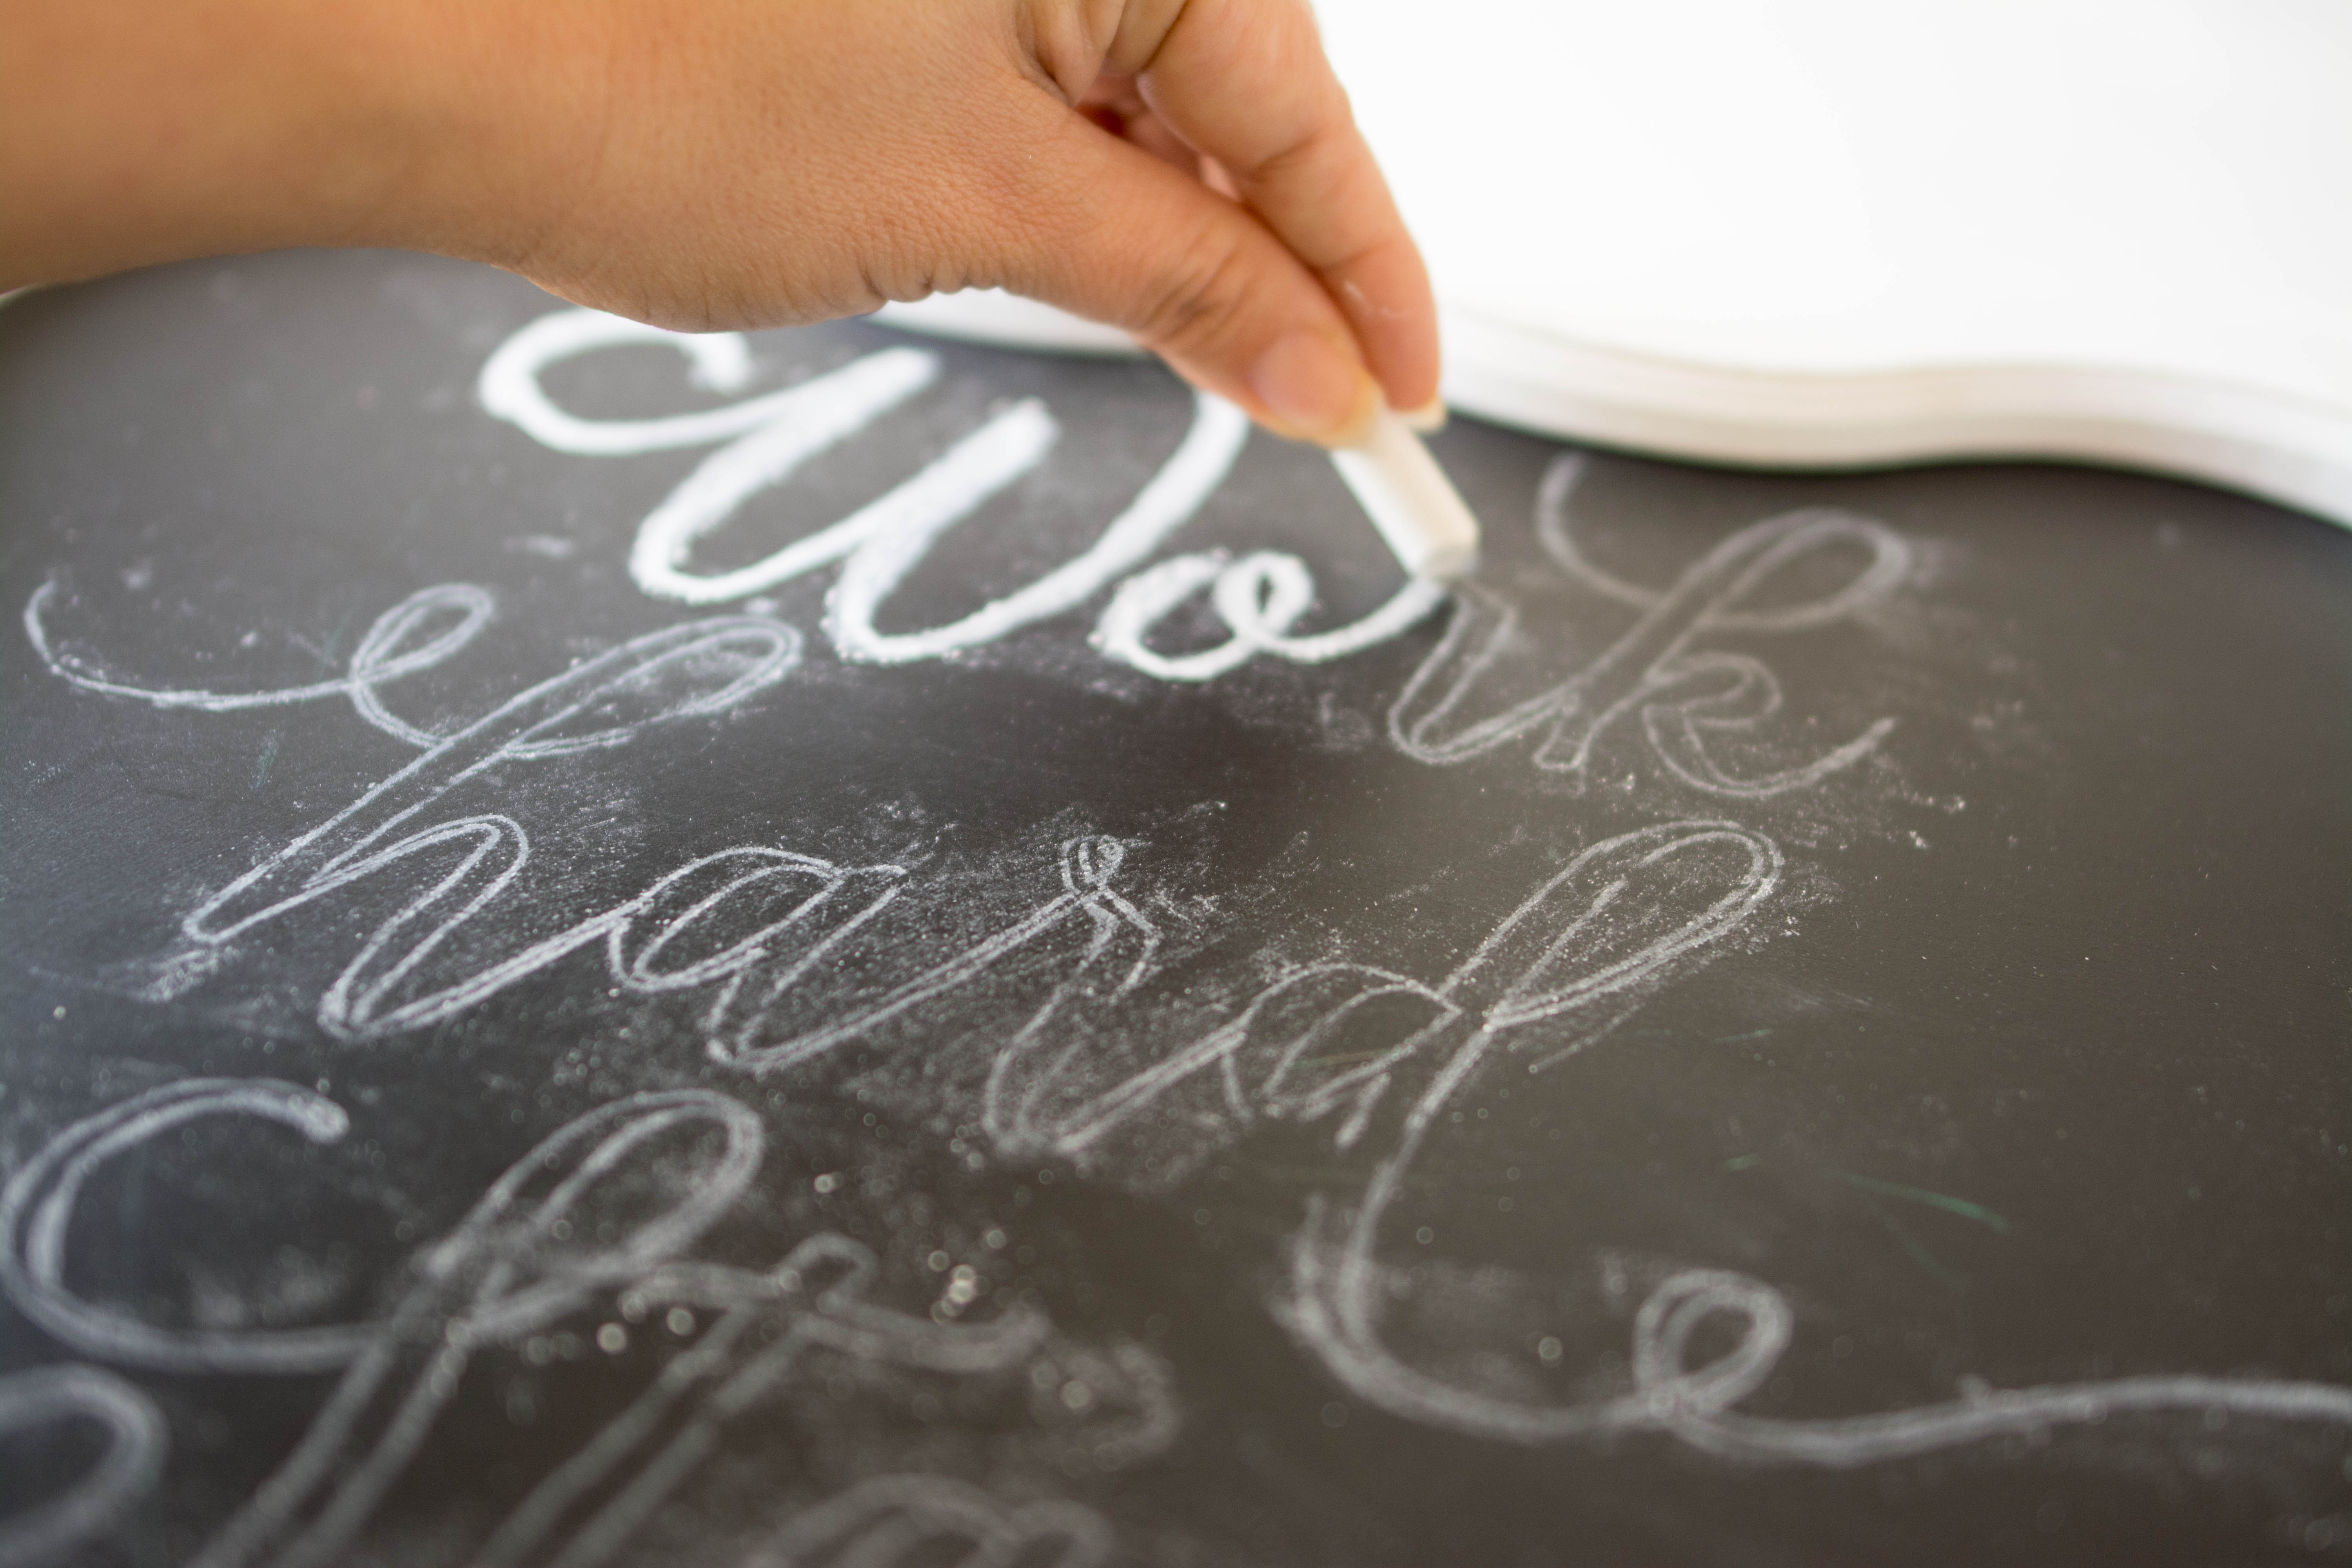
It will look like this. No worries about the sign looking a little messy 🙂

Remove the papers and start tracing the letters using chalk.
Voila! Pretty calligraphy chalkboard sign in no time! Note: It can be a little time consuming depending on how intricate the font is. The final result is fun. It’s totally worth the time!
I did this one for my work/office studio and I am excited about working on different designs. I promise I will share them with you!
If you decide to work on your own, please tag us on Instagram @twinkletwinklelittleparty. I would love to see what you create!
Until next time!