This is not a sponsored post and it does not contain any affiliate links.
Hello, friends!
A few weeks ago Wayfair contacted me to ask if I had a craft station/work space I could share with them for a potential feature. I was over the moon! Who doesn’t love Wayfair, right? Honestly, I freaked out a little bit as I was prepping for two styled shoots and my craft supplies were all over the place. So in order for me to take a few pictures for the submission, major organization was necessary. After investing a few hours organizing my work space, I decided to show you how to build your own DIY Craft Station!
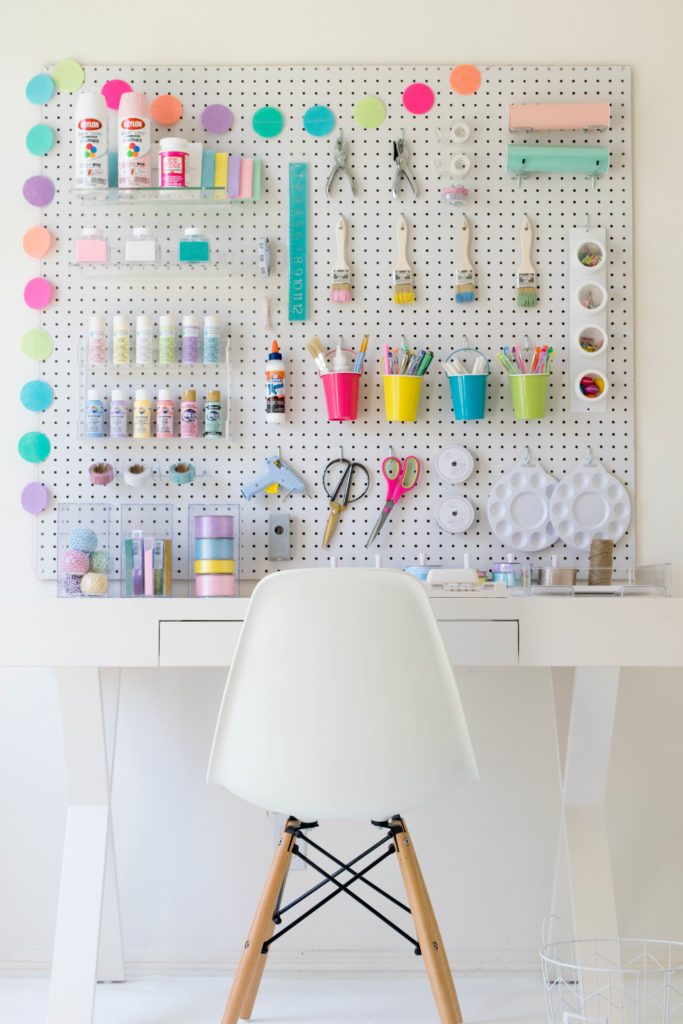
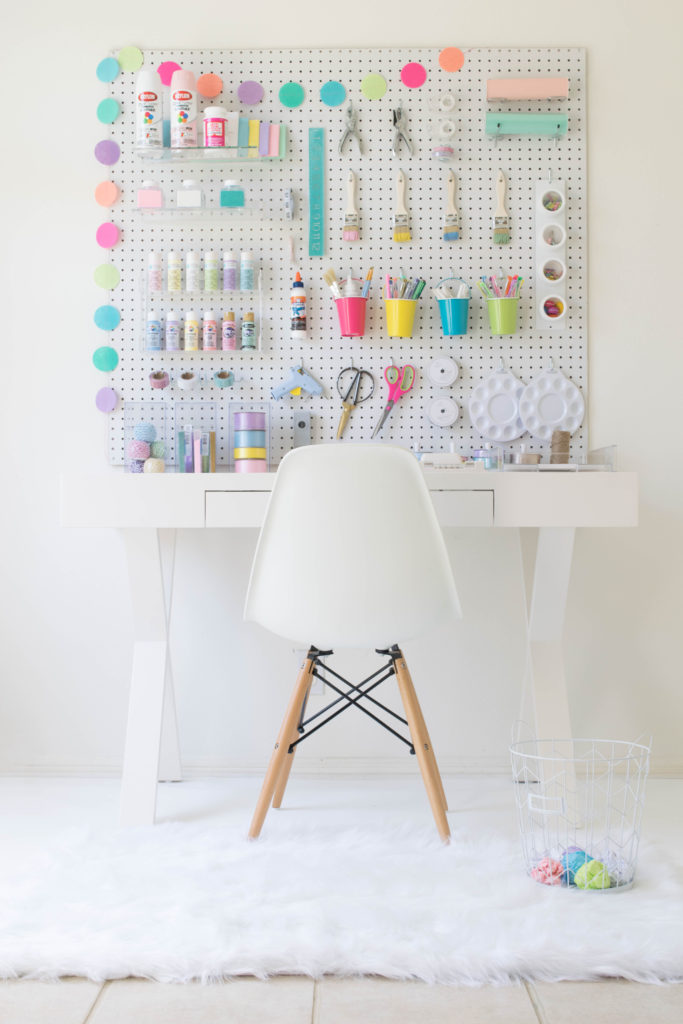
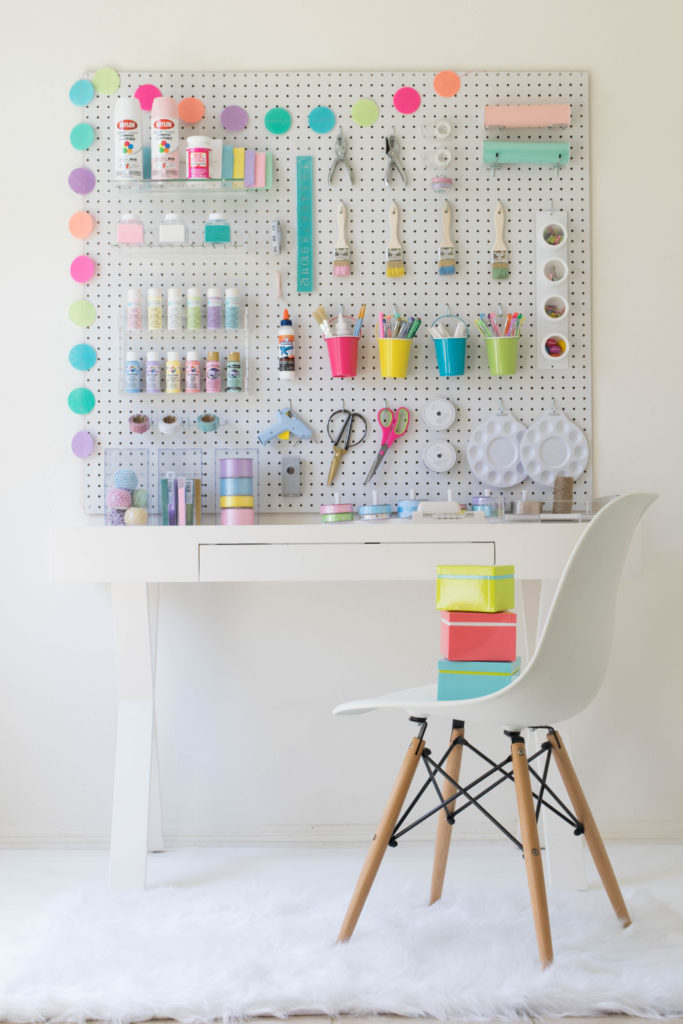
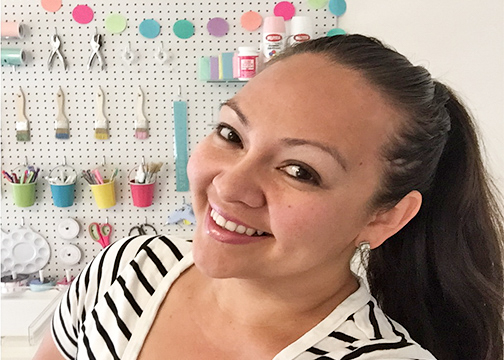
So here’s my creative space. It’s small and it has everything I need for my projects!
If you would like to see the feature on Wayfair, just click here.
If you are looking into build your own craft station but have limited space like me (I am currently living in a rental that doesn’t have a bonus room), I hope my tips and ideas help you get your creative space organized!
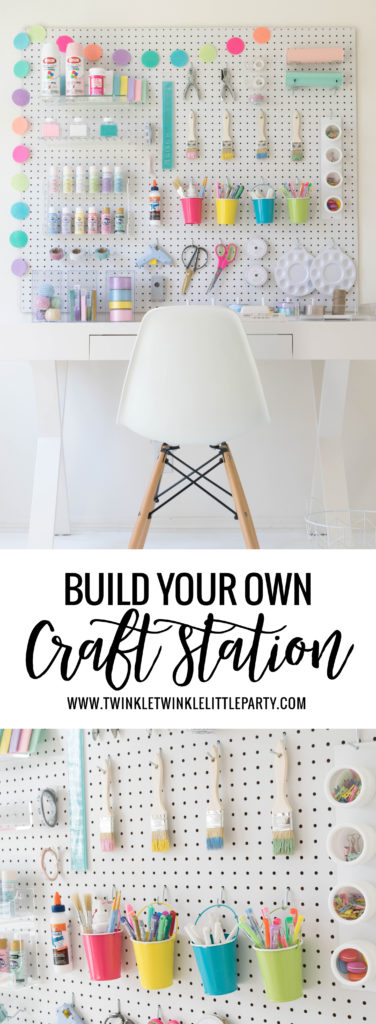
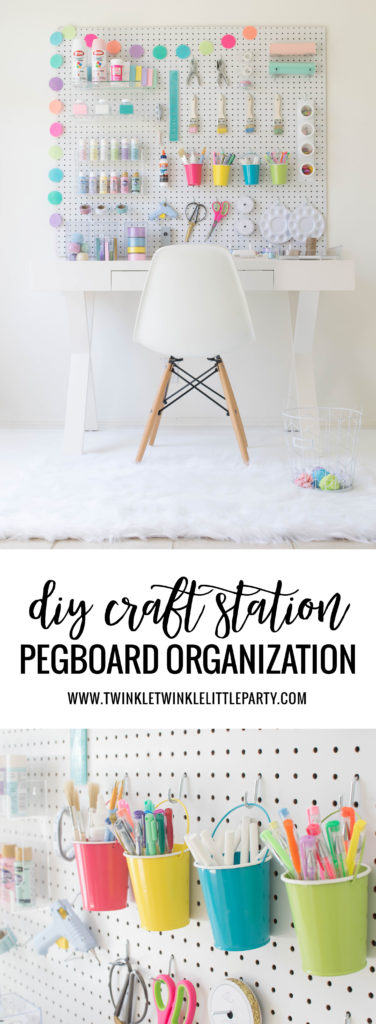
INSTALL A PEGBOARD FOR CRAFT ROOM ORGANIZATION
My first advice to keep a space clean and clutter-free: install a pegboard to display only the supplies, tools you use on a daily basis! Everything else can be stored in labeled boxes and containers.
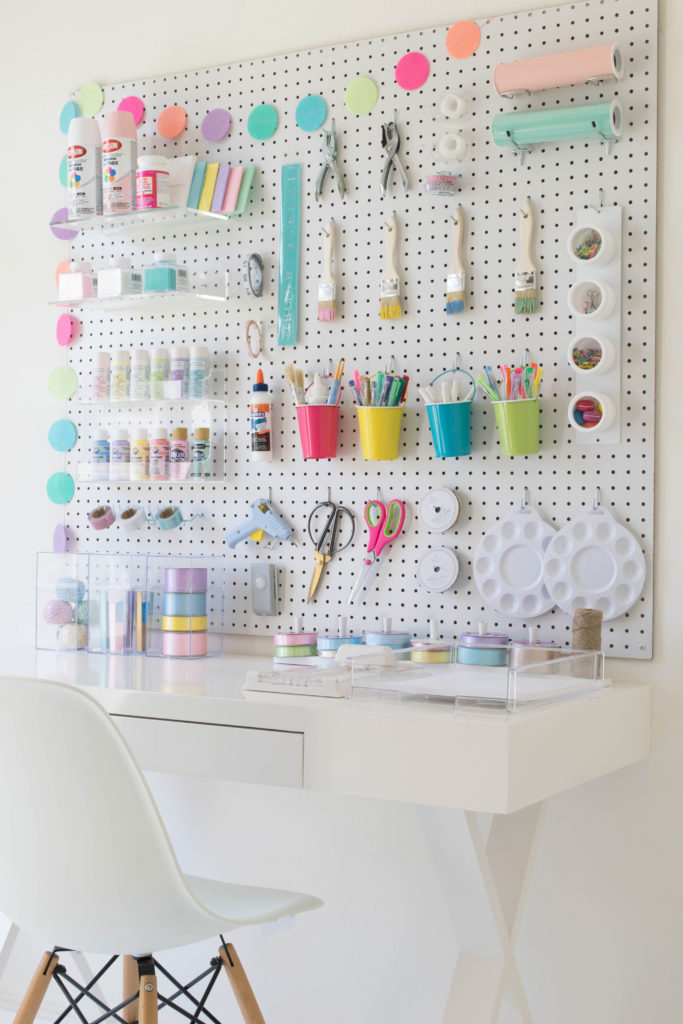
I purchased a large pegboard at my local Lowe’s and had them cut it in half to fit the length of my desk. I also purchased a Pegboard Hook kit.

How to mount a pegboard on the wall
Using wood screws, mount the pegboard on the wall. Don’t forget to use spacers (they come with the pegboard kit) with the mounting screws to allow room for mounting accessories.
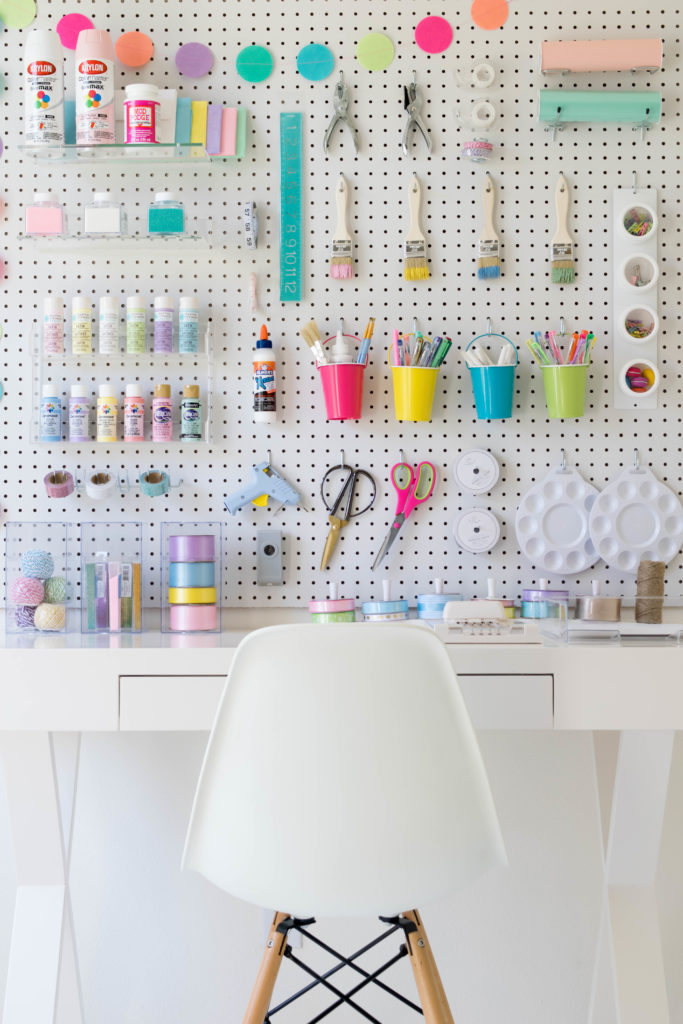
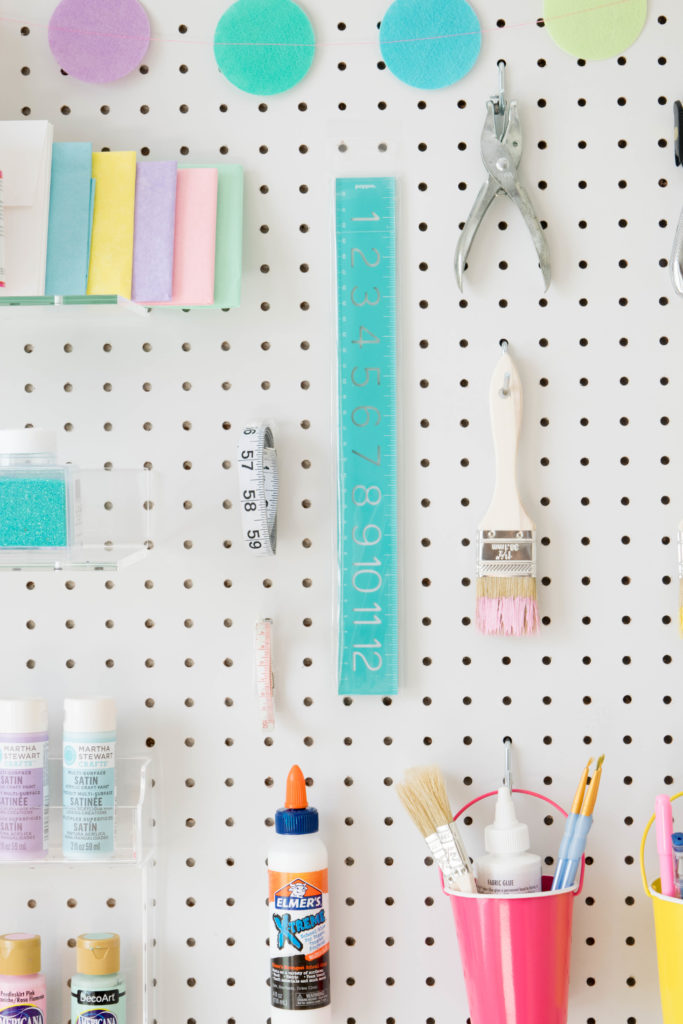
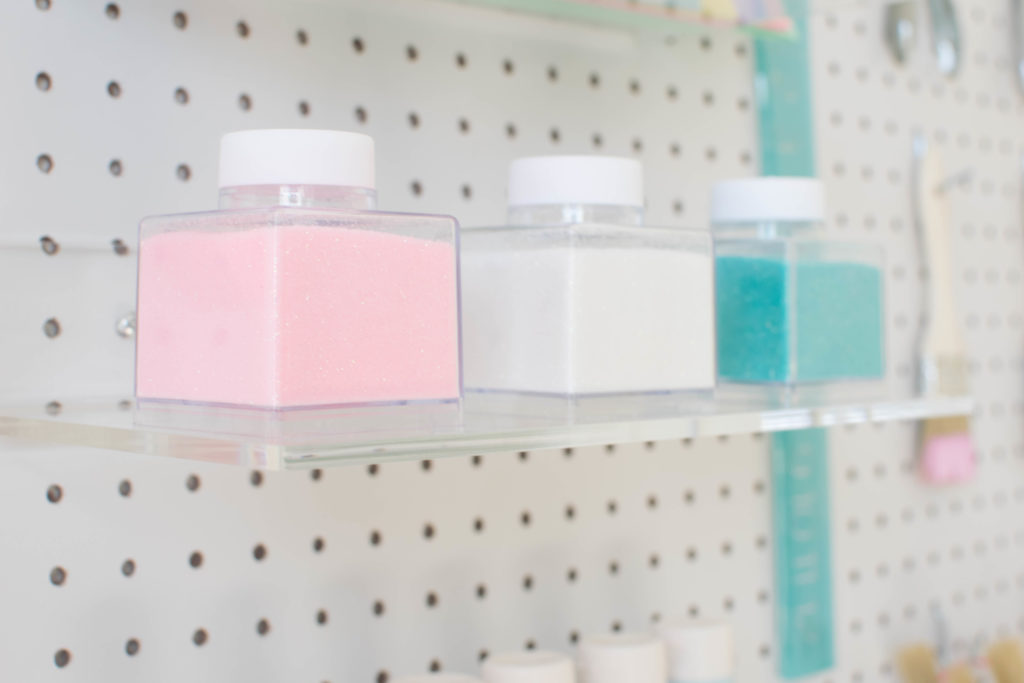
Decide on which tools and supplies you would like to display on your pegboard. This is the fun part! Besides the hooks, I also decided to install shelves to display my paint and glitter bottles. I used the top ones for spray paint bottles and glitter so my toddler can’t reach them easily!
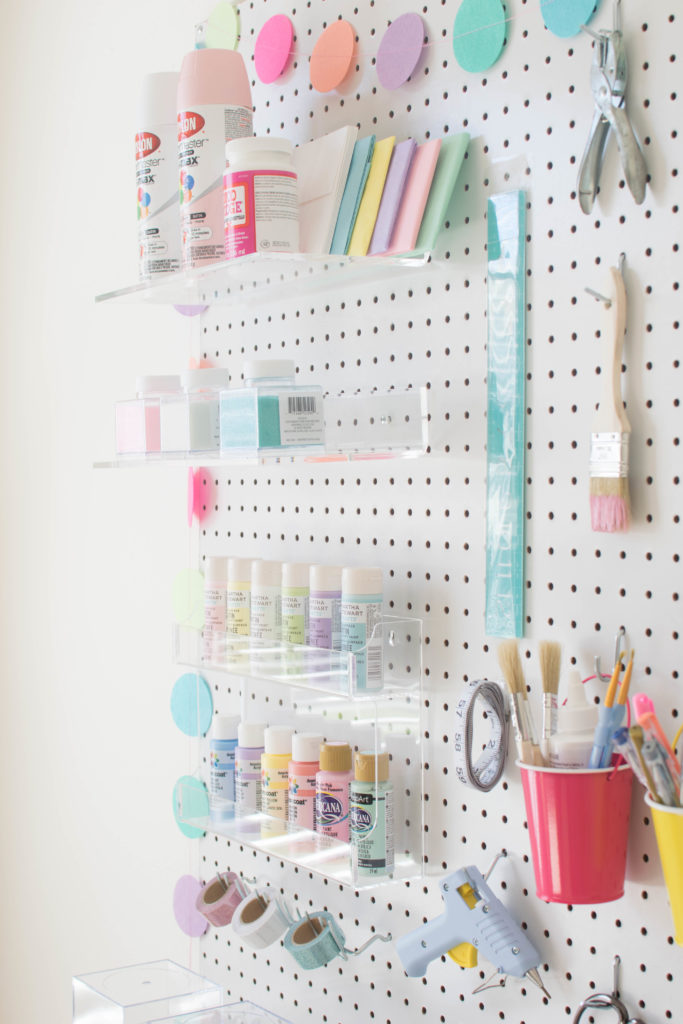
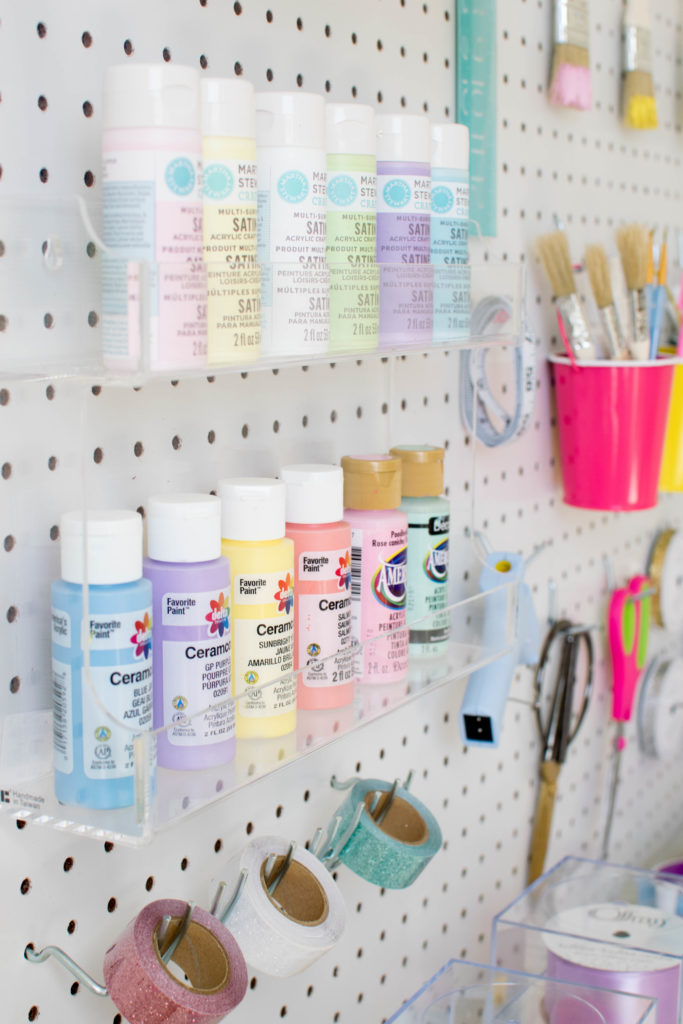
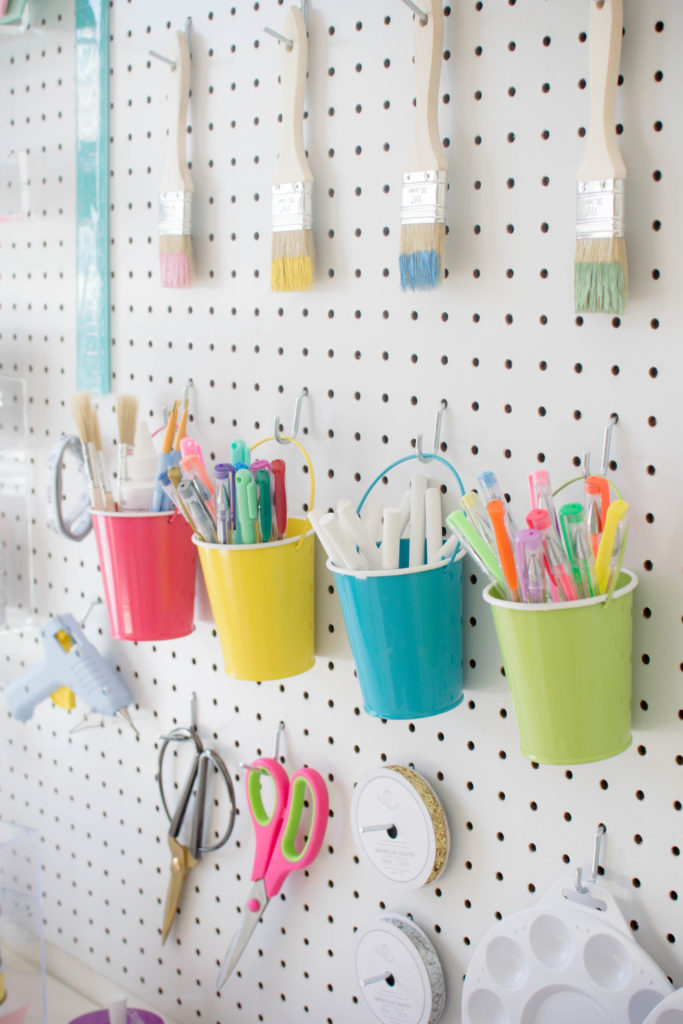
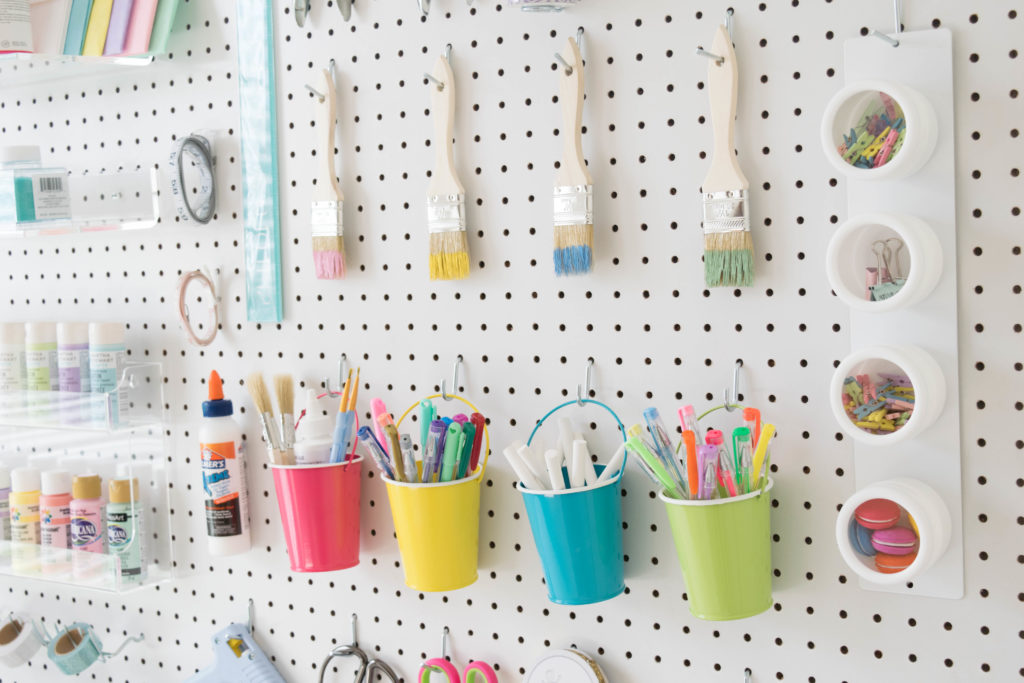
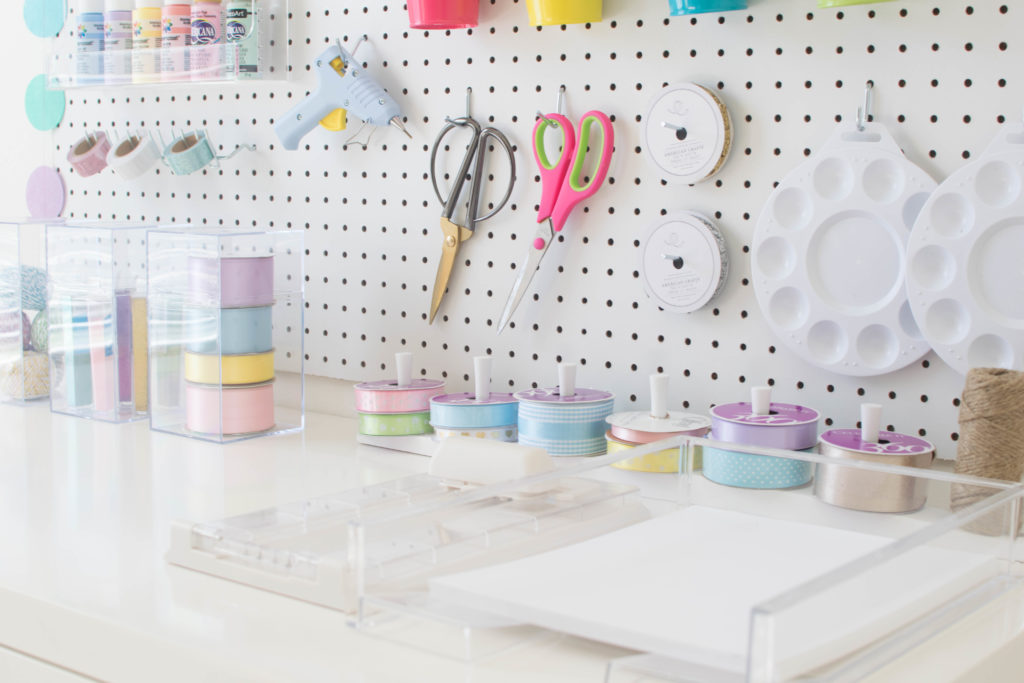
I used mini pails for pens, pencils, brushes, hot glue gun sticks, chalk and mini magnetic containers for other office supplies.
For my desk, I used clear containers to display baker’s twine, glitter tubes and ribbons. I need to purchase another container for all the washi tape I own!
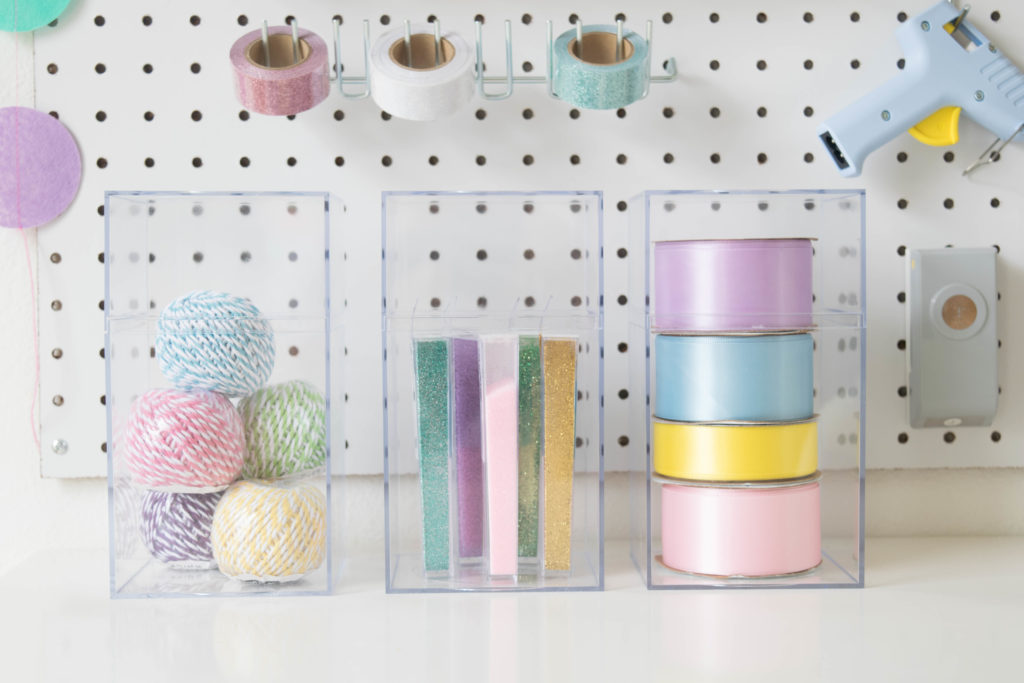
Last but not least, I used a 7-Peg Wood Rack to display my ribbons.
So that’s that, my friends! I hope this post can be a great resource and gives you some ideas on how you can create your very own craft station!
We are finally leaving this rental to move into our own home by second or third week of July. I will be able to set up my craft station, computer desk and an extra table to display the party supplies I use the most. I seriously can’t wait! I will be able to share my complete space in a few weeks! Visit our front page to subscribe to our blog today and start receiving a notification in your email when a new post goes live!
Talk soon and don’t forget to pin these images to your Pinterest board!

PIN FOR LATER