Hello, friends!
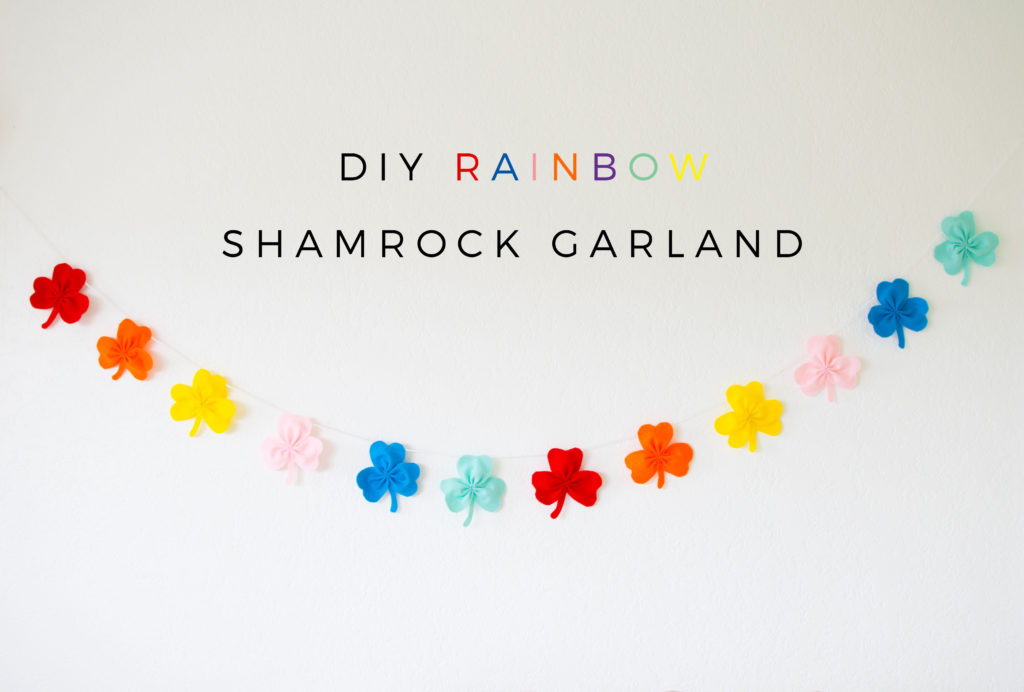
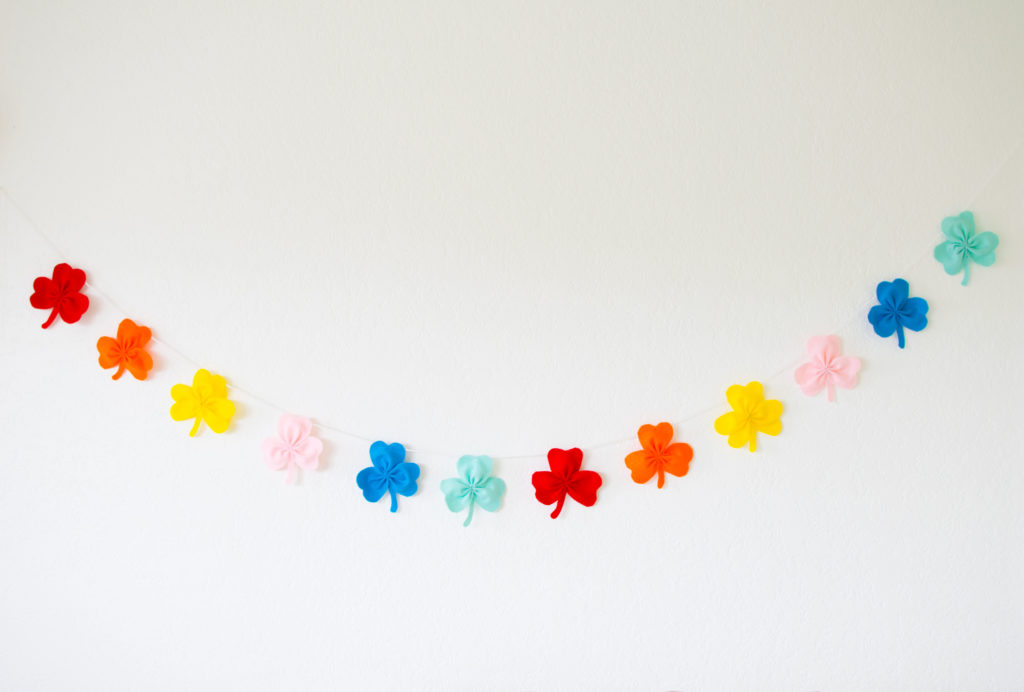
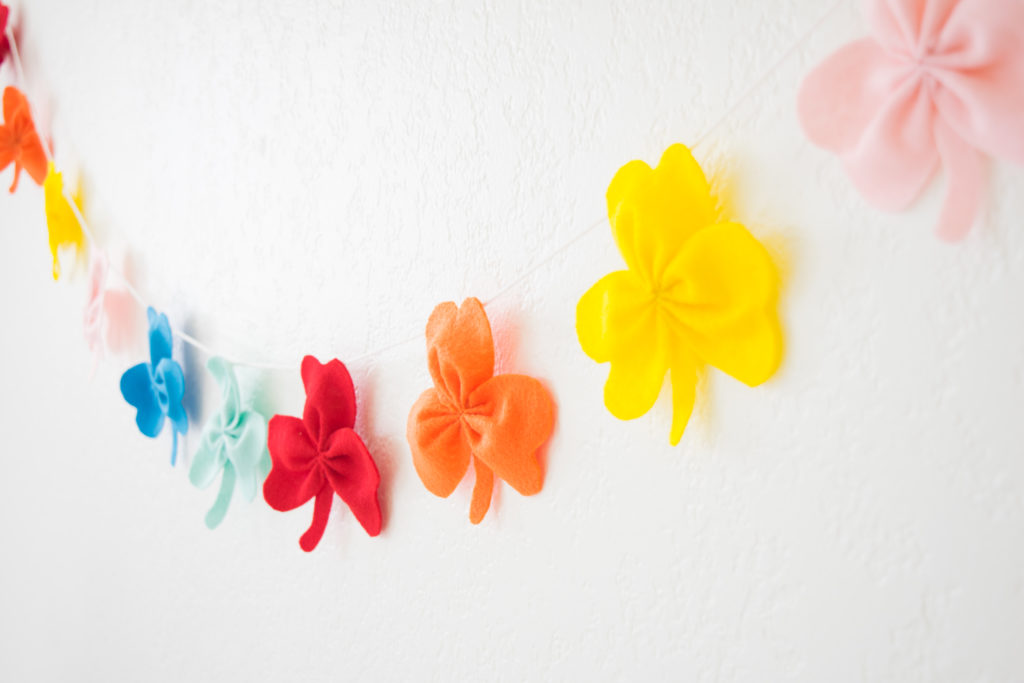
While browsing on Pinterest, I fell inspired by a few Shamrock garlands so I decided to create my own by adding my own spin to it! Instead of making the standard green shamrock, I made shamrocks in different colors to create a Rainbow Shamrock Garland.
I picked these colors to match the rainbow plates I used for our Kid’s Saint Patrick’s Day Breakfast (next post), so feel free to use felt in standard rainbow colors or any other color you want!

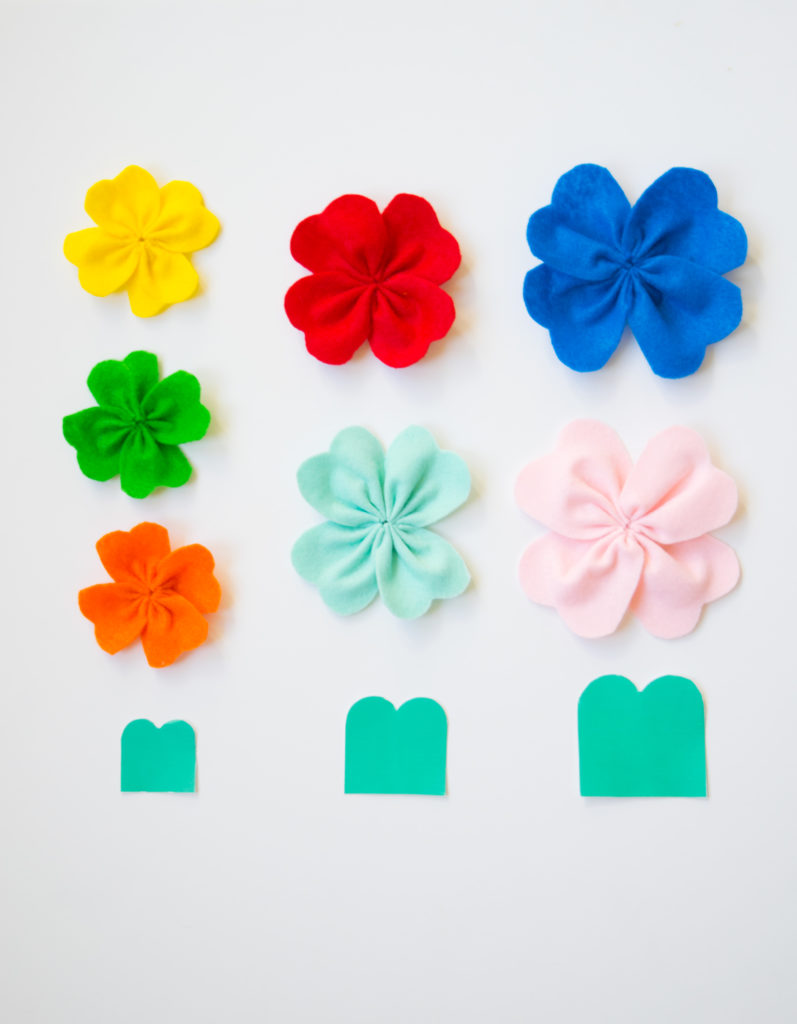
The shamrocks can be done two ways: 3 or four clovers. I am showing you both ways! I am also sharing the template for 3 different size shamrocks. Look for the template at the end of this post.
For this project all you need is felt and a few supplies & tools you probably already have at home. Felt is so inexpensive. Depending on which craft store you buy them, it typically ranges from 0.33-0.38 cents. Can’t beat that!
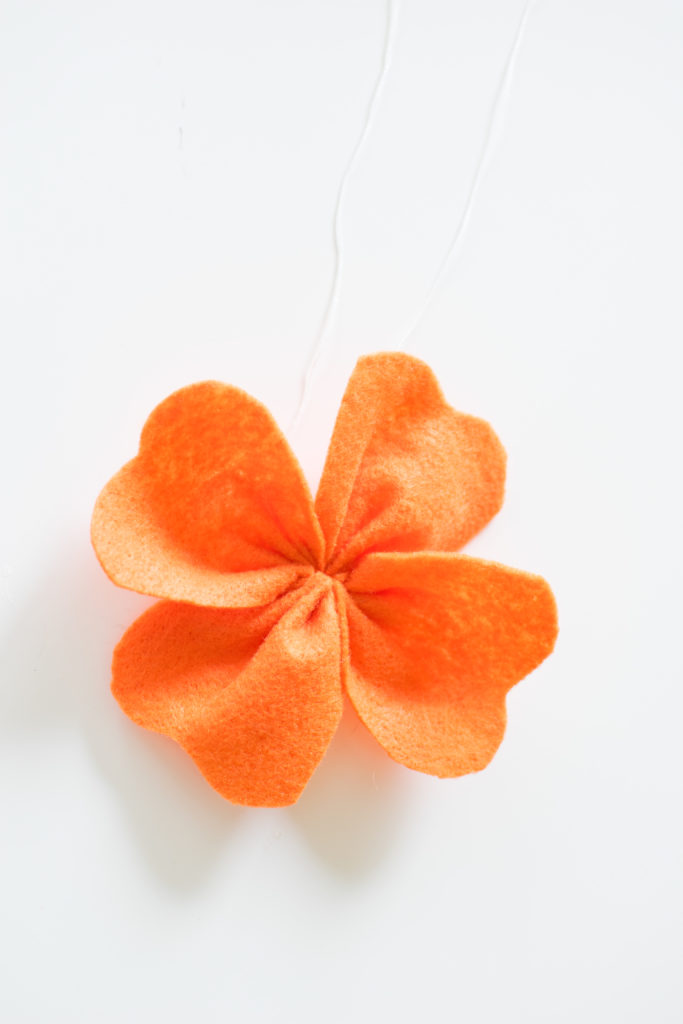
For this garland, I used the 4” shamrock template. I decided to go with a 3 clover one!
DIY RAINBOW SHAMROCK GARLAND
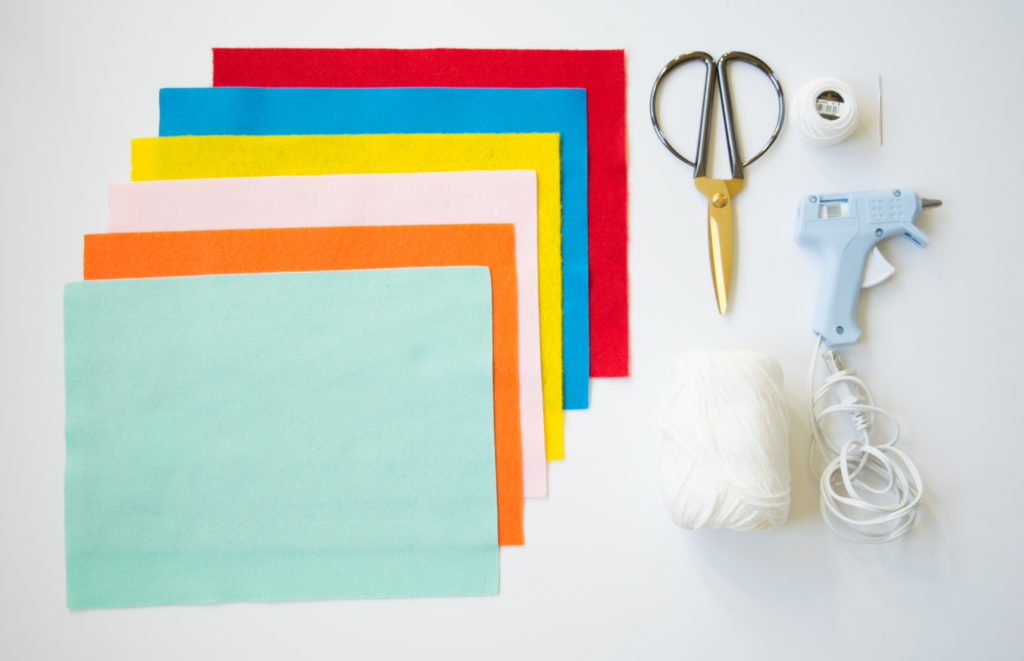
Supplies and tools you will need:
- Felt in desired color
- Hot Glue
- Scissors
- Needle
- Thread
- Yarn
- Template to make the shamrock. Download file to access the template in 3 different sizes! (See end of the post for download!)
INSTRUCTIONS:
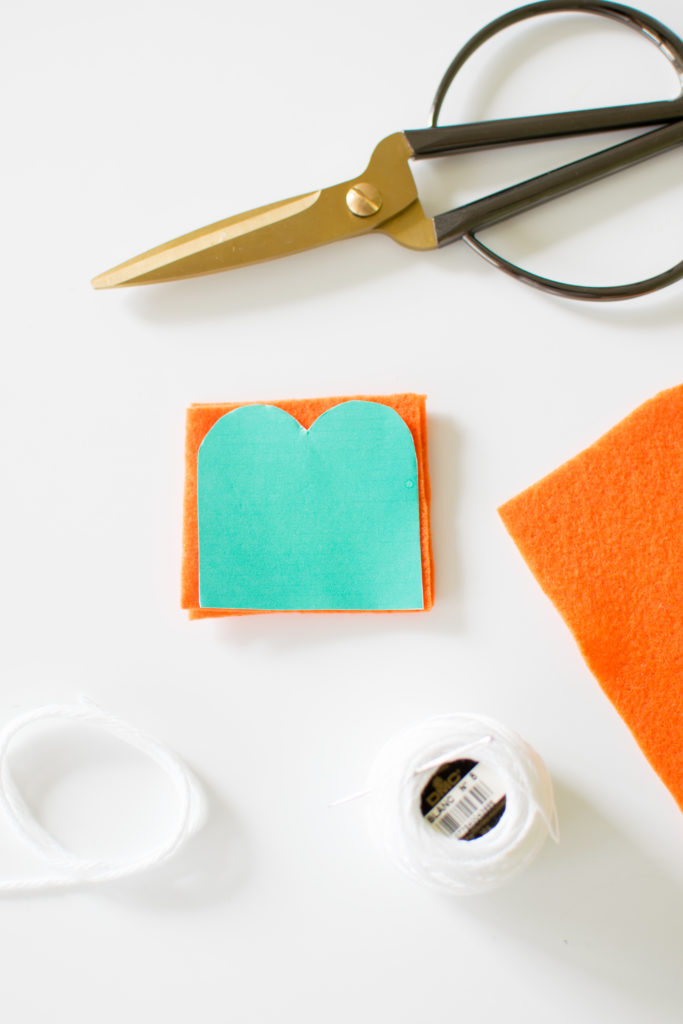
- Print leaf template on cardstock. Cut the size of your preference out.
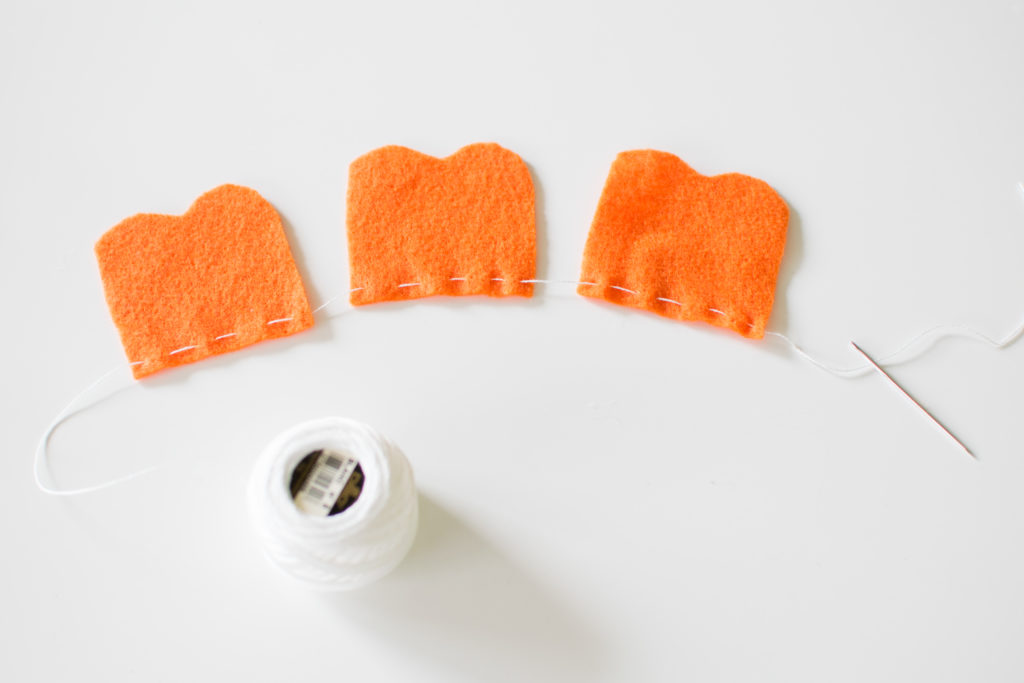
For this step, to save myself some time, I cut 3 small felt squares then place leaf template on top to create 3 leaves.
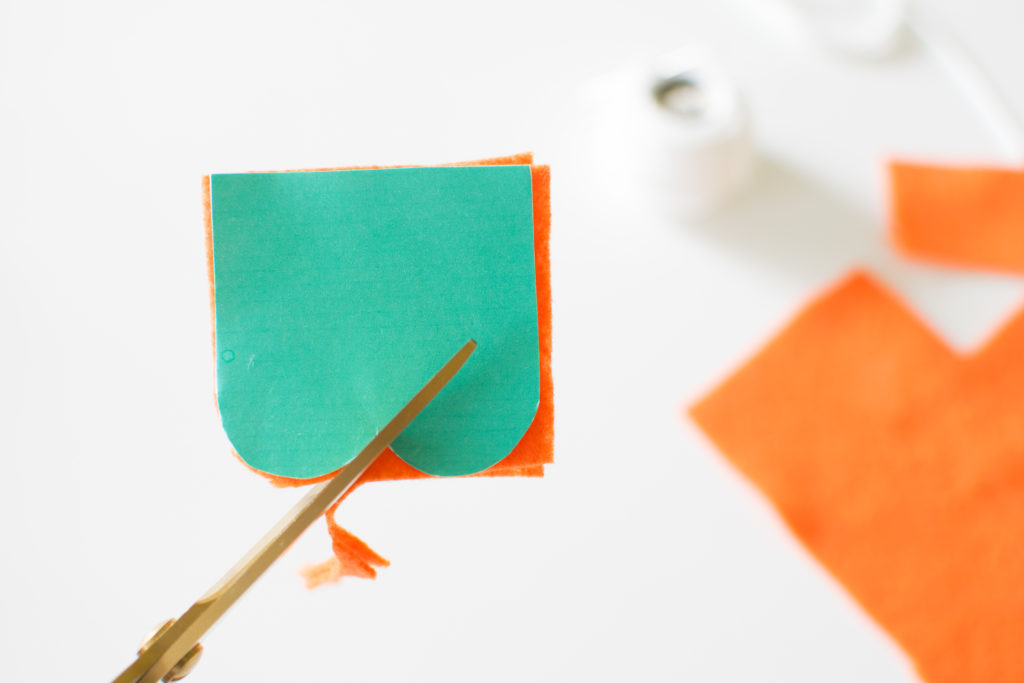
2. Cut them out.
3. Run a needle and thread through the 3 leaves.
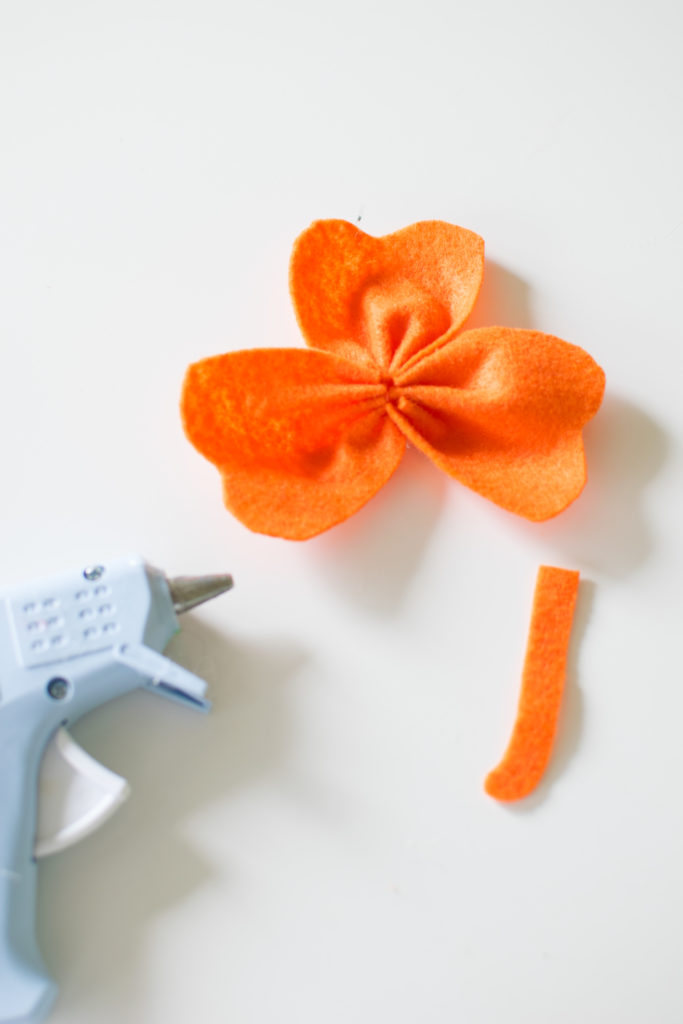
4. Bring the ends of the leaves together. Tie a knot and cut any leftover thread. Make a small stem using scraps of felt and secure it to the back of the shamrock using hot glue.

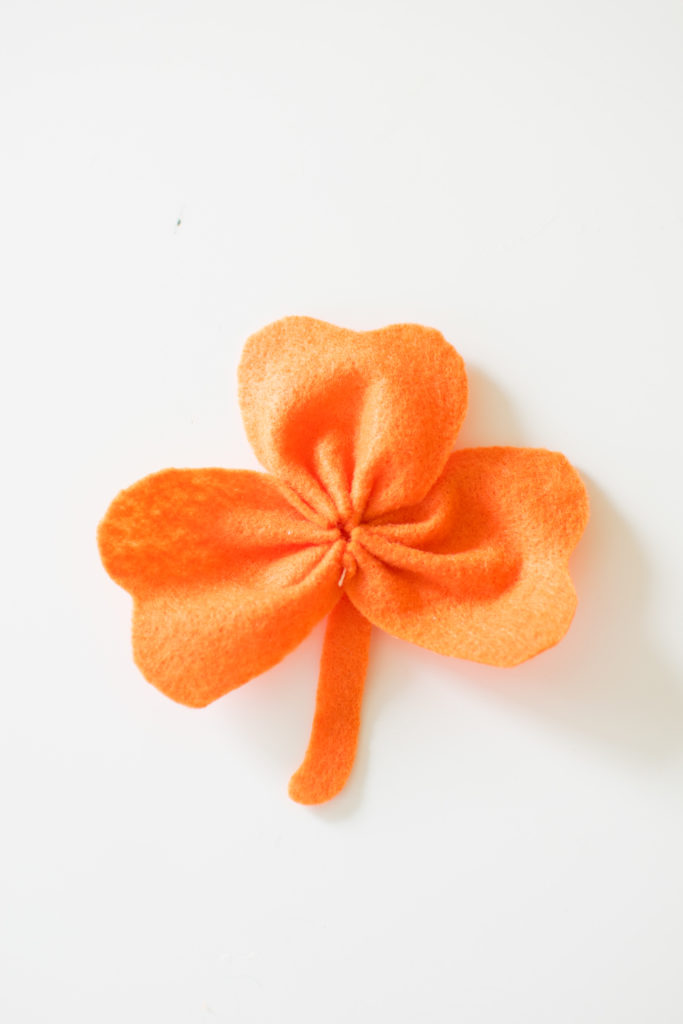
Repeat as many times as you need to, then secure each shamrock on yarn using hot glue.

Ta-da! Simply adorable rainbow shamrock garland. You can use it as party decor or decor. The possibilities are endless! Note: For this garland I made two of each color felt from my stash. The purple is missing (boo!) None of my crafts had any purple available (Not fair!)
For a 4-clover shamrock, simply cut out an additional leaf.

As I have mentioned, I created templates in 3 different sizes. Download them below:
I hope you enjoyed this fun tutorial! Can’t wait to see your own creation!
Please tag us @twinkletwinklelittleparty on Instagram and have fun making this Shamrock Garland!

PIN FOR LATER
Great tutorial! This garland is so cute! Love how you made it in a rainbow pattern 🙂
So cute!! I love felt, and those colors are so bright and happy.
This is cute! I love that you can reuse it too, I hate it when I put in a lot of effort to make a decoration and wind up throwing it away.