Hello, friends!
Excited to share two fun Donut inspired tutorials with you today!
- Our printable Donut Garland – A lot of people have been messaging me to ask which craft punch (size and brand) I use. I am sharing the information with you today!
- I am also showing how you can make super Mini “Donuts” using toasted cereal. So cute!
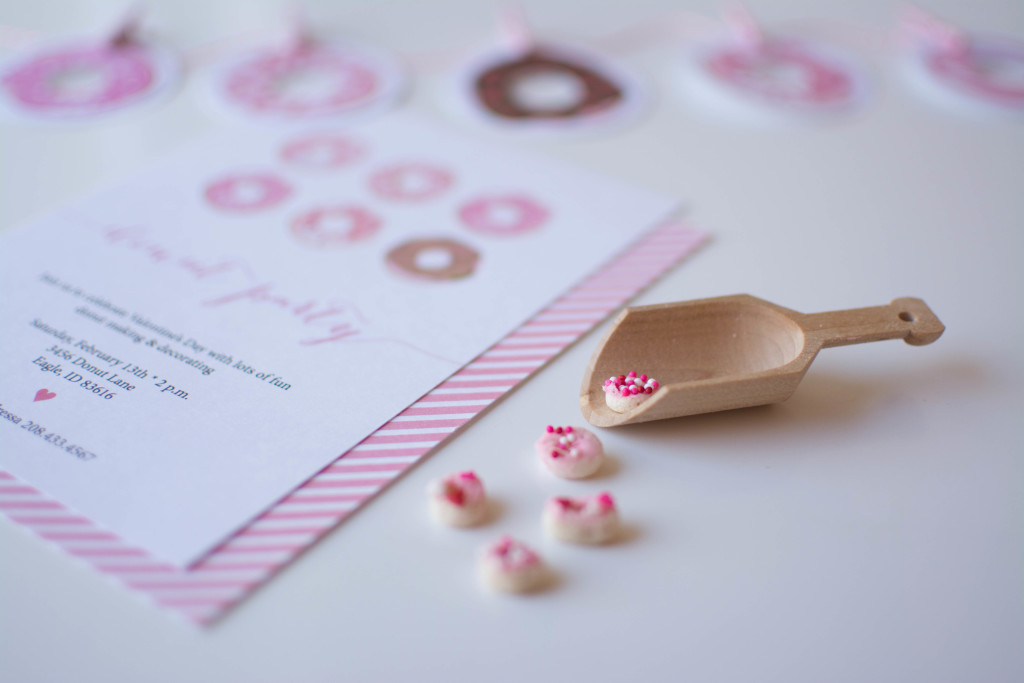
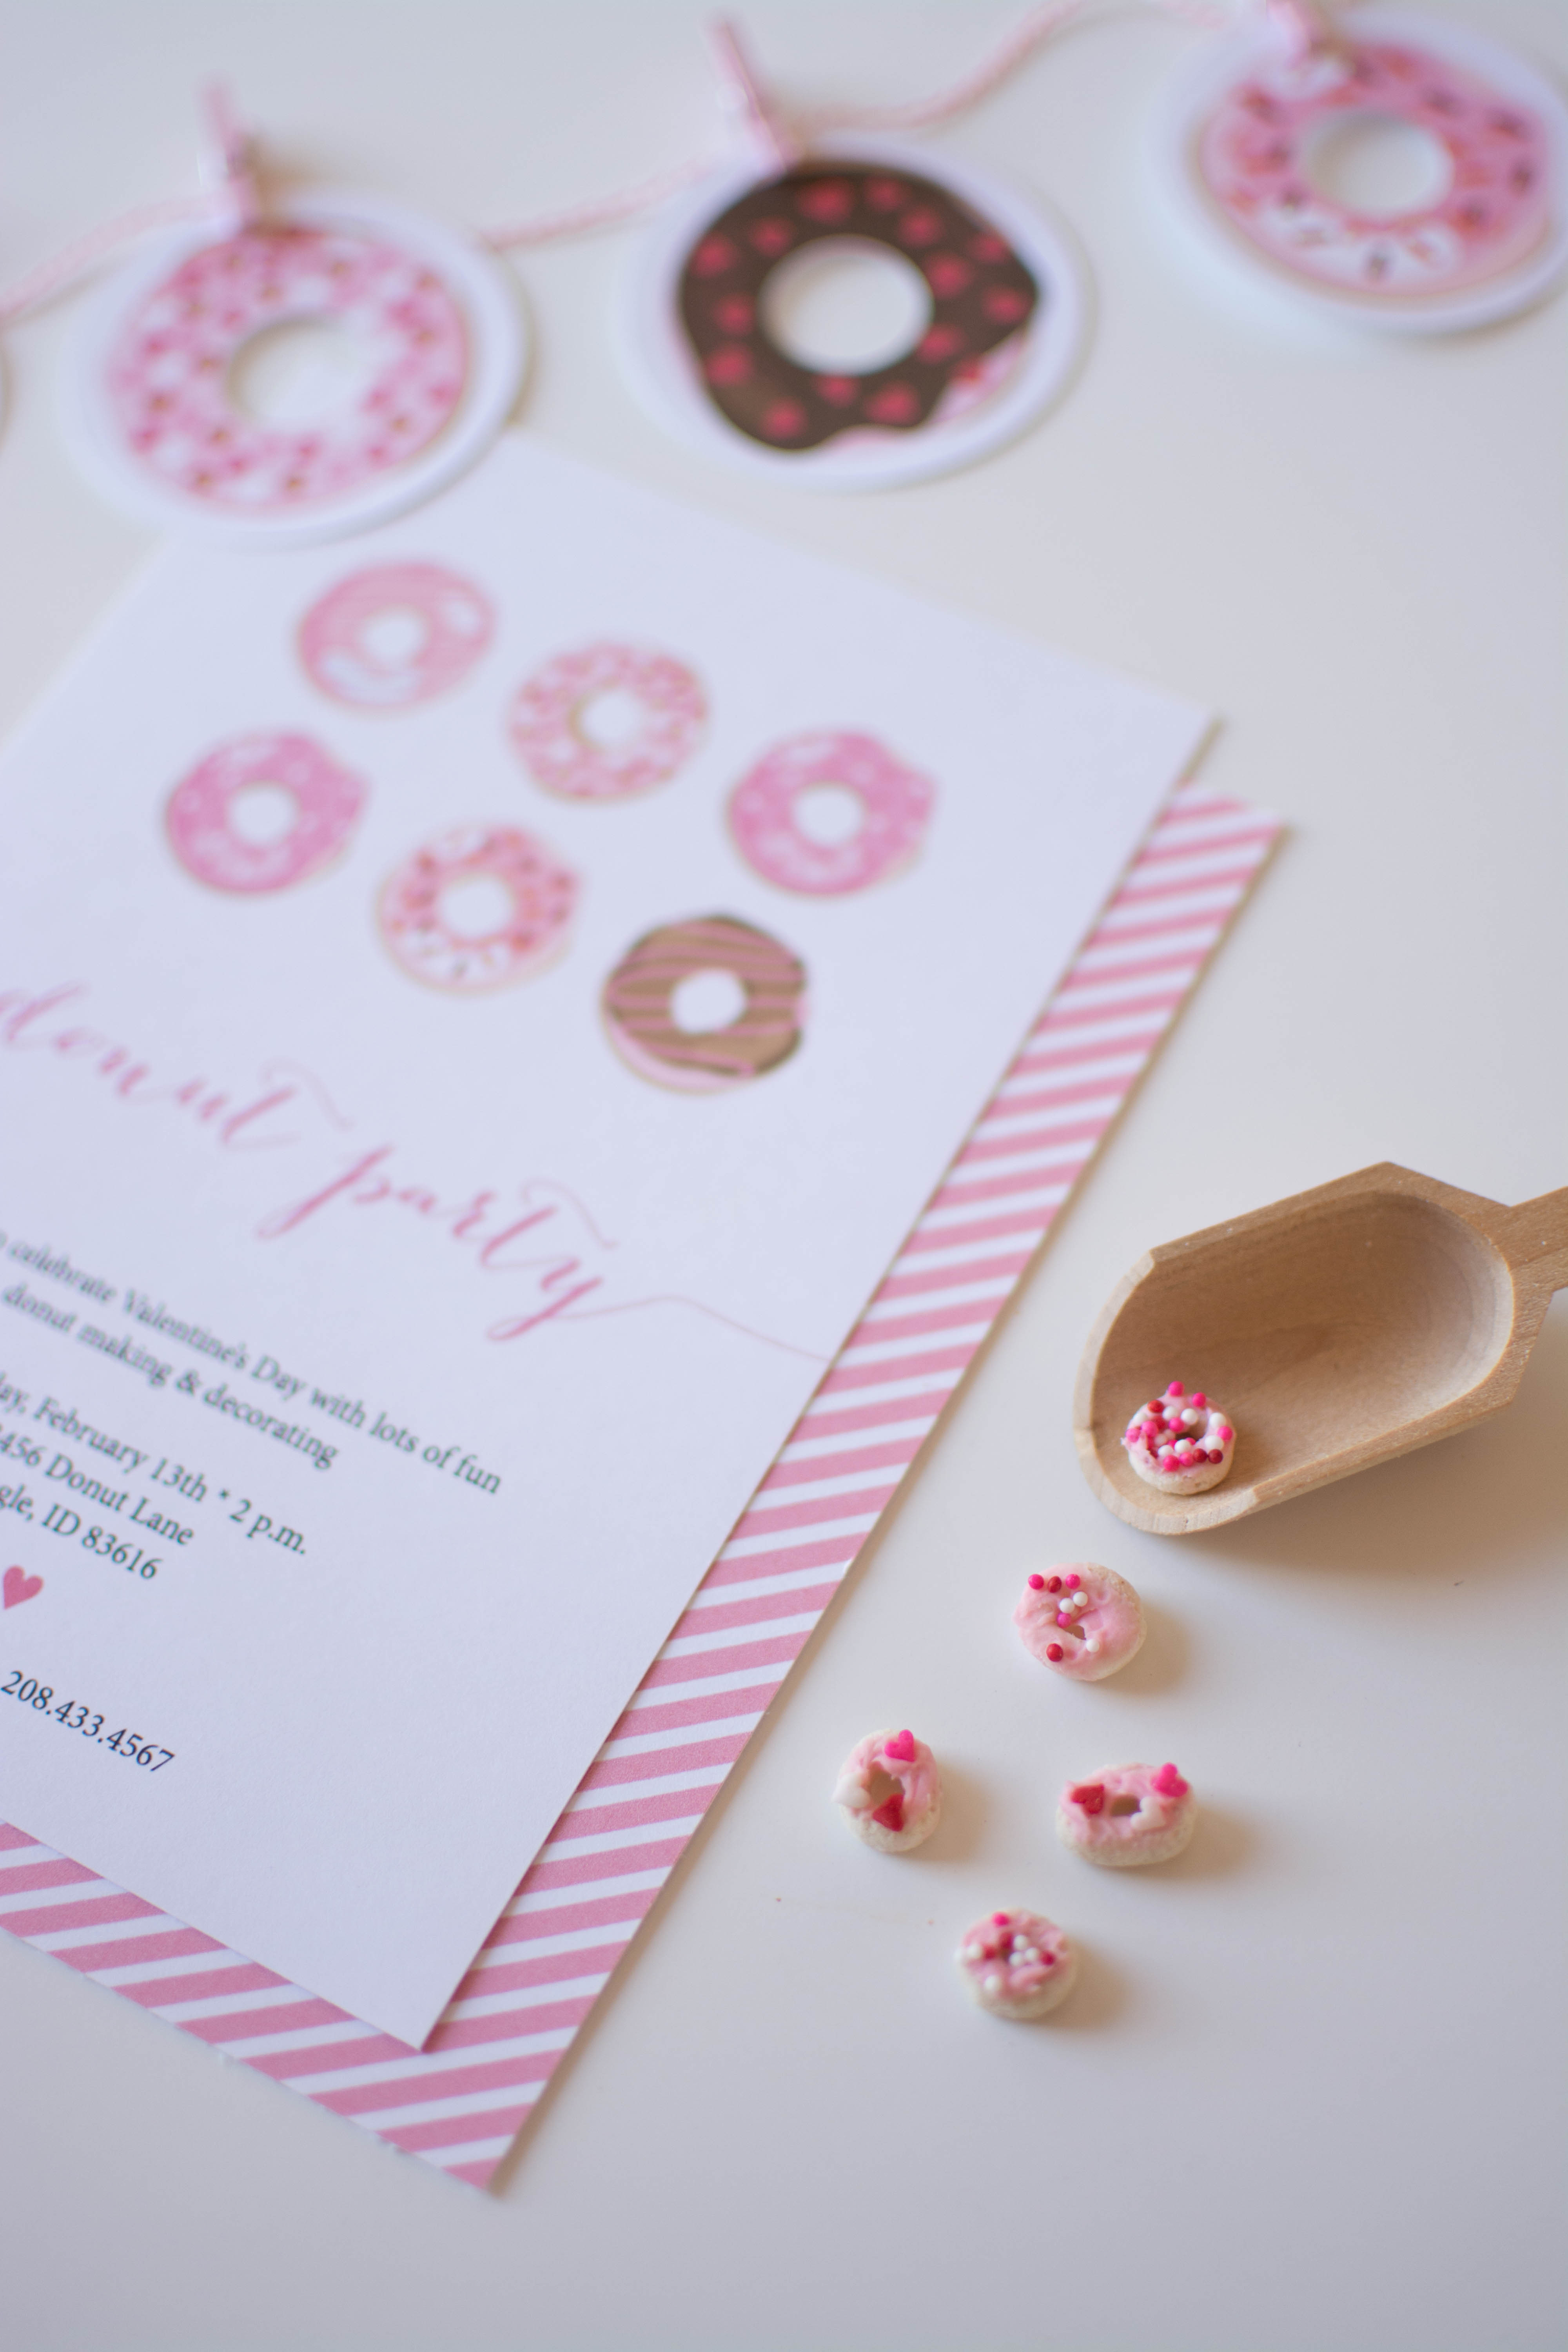
The image below I am showcasing both! Aren’t they cute? They made the perfect props for our Donut Invitation design!

DONUT GARLAND TUTORIAL
Here’s what you will need to put together your cute garland:
- Donut Garland printed on white cardstock (We are making the file available for free because we love our readers! yay!) Download yours here: Donut Tags _ DIY Garland
- Scissors
- 2″ craft punch
- 3/4″ craft punch for the middle (donut hole) *I use EK brand found at any craft store!
- Baker’s twine
- Mini clothespins
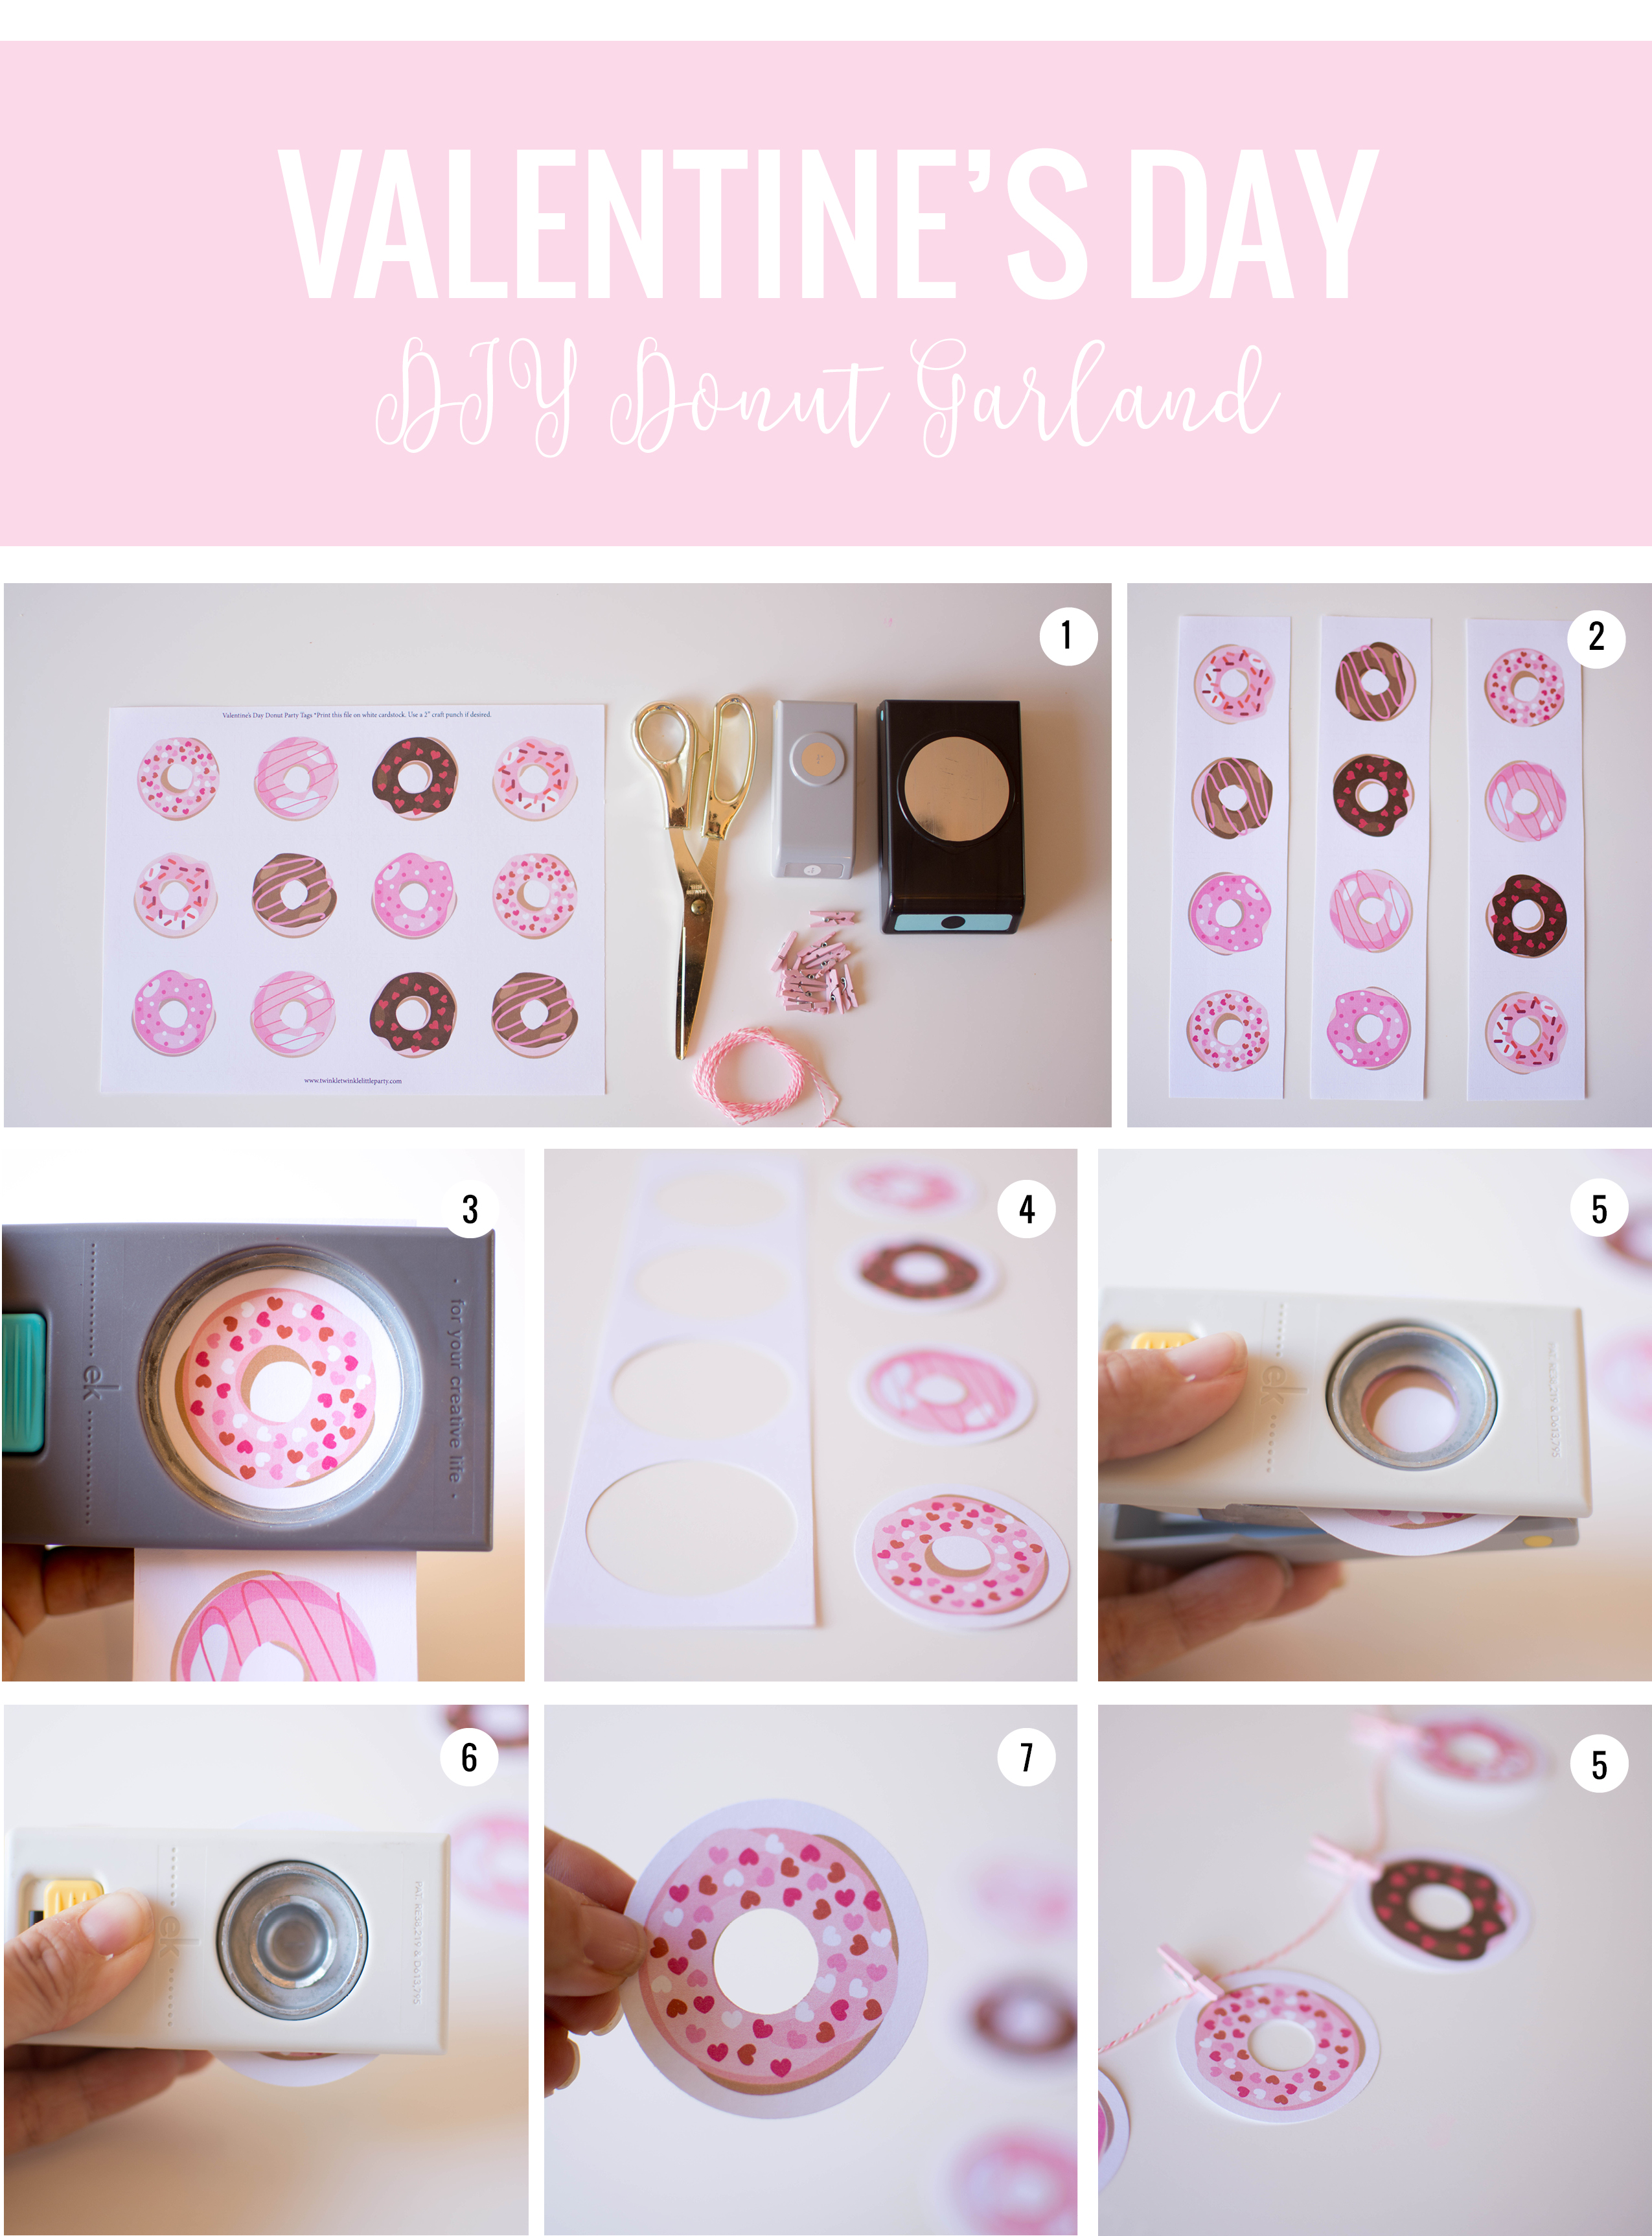
Directions: (See image below)
- Gather your materials/supplies
- Cut the printed file in strips. Makes it easier for using the craft punch!
- Use your 2″ craft punch to start cutting your donuts
- Punch away!
- Using your 3/4″ start punching the center of the donut
- Use baker’s twine and clothespins to secure your donuts. Voila! Super adorable Donut Garland for your decor purposes!
Note: You will have 12 donuts per page. Print as many pages as you need! You can make a garland any size you want!
Now, let me show you how I made these cute mini cereal donuts! Note: It requires a lot of patience! It can be a relaxing project for when the little ones go to bed or a project to do with the kids.
I know there’s a donut cereal box available at the supermarket, but they are not pink. I needed girly pink with valentine’s day sprinkles *wink *wink

MINI (CEREAL) DONUTS
Here’s what you will need:
- Toasted cereal
- Store bought frosting (flavor of your choice!) I used strawberry flavor!
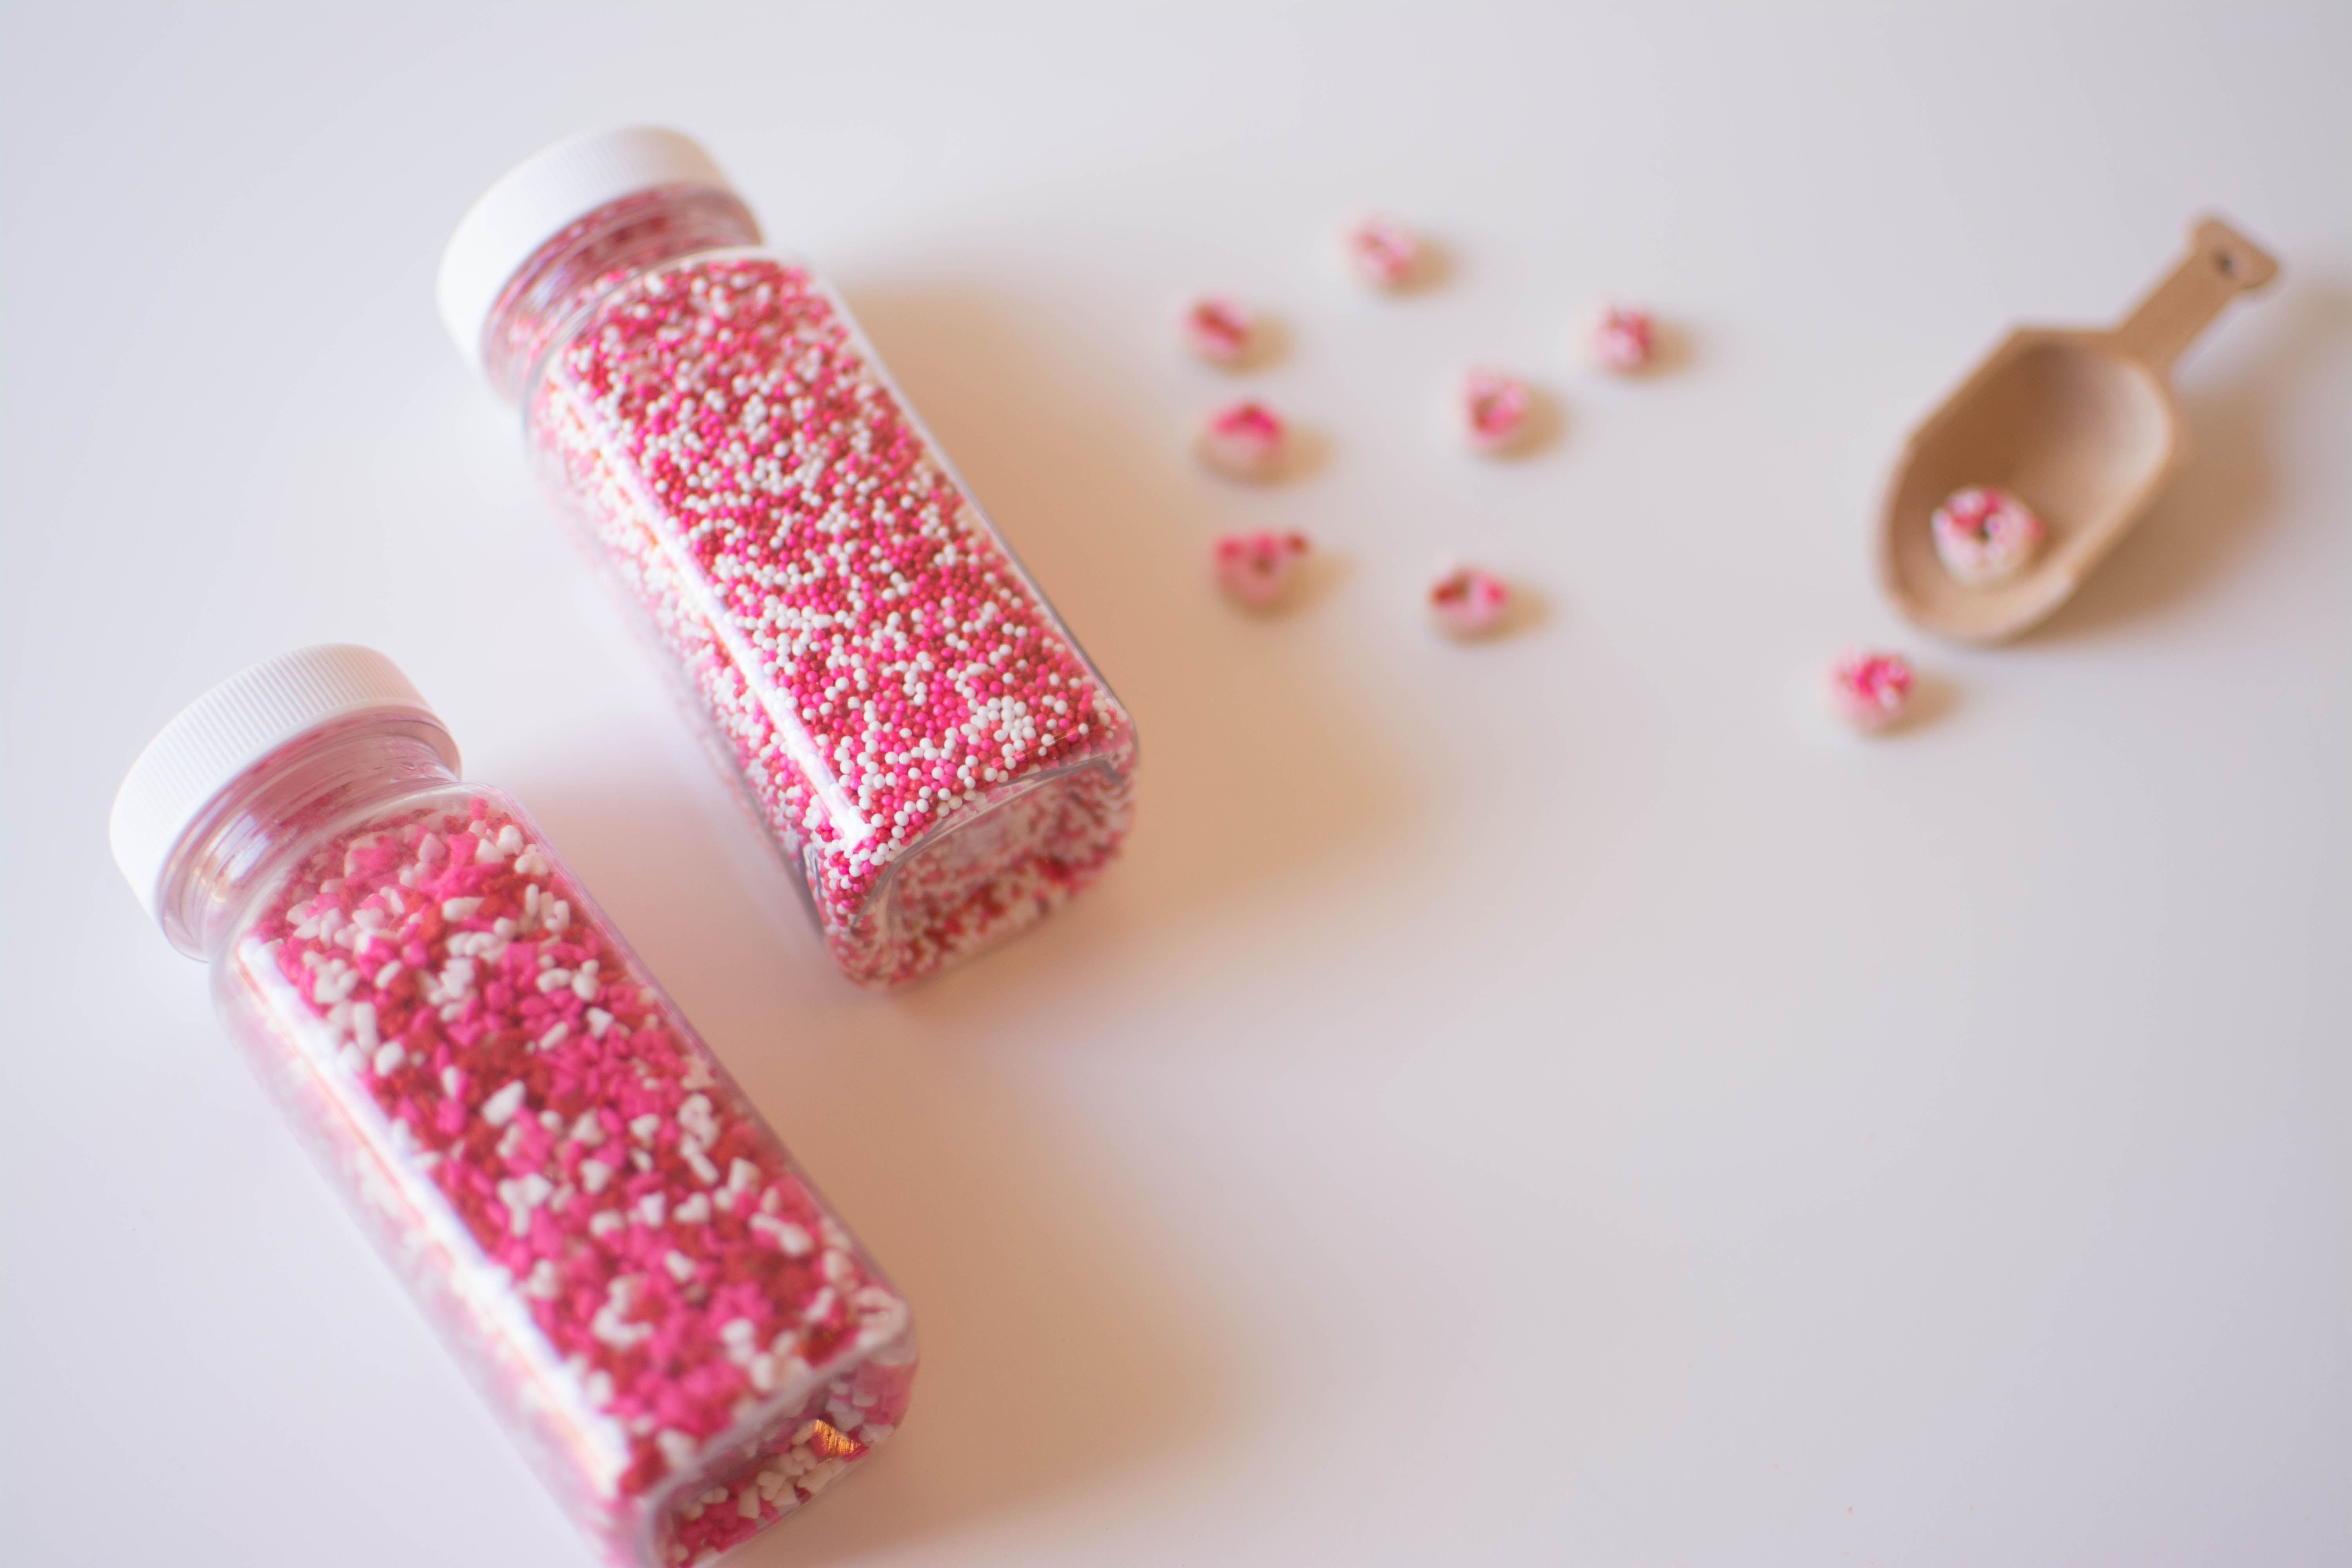
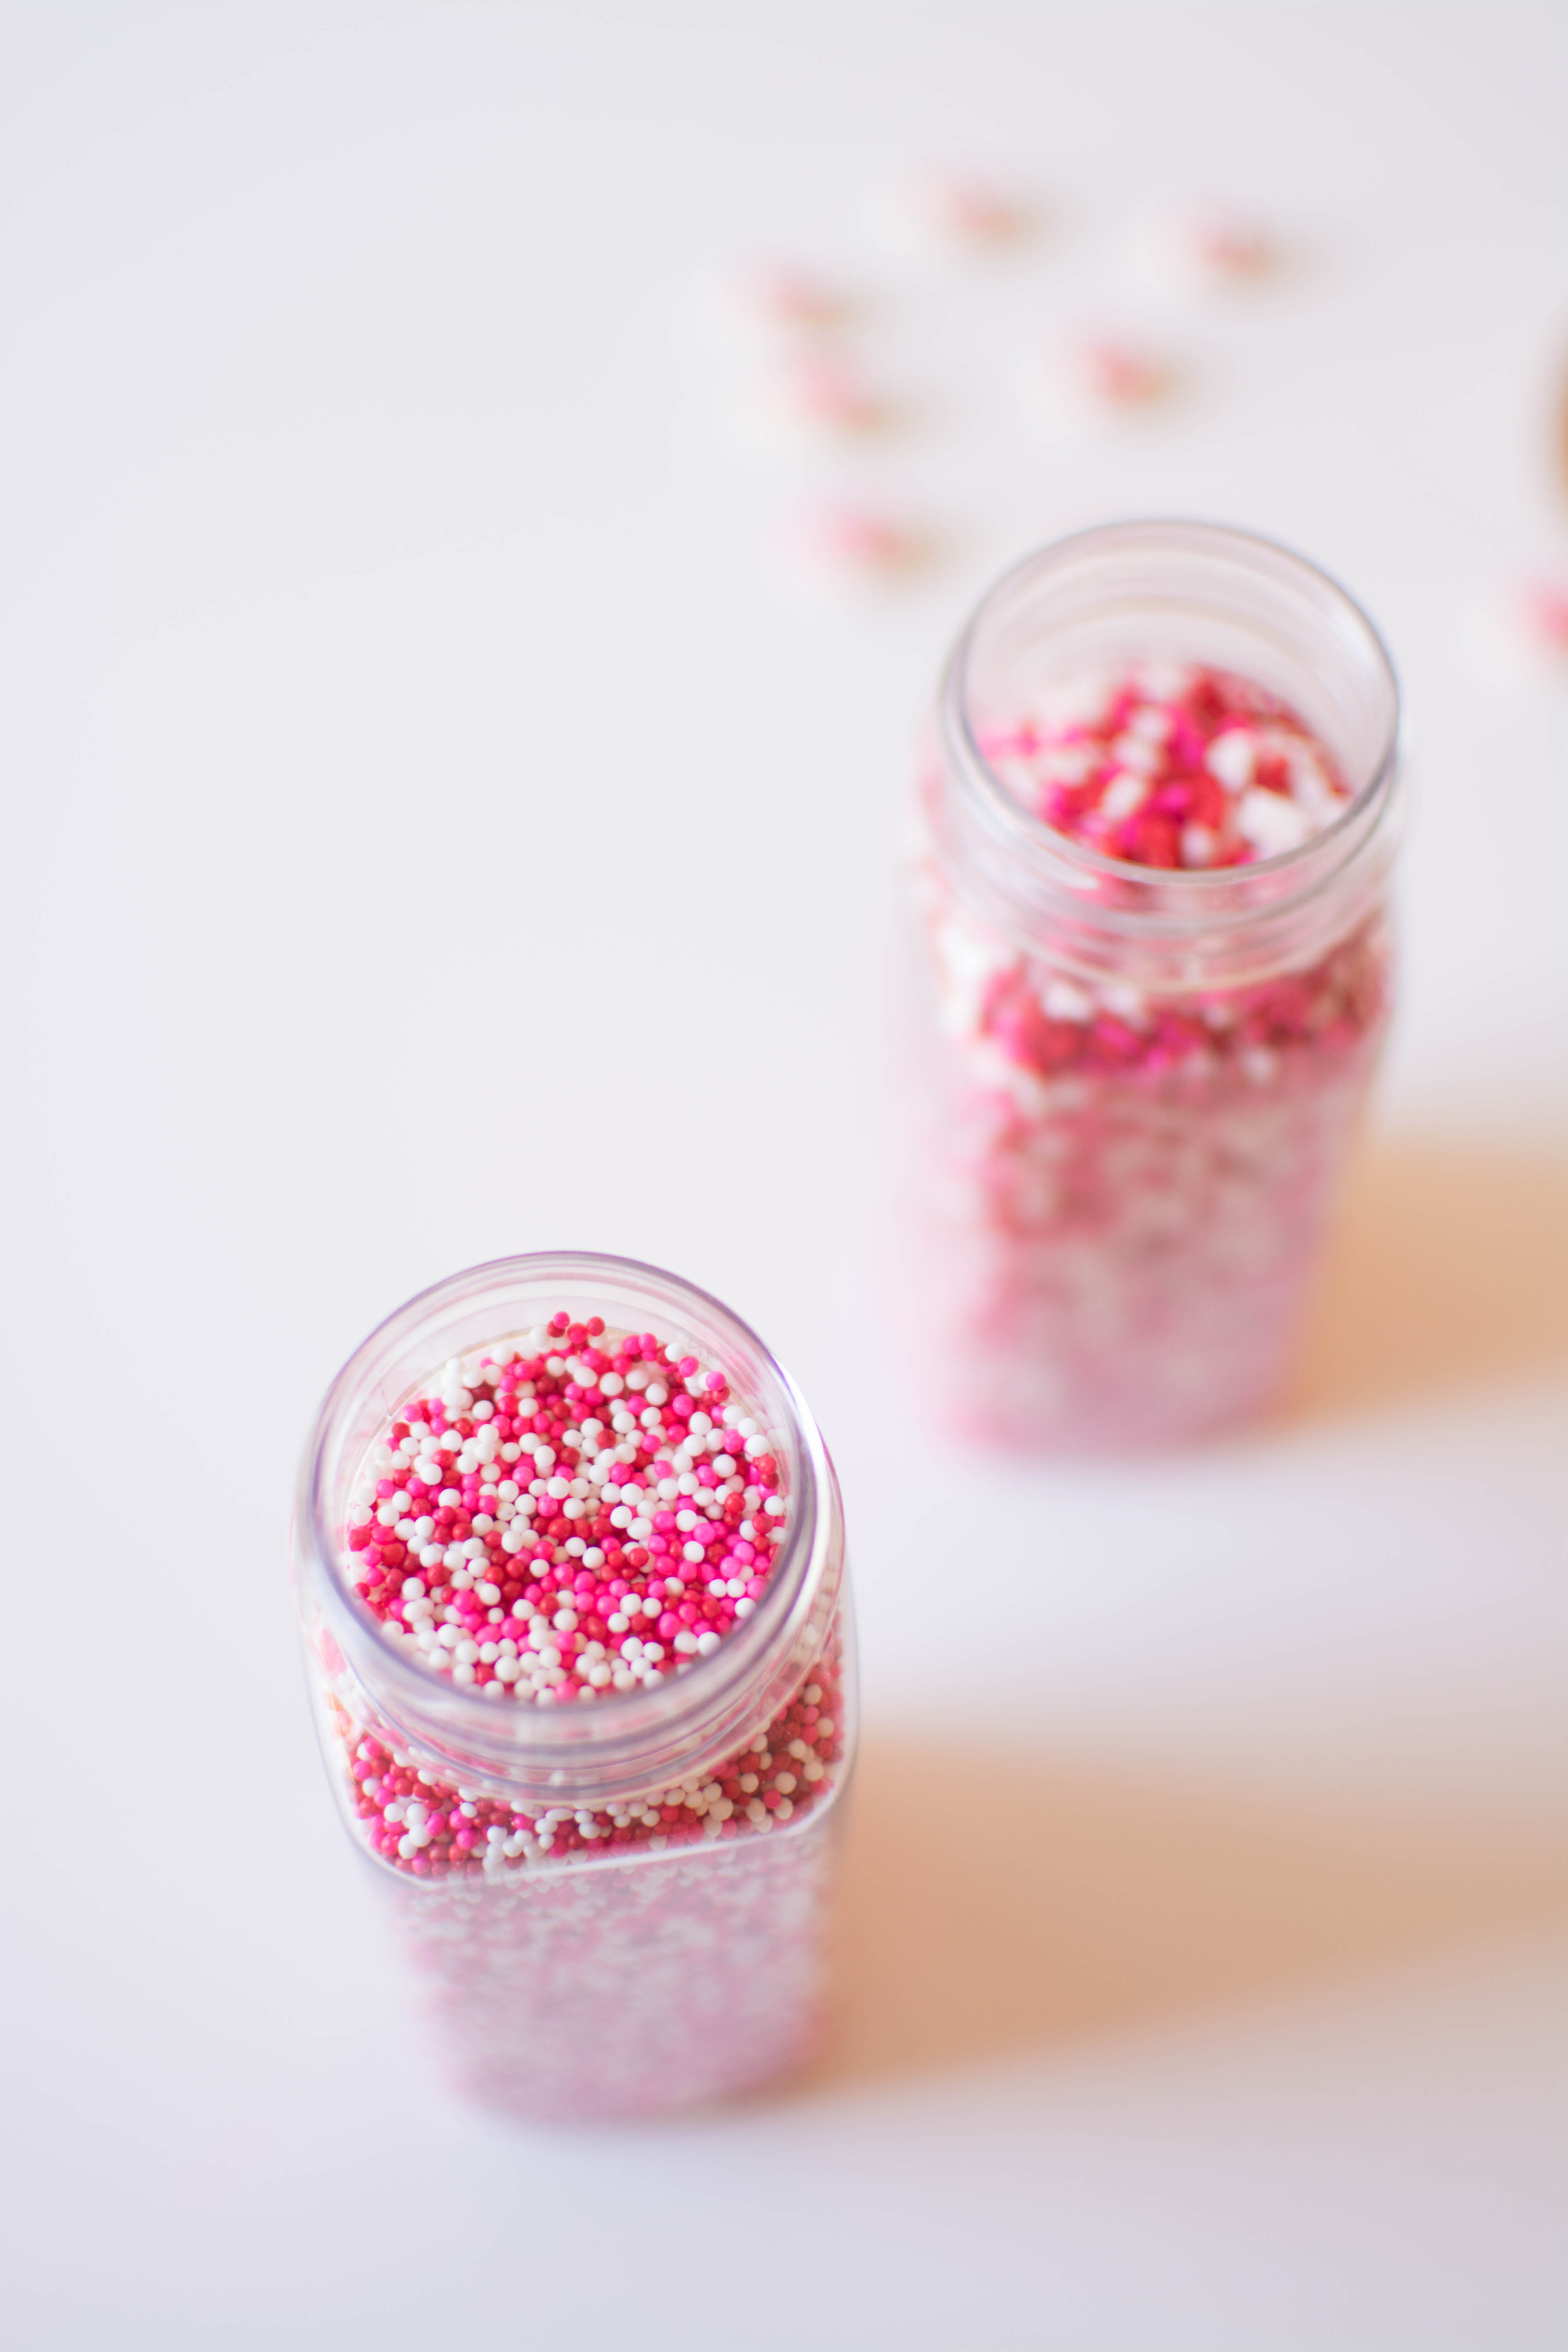
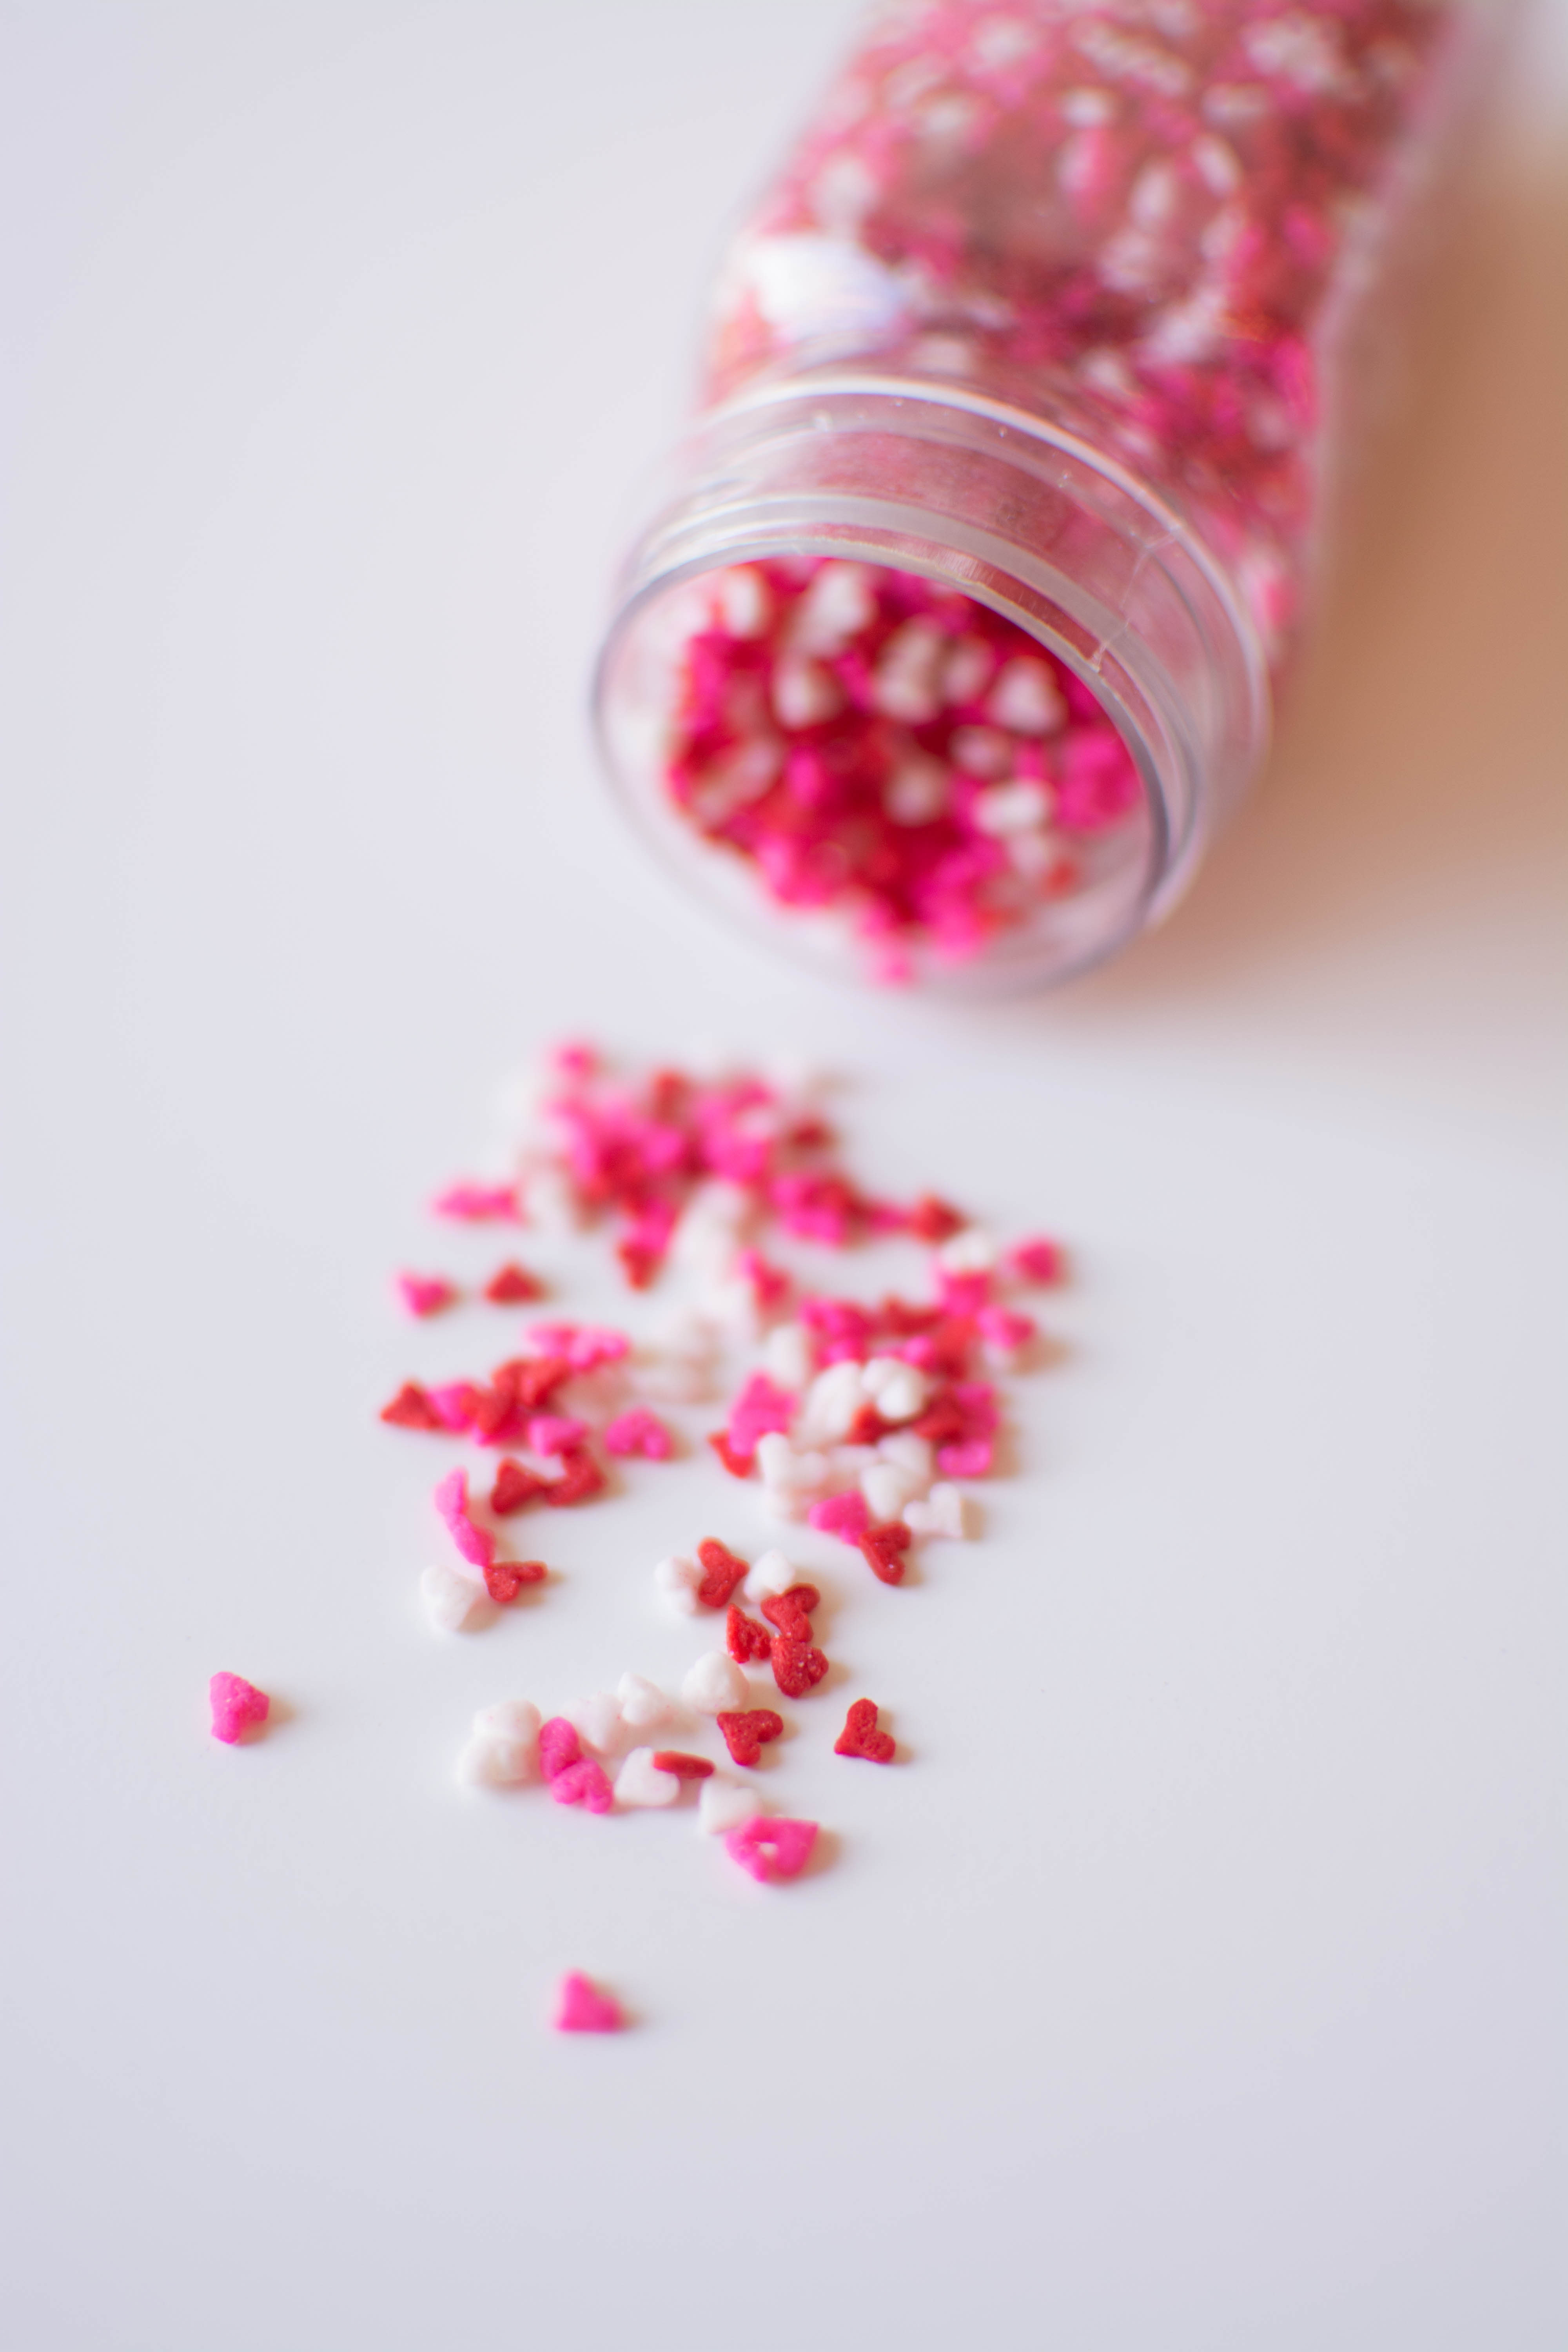
- Super mini nonpareils and super mini heart sprinkles * Mine are from The Bakers Party Shop. Stop by to check their amazing selection here!
Directions:
All you have to do is dip each mini cereal in frosting. Sometimes it covers the hole. I used a toothpick to fix that. Easy peasy!
To add the sprinkles, the easiest way to do it is by placing some sprinkles on a plate and dip them one by one (I know, too much time! You will love how cute they will though!) I tried to just sprinkle over the cereal to save myself some time but they wouldn’t stick. Maybe because I live in a such dry city.
You might be wondering how many I decorated. I only did a few really! My little boy loved helping me and my 2 year-old loved eating them!
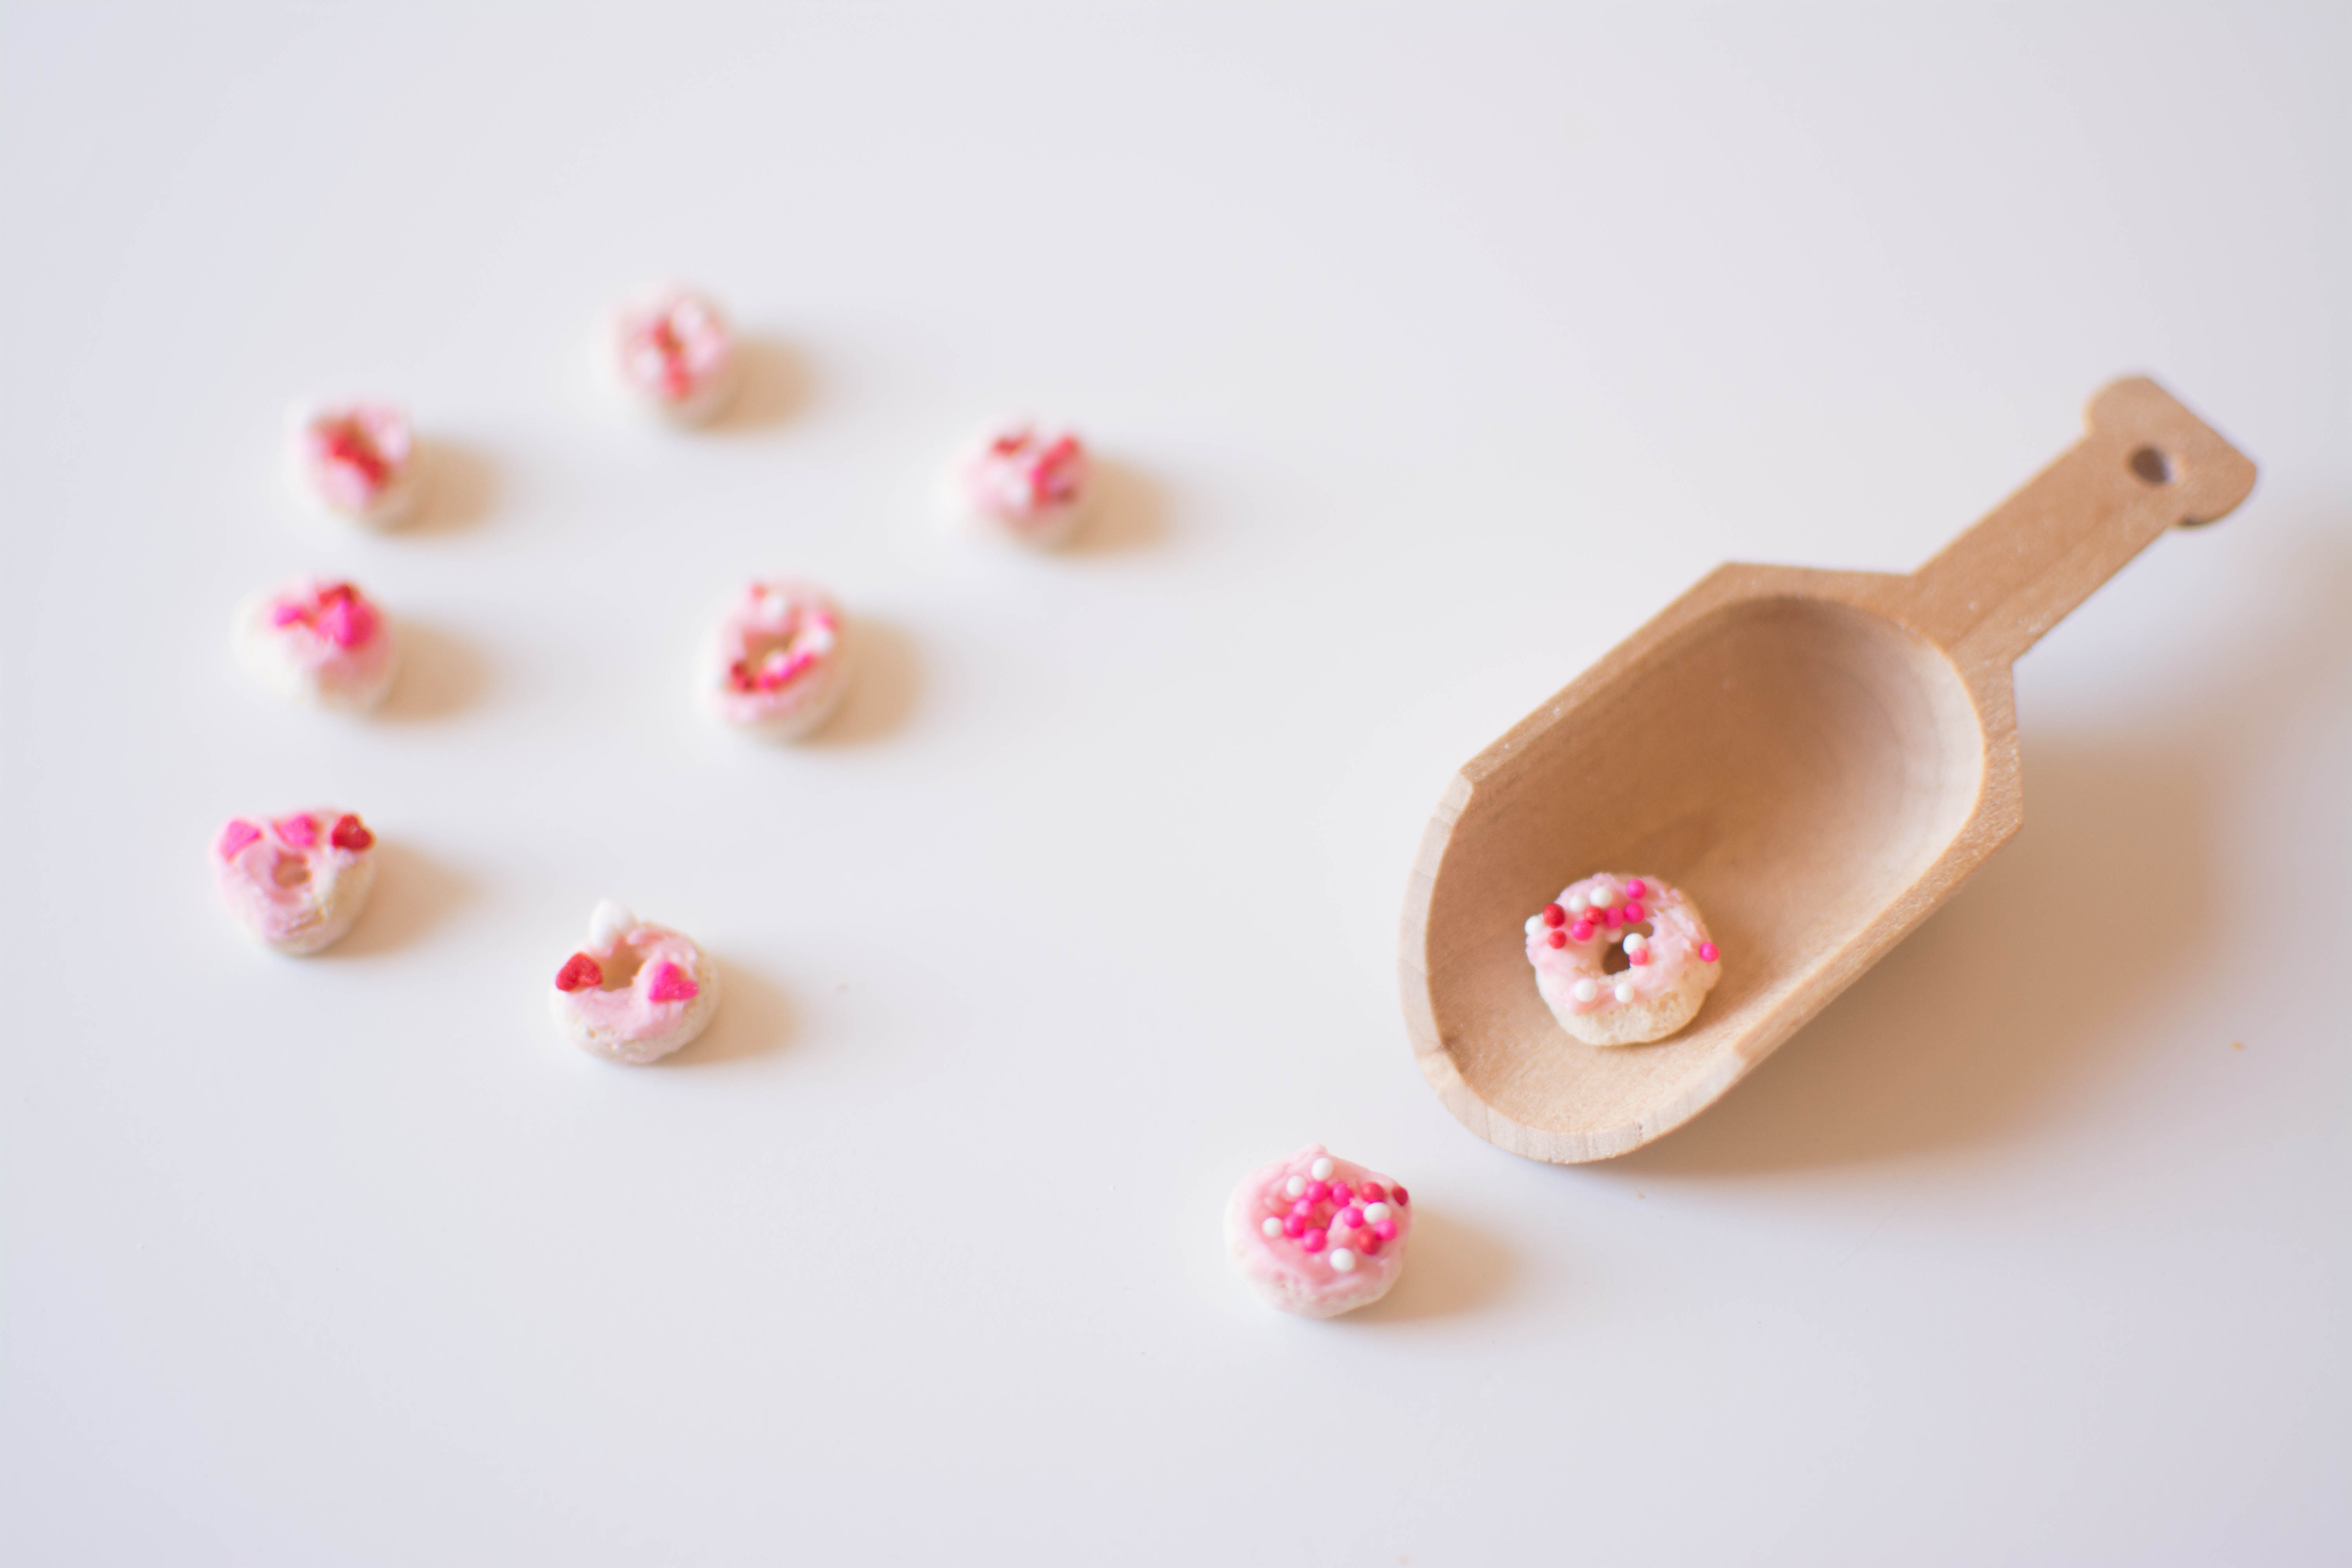
Take a look at the image below with the step by step:

I hope you enjoyed these two tutorials for your Donut celebrations!
Check out or DONUT PARTY for more fun ideas!