Halloween is in 3 weeks!! Pinch me! Are you ready? We are more than ready at this household! I am excited to are sharing these chocolate fudge balls if you are looking for easy and creative treats for your Halloween festivities or just to BOO your sweet neighbors! All you need is a few ingredients and print free downloads to get them ready for Halloween!
You can use the chocolate bar of your preference or you can use cocoa powder as well! They are delicious decadent treats that make the perfect and inexpensive gifts for family and friends!
Ready to make some?
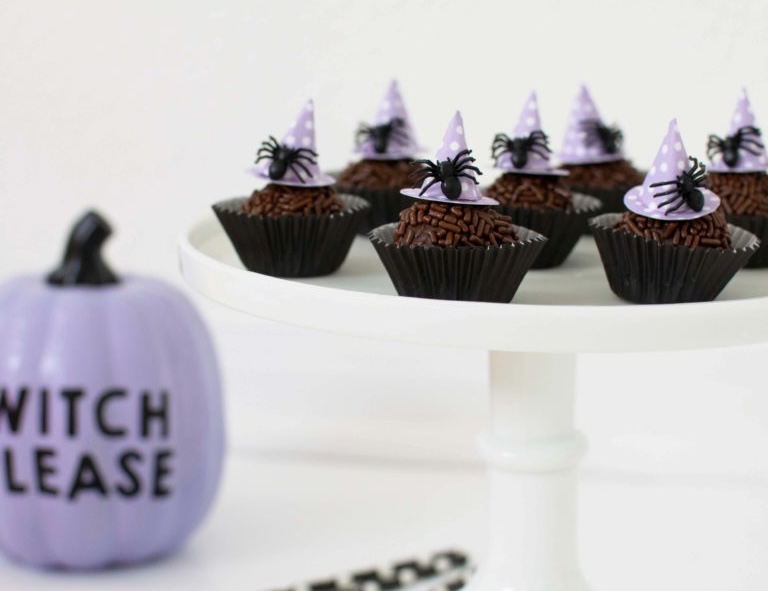
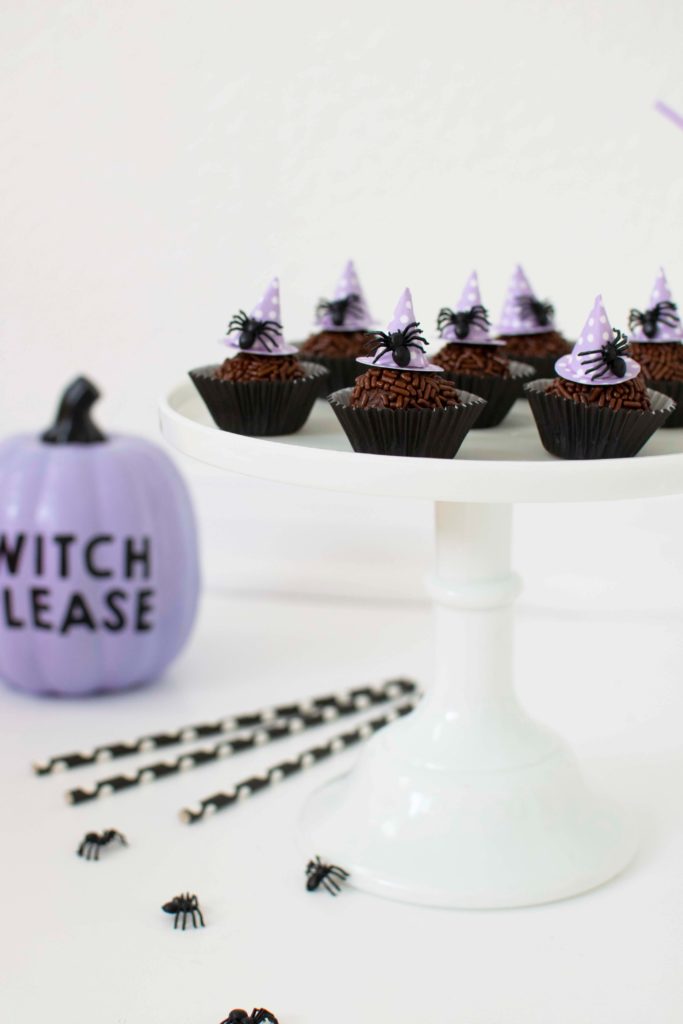
Little Witch’s Hat Halloween Chocolate Fudge Balls
Yield: 15-18
What you will need:
- 1 can (14 oz) sweetened condensed milk
- 1 tablespoon of unsalted butter
- 2/3 cup good quality chocolate cut into small pieces or 3-4 tablespoons of cocoa powder
- chocolate sprinkles
- truffle liners
Directions:
- Grease a shallow plate or platter with butter. Set aside.
- On medium heat, melt the butter and chocolate pieces in a small nonstick heavy saucepan. Add condensed milk. Reduce the heat to medium-low. Stir constantly with wooden spoon.
- Cook for about 10 to 15 minutes, stirring constantly, until mixture is thick and shiny. Note: Tilt the pan and when you see the mixture is pulling away from the bottom of the pan, it is ready! Pour mixture into shallow plate. Allow to cool completely in the refrigerator.
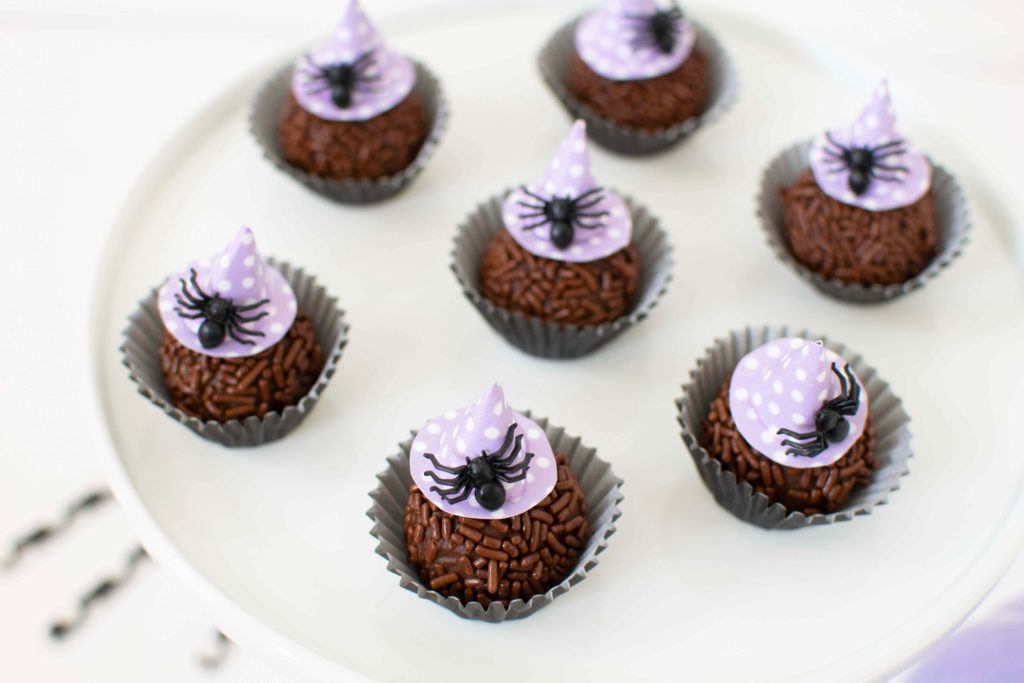
- Grease your hands with butter (make sure it’s not too greasy). Scoop a tablespoon of the mixture. Roll it into a ball and coat it with chocolate sprinkles.
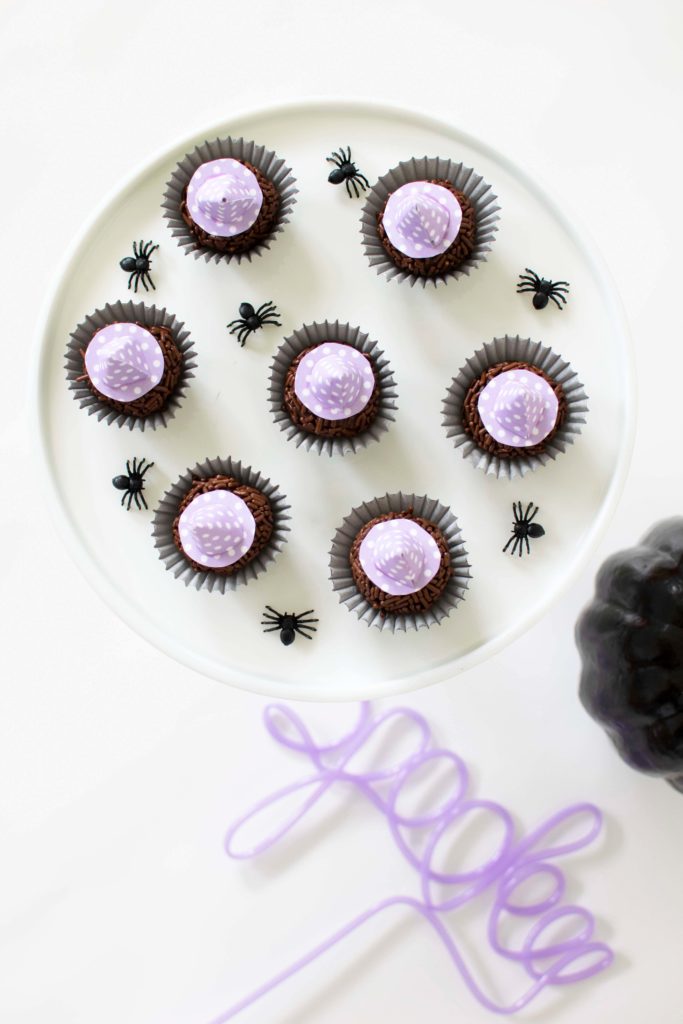
- Place fudge balls in truffle liners. Enjoy!
TIP: You can consume them right away or place them in a container (not in the fridge) and wait 2-3 days. They will get a little crunchy on the outside and soft in the inside. My favorite!
Little Witch’s Hat
- Print purple polka dotted paper on white cardstock.
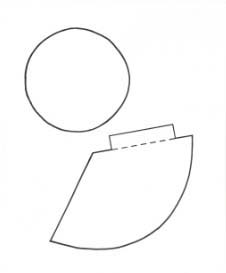
- Print witch’s hat template by selecting photo size 3.5 x 5 (perfect size for the fudge balls). Cut the circle and cone out. Trace them on the back of purple polka dotted paper as many times as you need. Cute them out once again. Glue cone ends together to form the top part of the hat. Attach cone to the circle using glue. Let it dry completely.
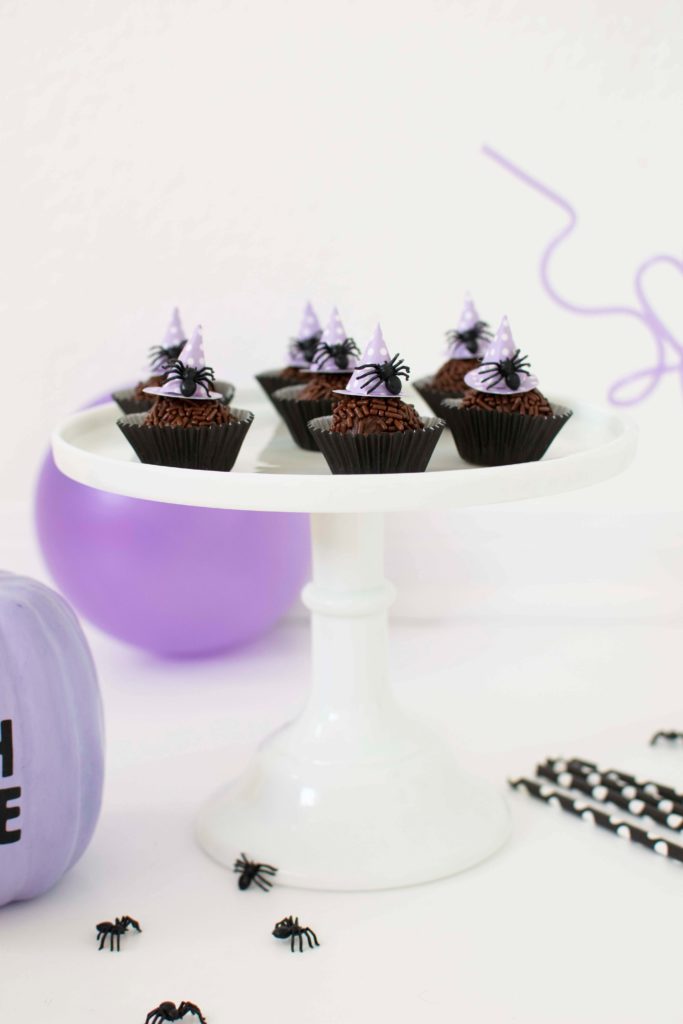
- Dress your fudge balls with the mini witch’s hats. Spruce them up with little plastic spiders if you wish. Display them on a cake pedestal for a pretty presentation! Enjoy!
We threw a Not-so-Spooky Pink Halloween Party and a Snoopy Themed Halloween Party for Pottery Barn. Make sure to check them out to get inspired!
Happy Planning, friends!

Styling, concept and photography: Andressa Hara, creative director of Twinkle Twinkle Little Party